MASON JAR STRING ART (FREE downloadable pattern)
String art crafts are so much fun with endless possibilities. This inexpensive craft is something anyone can do (with some adult supervision of course).
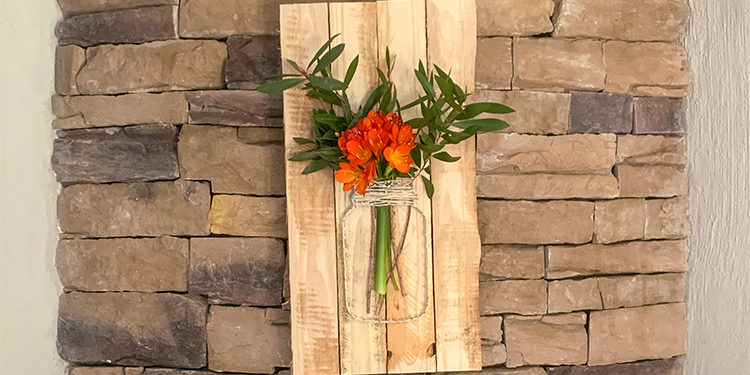
We had so much fun creating our mason jar art, which doubles as a vase! Jazz it up with a flower or some leaves that will last a few days. Or make it a permanent feature with a few air plants.
All you need is a piece of wood (we picked up ours at our local PNA for R56), string, nails, a hammer and the pattern of your choice. Make sure the nails that you are using are not too long; otherwise, it will end up sticking out of the other side of the wood. The nails that we used were 16mm and worked so great.
For this fun mason jar artwork, you can download our free pattern .
STEP 1
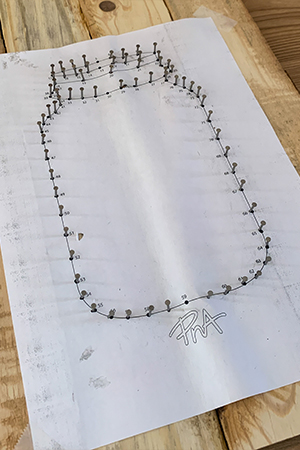
Print your pattern in the required size and tape it to your wood.


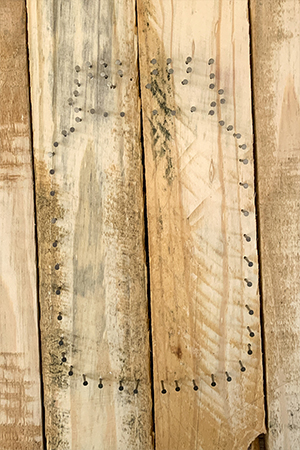
STEP 2
Hammer the nails into the wood on top of your pattern. Try to hammer all the nails in evenly. It doesn’t really matter if some of the nails go in skew, as the string will hide most of these imperfections. Tip: use a washing peg or pliers to hold the nail while hammering it in.
STEP 3
Tear the paper off. Be careful, as some of the nails might come out. These nails can just be pushed back in. Tip: if some of the nails keep falling out, put some glue in the hole before pushing the nail back in.
Some paper might get left behind that got stuck in between the wood and nails. Use a tweezer or a toothbrush to remove these pieces of paper before starting with your string.
STEP 4
Tie your string around your first nail and make a secure knot. Now you can start decorating your art with your string. This can be done by weaving the string around every nail. Be sure to pull the string tight for a neat finish. We like to keep the string on the outside to ensure a straight line.


You can use any pattern on the top of your mason jar. Keep in mind not to put too much string on the top, as the flowers have to be able to slot in behind the string. The bottom part of the jar has three rows of string. This is done to ensure that the flowers have something to rest on; otherwise, they might fall out of your ‘jar’.
Tie off the last piece of string around a nail. Add a drop of glue on the knots to make sure that it stays put and is ready to be displayed!


Have you tried different patterns of string art? Share your final projects with us!