5 Innovative Things You Didn’t Know You Could Do with a Cricut Machine
If there’s one thing we know, it’s that once you go Cricut, you never go back! And with these five unique uses for your trusty Cricut machine, that’s double true.
If you’re no stranger to the world of arts and crafts, you’ve probably heard of – or already own – the versatile Cricut machine. But did you know that this nifty little tool can do so much more than just run-of-the-mill material cutting? Prepare to be amazed as we unlock the hidden potential of your Cricut and reveal five innovative and exciting ways to make it work its magic for you – even if you’re an alternative crafter!
From custom embroidery patterns to DIY wall decals, we’ve got a creative journey ahead that’s going to leave you inspired and wanting to unleash your inner crafting genius. Read on – you might just discover your new favourite craft.
Getting to Know Your Cricut Machine
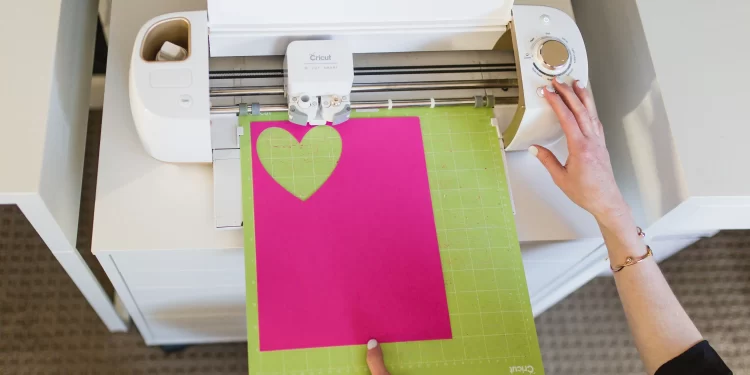
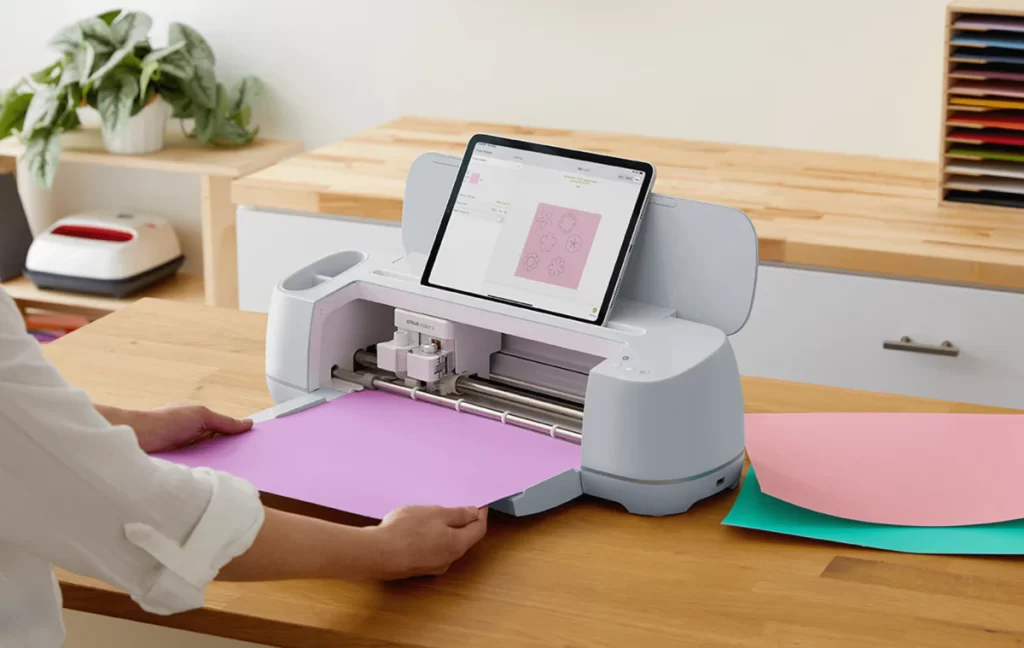
Before we barrel down the paths less travelled of Cricut creativity, let’s quickly refresh our memories on the basics. The Cricut machine is your crafty companion, designed to cut various materials with precision.
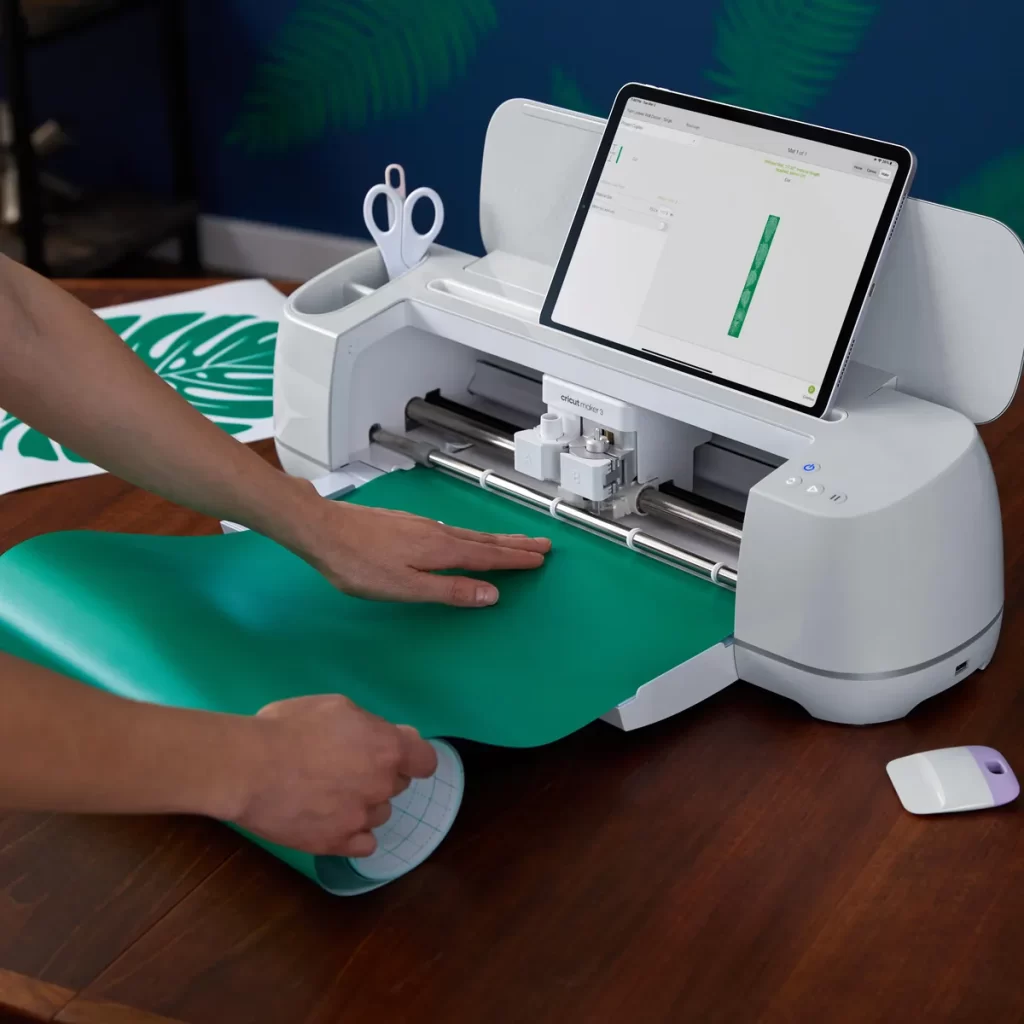
Your Cricut machine works by using precision blades and a cutting mat to cut various materials, such as paper, vinyl, fabric, and more, based on digital designs created or selected by the user. The machine connects to a computer or mobile device through Cricut Design Space, where users can access a vast library of designs or upload their own.
Once the design is ready, the Cricut machine precisely cuts the chosen material into intricate shapes and patterns, making it a versatile and efficient tool for a wide range of crafting projects. It’s also – and we mean this – an absolute ton of fun to play with! Especially when you try unique methods like the ones we’re about to describe…
Custom Embroidery Patterns with Cricut
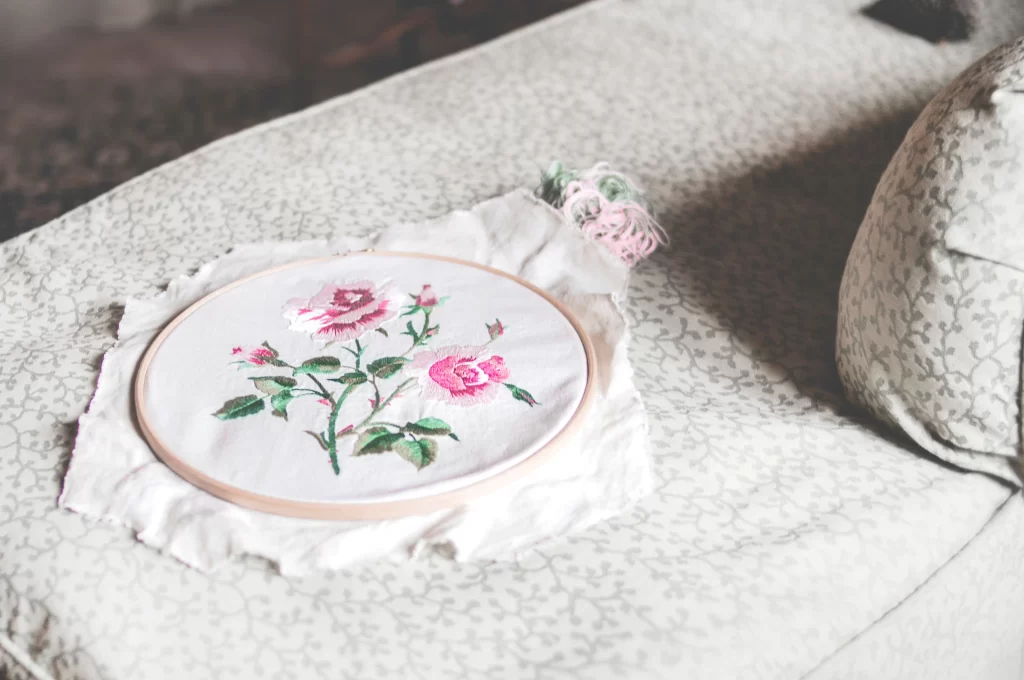
Who said Cricut was only for paper crafts? Get ready to take your embroidery game to a whole new level with this fantastic feature. You’re about to be the king/queen of cross-stitching! The Cricut can now help you create custom embroidery patterns effortlessly. Say goodbye to the days of tracing and transferring designs manually! Here’s how:
Step-by-step guide to creating custom embroidery patterns:
- Choose your design: Start by picking a fabulous image or pattern from the Cricut Design Space or upload your own design for a truly personalised touch. We know your creativity is boundless.
- Fine-tune your design: Adjust the size and details of your pattern to fit your embroidery hoop perfectly. This means you don’t have to go out and get a new hoop for every design!
- Cut and trace: Let your Cricut do its magic and cut out the pattern on a stabilising material, ready for embroidery.
Examples of embroidery projects:
- Spice up your plain t-shirts with quirky embroidery motifs.
- Create stunning embroidered greeting cards for your loved ones.
- Add an elegant touch to your tablecloth with custom embroidered patterns. These make great gifts too!
Creating Stencils for Glass Etching
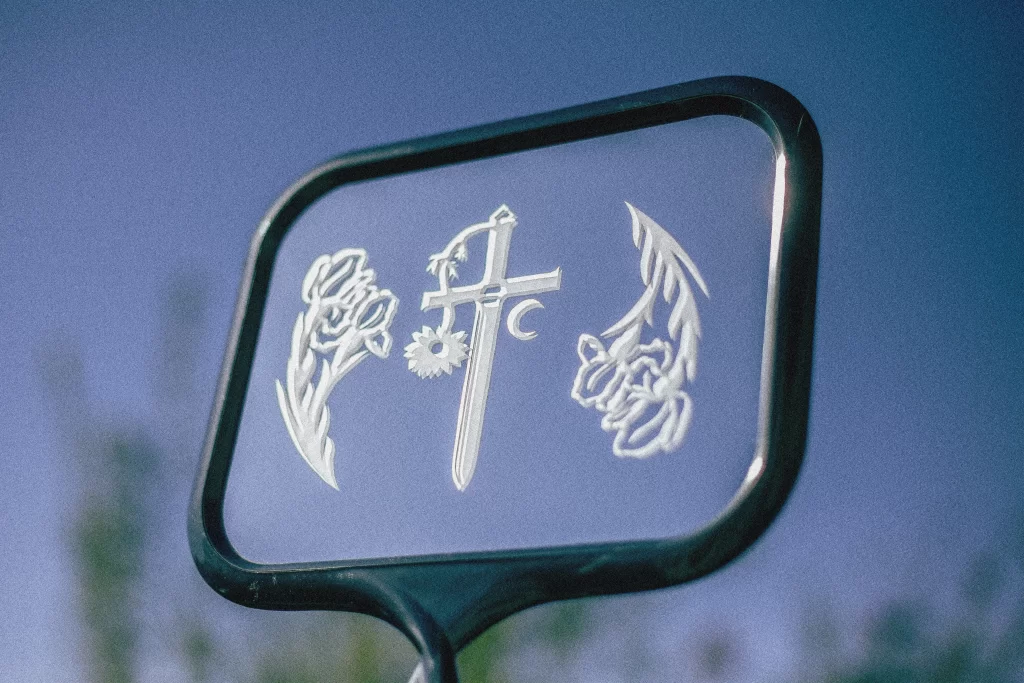
Ready to give your glass crafting a touch of sparkling sophistication? With your Cricut by your side, you can create stunning stencils for glass etching that will leave everyone in awe of your creativity. Plus, they’ll help you achieve precision in ways you just don’t get when you go free-hand.
Step-by-step guide to creating stencils and using them for glass etching:
- Pick your design: Choose a design from the vast library or create your own unique stencil pattern. Make sure it’s not TOO detailed, though – you want to keep the image looking legible and graphic on a transparent surface.
- Cut the stencil: Let your Cricut work its magic and cut the stencil out of a vinyl sheet.
- Apply the stencil: Carefully adhere the stencil to your glass surface, ensuring it’s smooth and secure. Air bubbles are the enemy here, so work as slowly and precisely as you can.
- Etch away: Apply etching cream to the exposed glass areas within the stencil, following the manufacturer’s instructions. Make sure you’re wearing the correct safety gear here, as the cream can be very abrasive!
Examples of etched glass projects:
- Personalise wine glasses for a memorable gift. This is great for weddings and engagements.
- Add intricate designs to your glass storage containers. If you’re going for a maximalist kitchen aesthetic, this is the way to go!
- Create custom glassware for a loved one. There’s nothing more thoughtful!
Making Leather Jewellery and Accessories
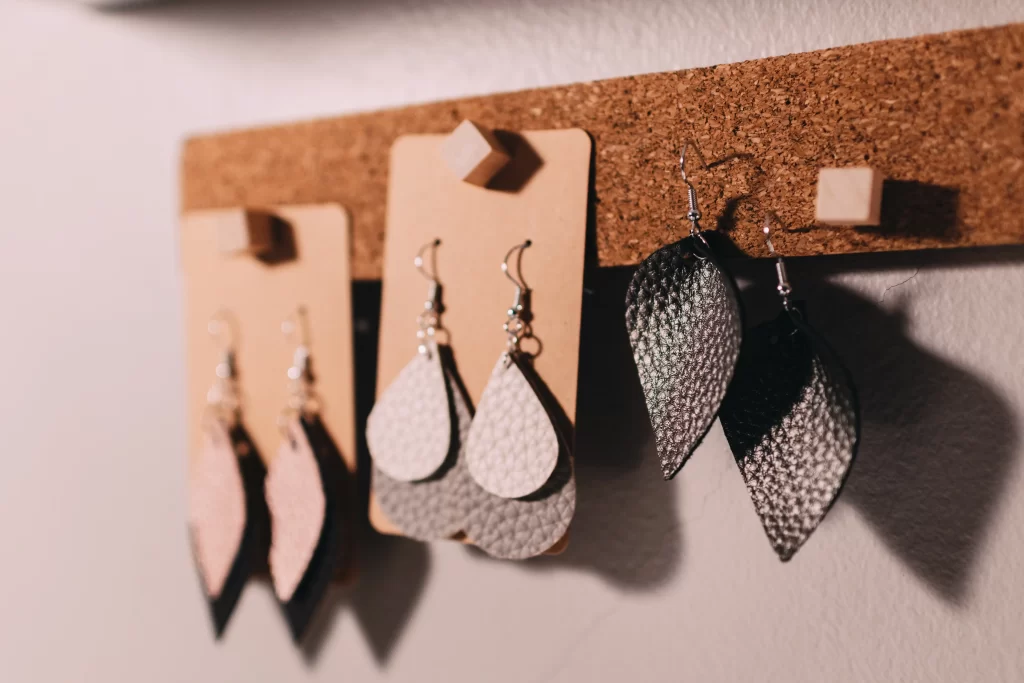
Forget about dingy workshops and unwieldy tools – with the help of your Cricut machine, leather crafting has never been more accessible! Your Cricut is about to transform how you approach making stylish jewellery and accessories with its precise cutting abilities. Alternative material jewellery is a huge trend in 2023, and we love the earthy, bohemian vibe of leather accessories.
Step-by-step guide to creating leather items:
- Select your design: Explore the vast array of Cricut patterns or upload your own unique designs for your leather creations. Think “fringe” and “bohemian.”
- Cut and assemble: Let your Cricut cut the leather pieces, then assemble them into your desired jewellery or accessory. You can sew, use chainwork, or a riveter. It all depends on your aesthetic.
- Add finishing touches: Personalise your leather items with embellishments, such as studs or beads, for an extra touch of flair. We love feathers, too!
Examples of leather jewellery and accessory projects:
- Craft your own leather bracelets with intricate designs. These make great “BFF” bracelets.
- Fashion elegant leather earrings for a touch of boho chic. The danglier, the better.
- Create personalised leather keychains for your loved ones. Add their name for extra thoughtfulness!
Printing and Cutting Stickers with Cricut

Who doesn’t love stickers? They can go on everything, from your scrapbook to your car bumper, and it makes for a convenient way to personalise every aspect of your life. With your Cricut, you can now print and cut custom stickers that reflect your personality and interests, and even leave your mark wherever you roam (with permission, of course).
Step-by-step guide to creating stickers:
- Design your sticker: Use Cricut Design Space to create or select your desired sticker design. You can even convert one of your already-existing physical artworks by scanning it onto your PC and converting it in Design Space.
- Print your design: Let your Cricut print the design on a sticker sheet.
- Cut it out: Watch in awe as your Cricut cuts the stickers precisely along the printed outlines. Go as big and bold or as dainty and delicate as your design requires.
Examples of sticker projects:
- Make adorable planner stickers to stay organised in style. Colour coding is key!
- Create custom stickers for your laptop, water bottles, and phone case. You can even add your name and number to help return lost items.
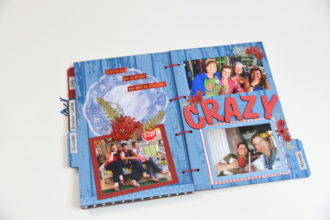
- Craft unique stickers for scrapbooking and journaling. Your pages will be the talk of the town!
Making Wall Decals with Cricut
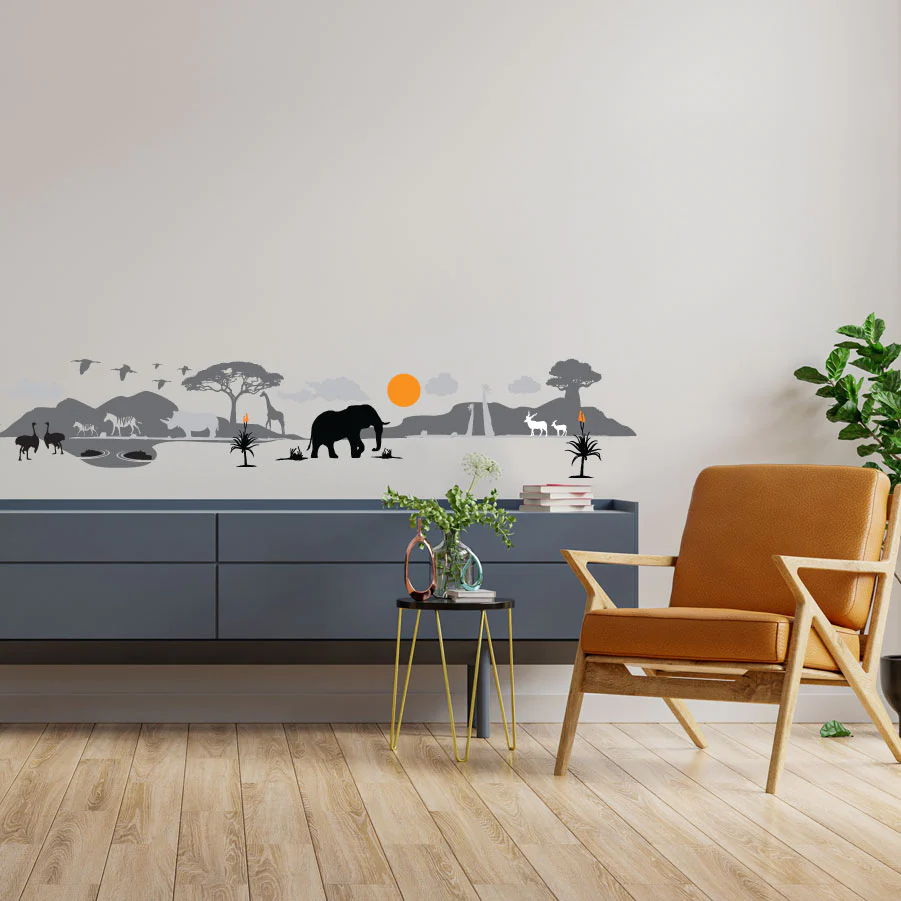
Ready to transform your living space into a personalised haven of “you-niqueness”? Wall decals are an excellent way to add a touch of creativity to your home, and your Cricut is here to lend a hand. No matter the style you’re aiming for, a tastefully created wall decal can take a room from “nice” to “out of this world.”
Step-by-step guide to creating wall decals:
- Choose your design: Browse through a plethora of wall decal designs on Cricut Design Space or create your own masterpiece. A great place to browse for cool vinyl wall decals is Pinterest.
- Cut and apply: Let your Cricut cut the decal on vinyl, and then transfer it to your wall with ease.
Examples of wall decal projects:
- Give your nursery a magical touch with whimsical wall decals. Bonus points if you customise the decal with your little one’s chosen name or initials!
- Create motivational quotes to inspire you daily. These are awesome to stick on your bathroom mirror or just above your front door for when you leave the house for the day.
- Add a touch of nature with delicate floral wall decals. Add these near a coat hook to make it look like your garments are “hanging” on a tree.
Let’s take Cricut crafting to a whole new level!
Congratulations, by reading this blog, you’ve unlocked the limitless possibilities of your Cricut machine! From custom embroidery patterns to elegant glass etching and chic leather accessories, there’s no end to the magic you can create.
So, gather your materials, put on your crafting hat, and let your imagination run wild. Still in need of a machine or a supply top-up? Just head down to your nearest PNA to get your hands on all the stock your heart desires.
To find your nearest PNA, simply check out our handy store locator. The Cricut is your ticket to crafting greatness, so don’t hold back—explore, experiment, and have fun! Happy crafting, PNA family!