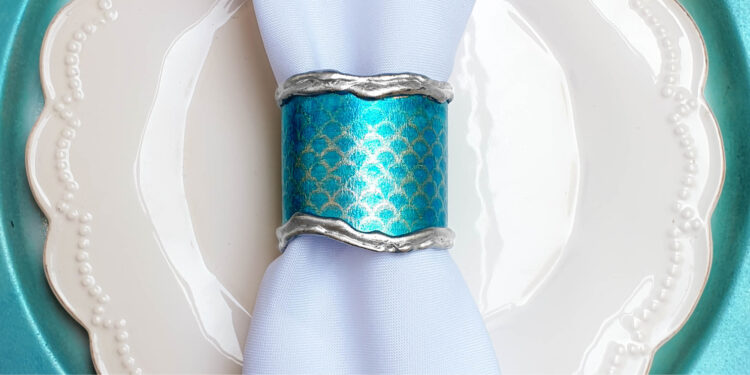
How to make mermaid-inspired serviette holders
For many years my little girl believed with all her heart that she was a mermaid. She’d spend hours in the water playing, twisting, turning, holding her breath, and just doing mermaidy things. She’s all grown up now and doesn’t play as much. She’s more into hosting fancy dinner parties and hanging out with her friends. She still loves mermaids, though, so these enchanting serviette holders are in honour of all the little (and big) girls who dare to dream.
What You Need
- A5 Prime Multimedia Pad – Medium Tooth 200 gsm
- Dala Metallic Silver
- Zeb Craft Pearlescent Blue
- Zeb Craft Pearlescent Green
- KCraft Glimmer Mist Blue
- Silk Screen Stencils – Herring Pattern
- Old credit card or flat paint applicator
- Glue Gun & Clear Glue Sticks
- Paint Brushes
- Paper kitchen towels
- Scissors
How To Make Mermaid Serviette Holders
- Grab a sheet of medium tooth paper and use a large flat wash brush to paint one side silver. Wait for the paint to dry before flipping the paper over.
- Dip your brush in water and apply it to a section on the clean side of the paper. Load the brush with pearlescent blue and wash it onto the wet area, working from left to right across the paper.
- Add more water and load the brush with pearlescent green. Again, working from left to right and back again, blending the green into the blue.
- Try to work quickly and in small sections. Acrylic paint dries very fast, but when you add water, it dries really quickly.
- Repeat until the entire sheet is covered.
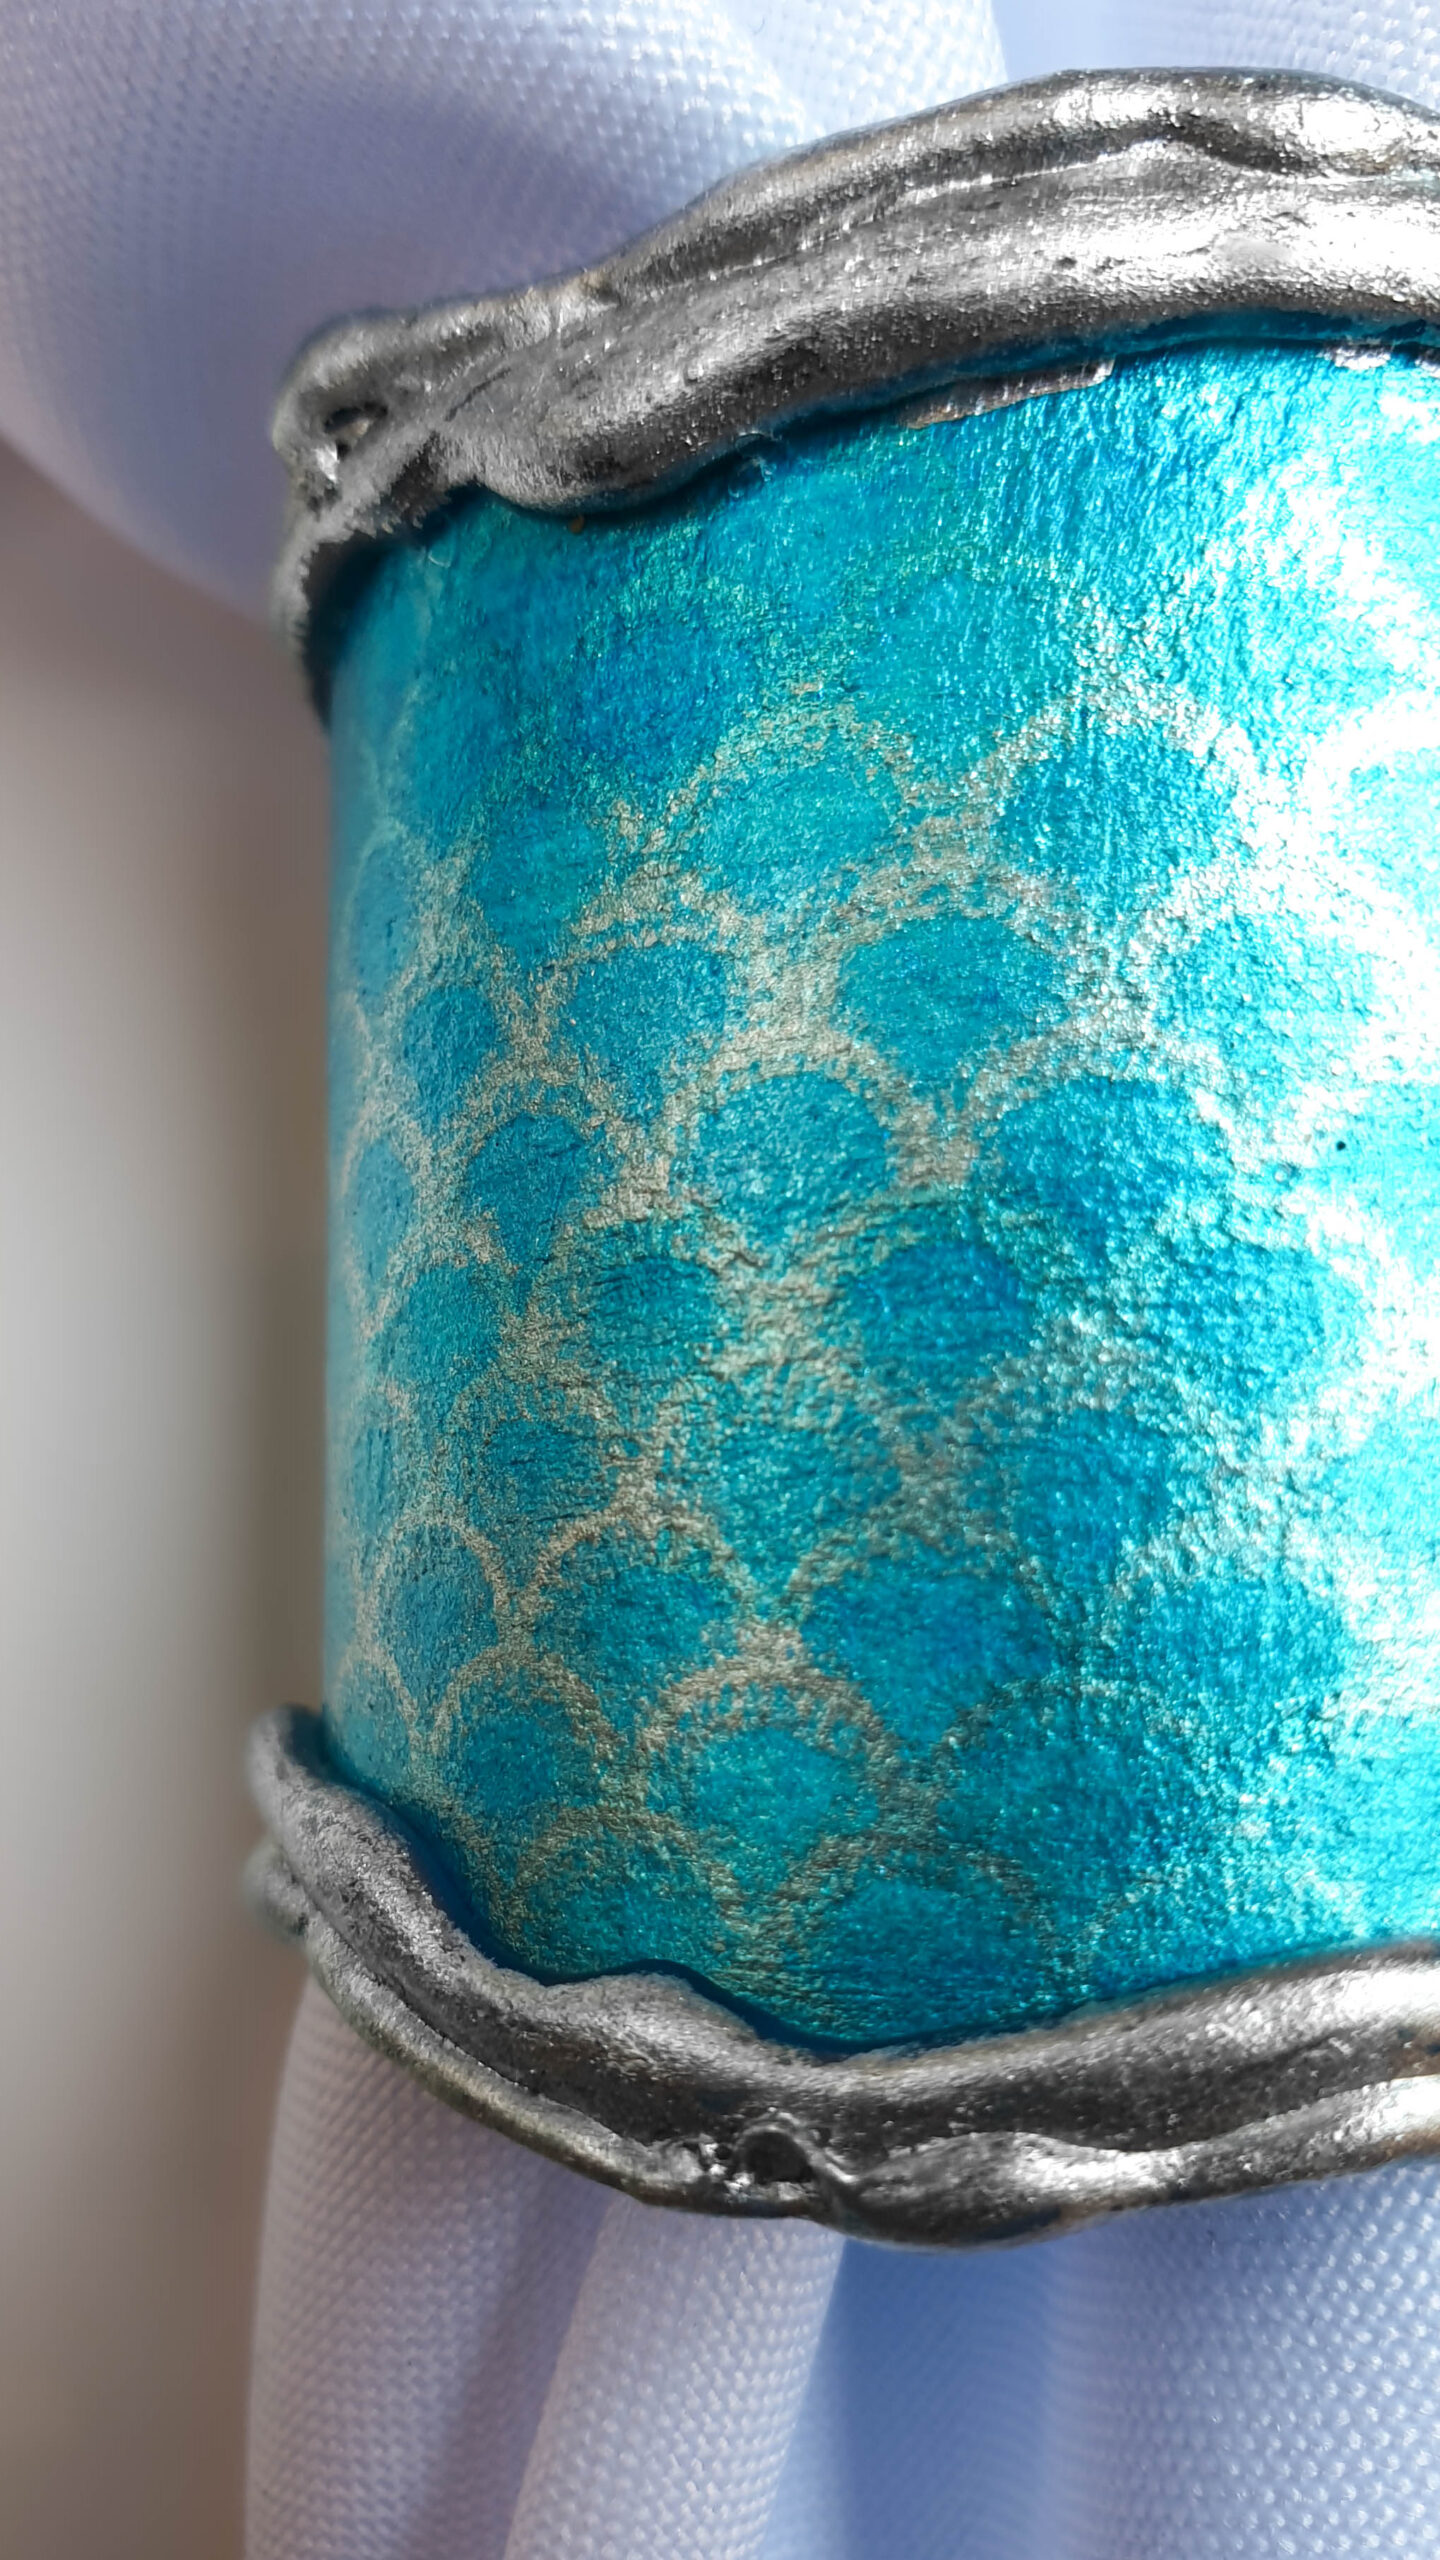
- Wait for the paint to dry before positioning your silk screen stencil in the middle of the paper.
- Pour a dollop of silver paint into a flat dish.
- Hold the stencil firmly in place, scoop silver paint onto an old credit card, and wipe the paint over the stencil at a 45-degree angle.
- Cover the entire pattern with a thin layer of paint before gently lifting up the stencil.
- Place the stencil down again and repeat until it feels as like the paint is drying on the stencil or until you’re done.
- Immediately rinse the stencil in cold water to avoid damaging it.
- Spritz on a little blue glimmer mist, dab, and blend with a kitchen towel.
- Cut the bedazzled, stencilled paper into 4-5 cm strips.
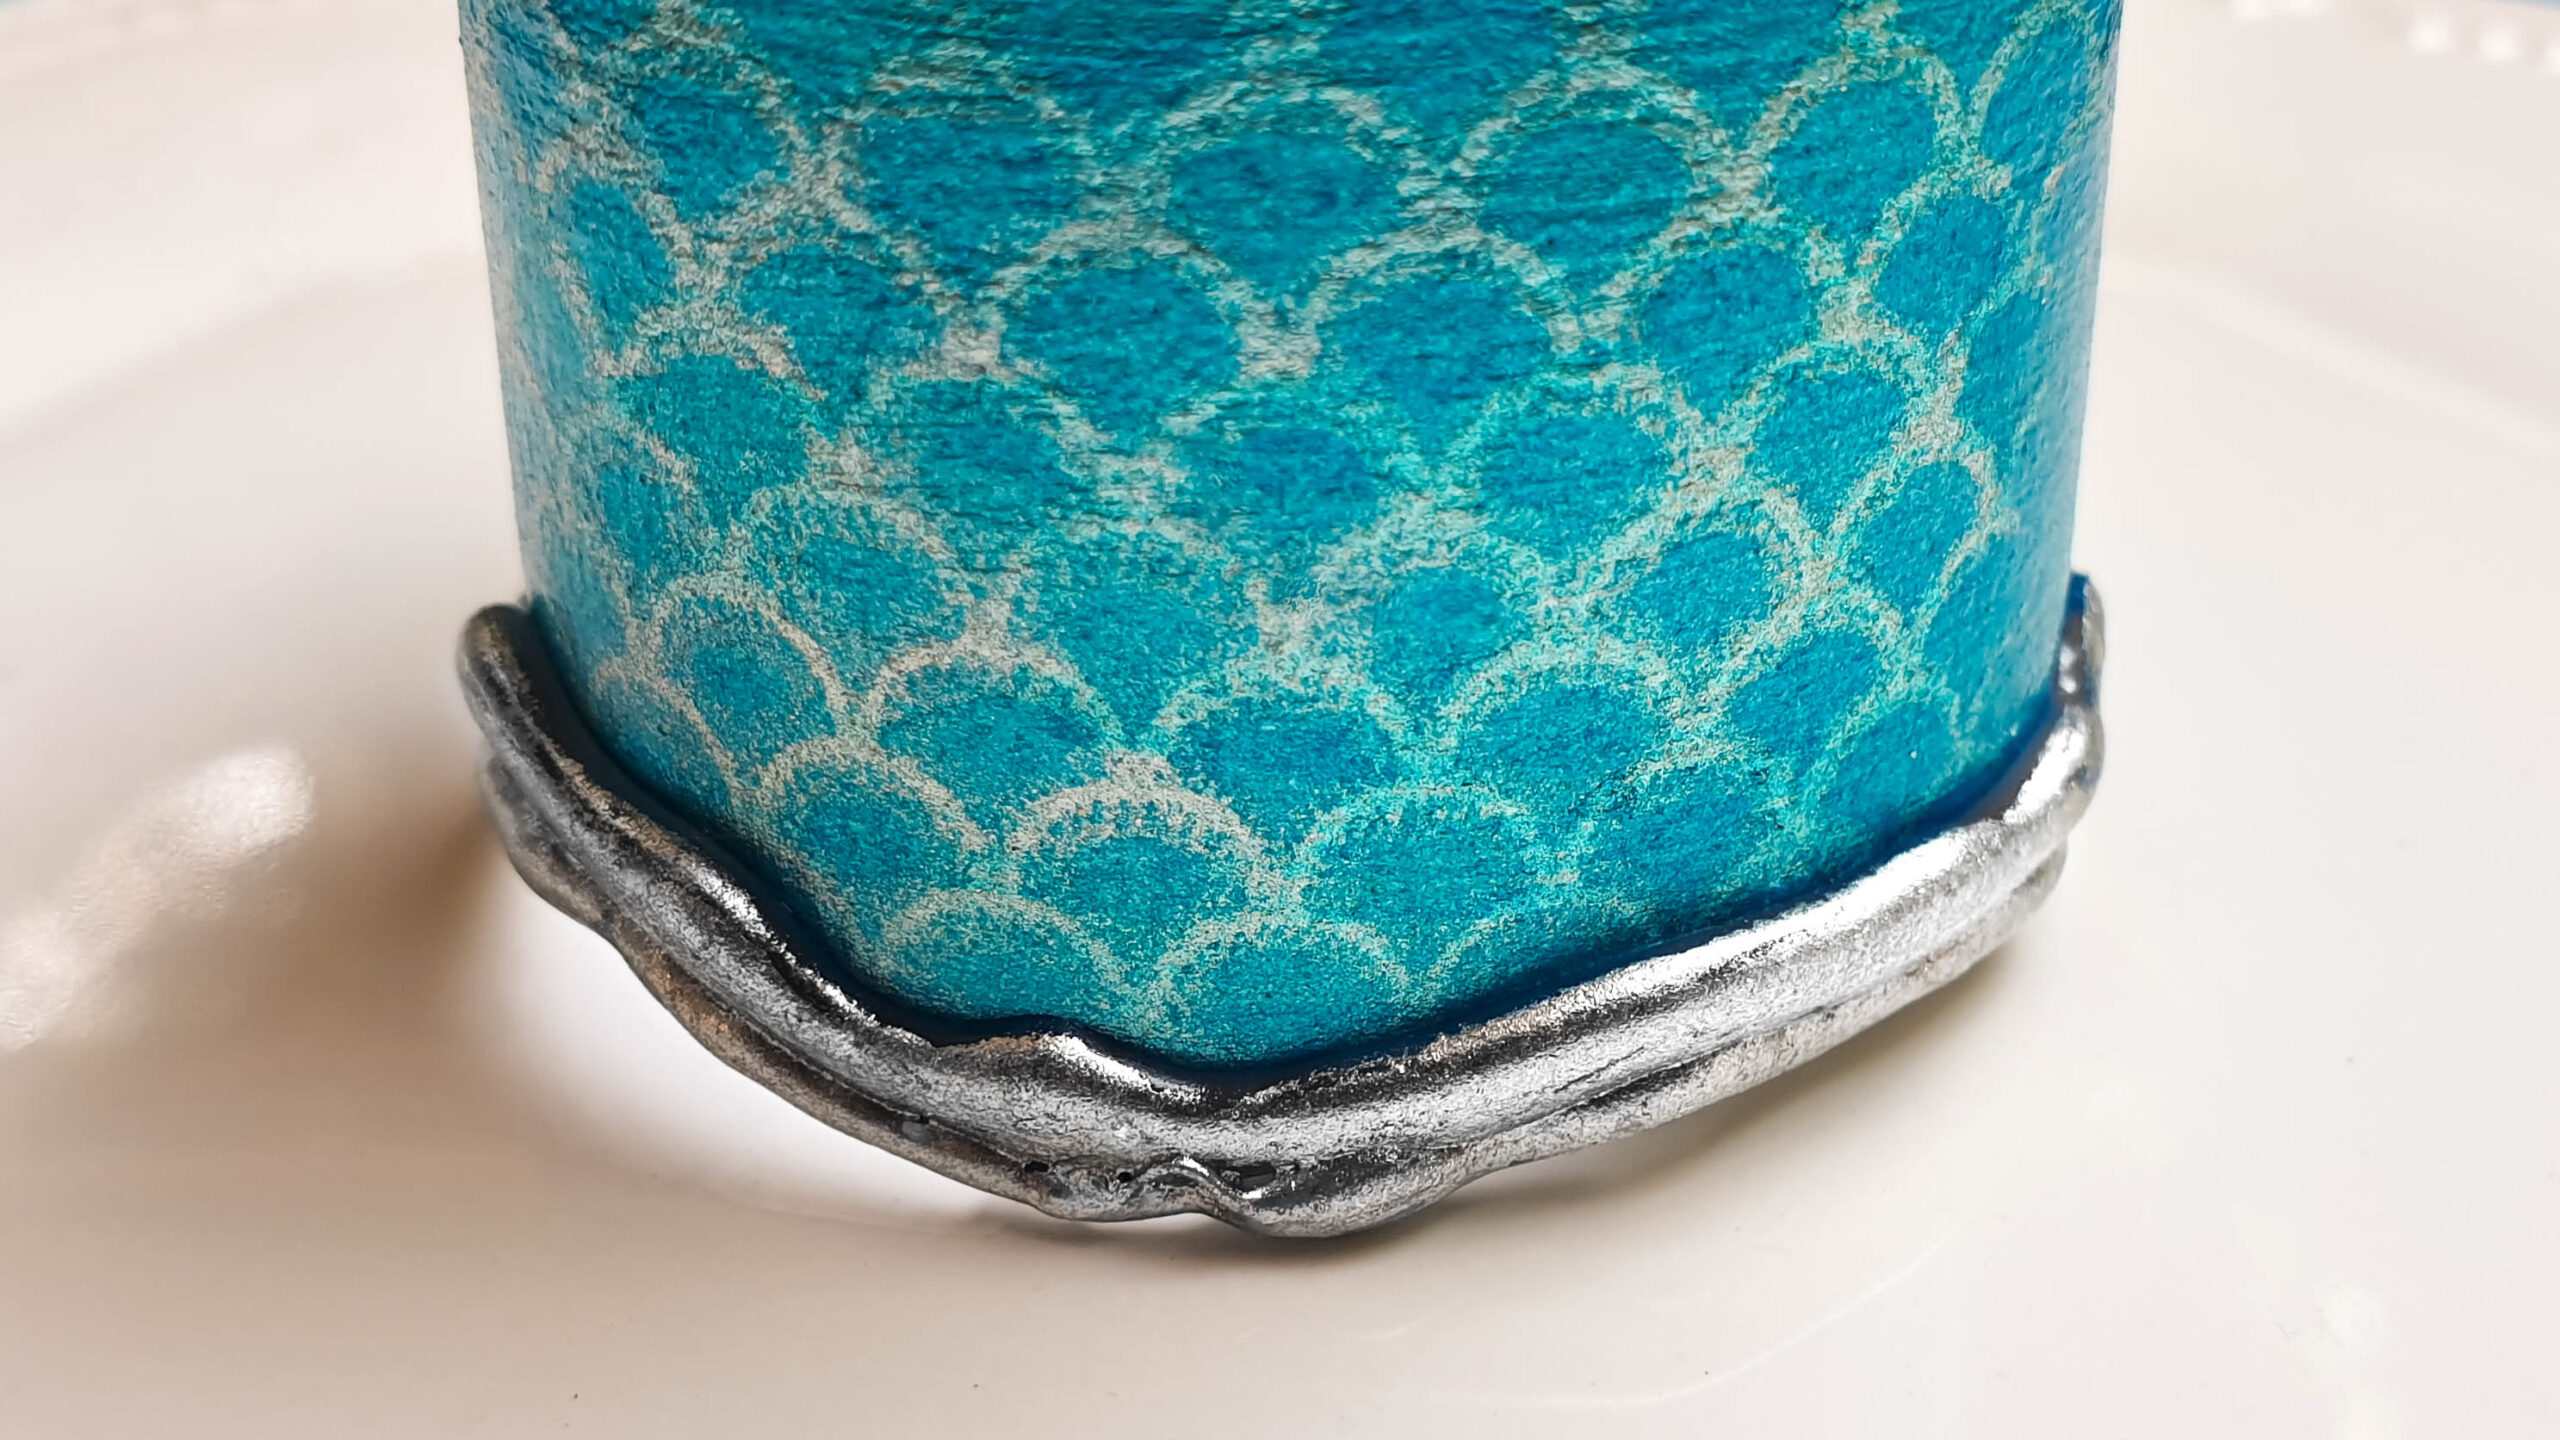
- Get that glue gun ready and glue the strips into a ring shape.
- Trim the outer ring edges into wiggly, waggly, curvy shapes.
- Use the glue gun to trace around the curvy edges with glue.
- Wait for the glue to dry completely before using a small flat brush to paint the curvy glue edges silver.
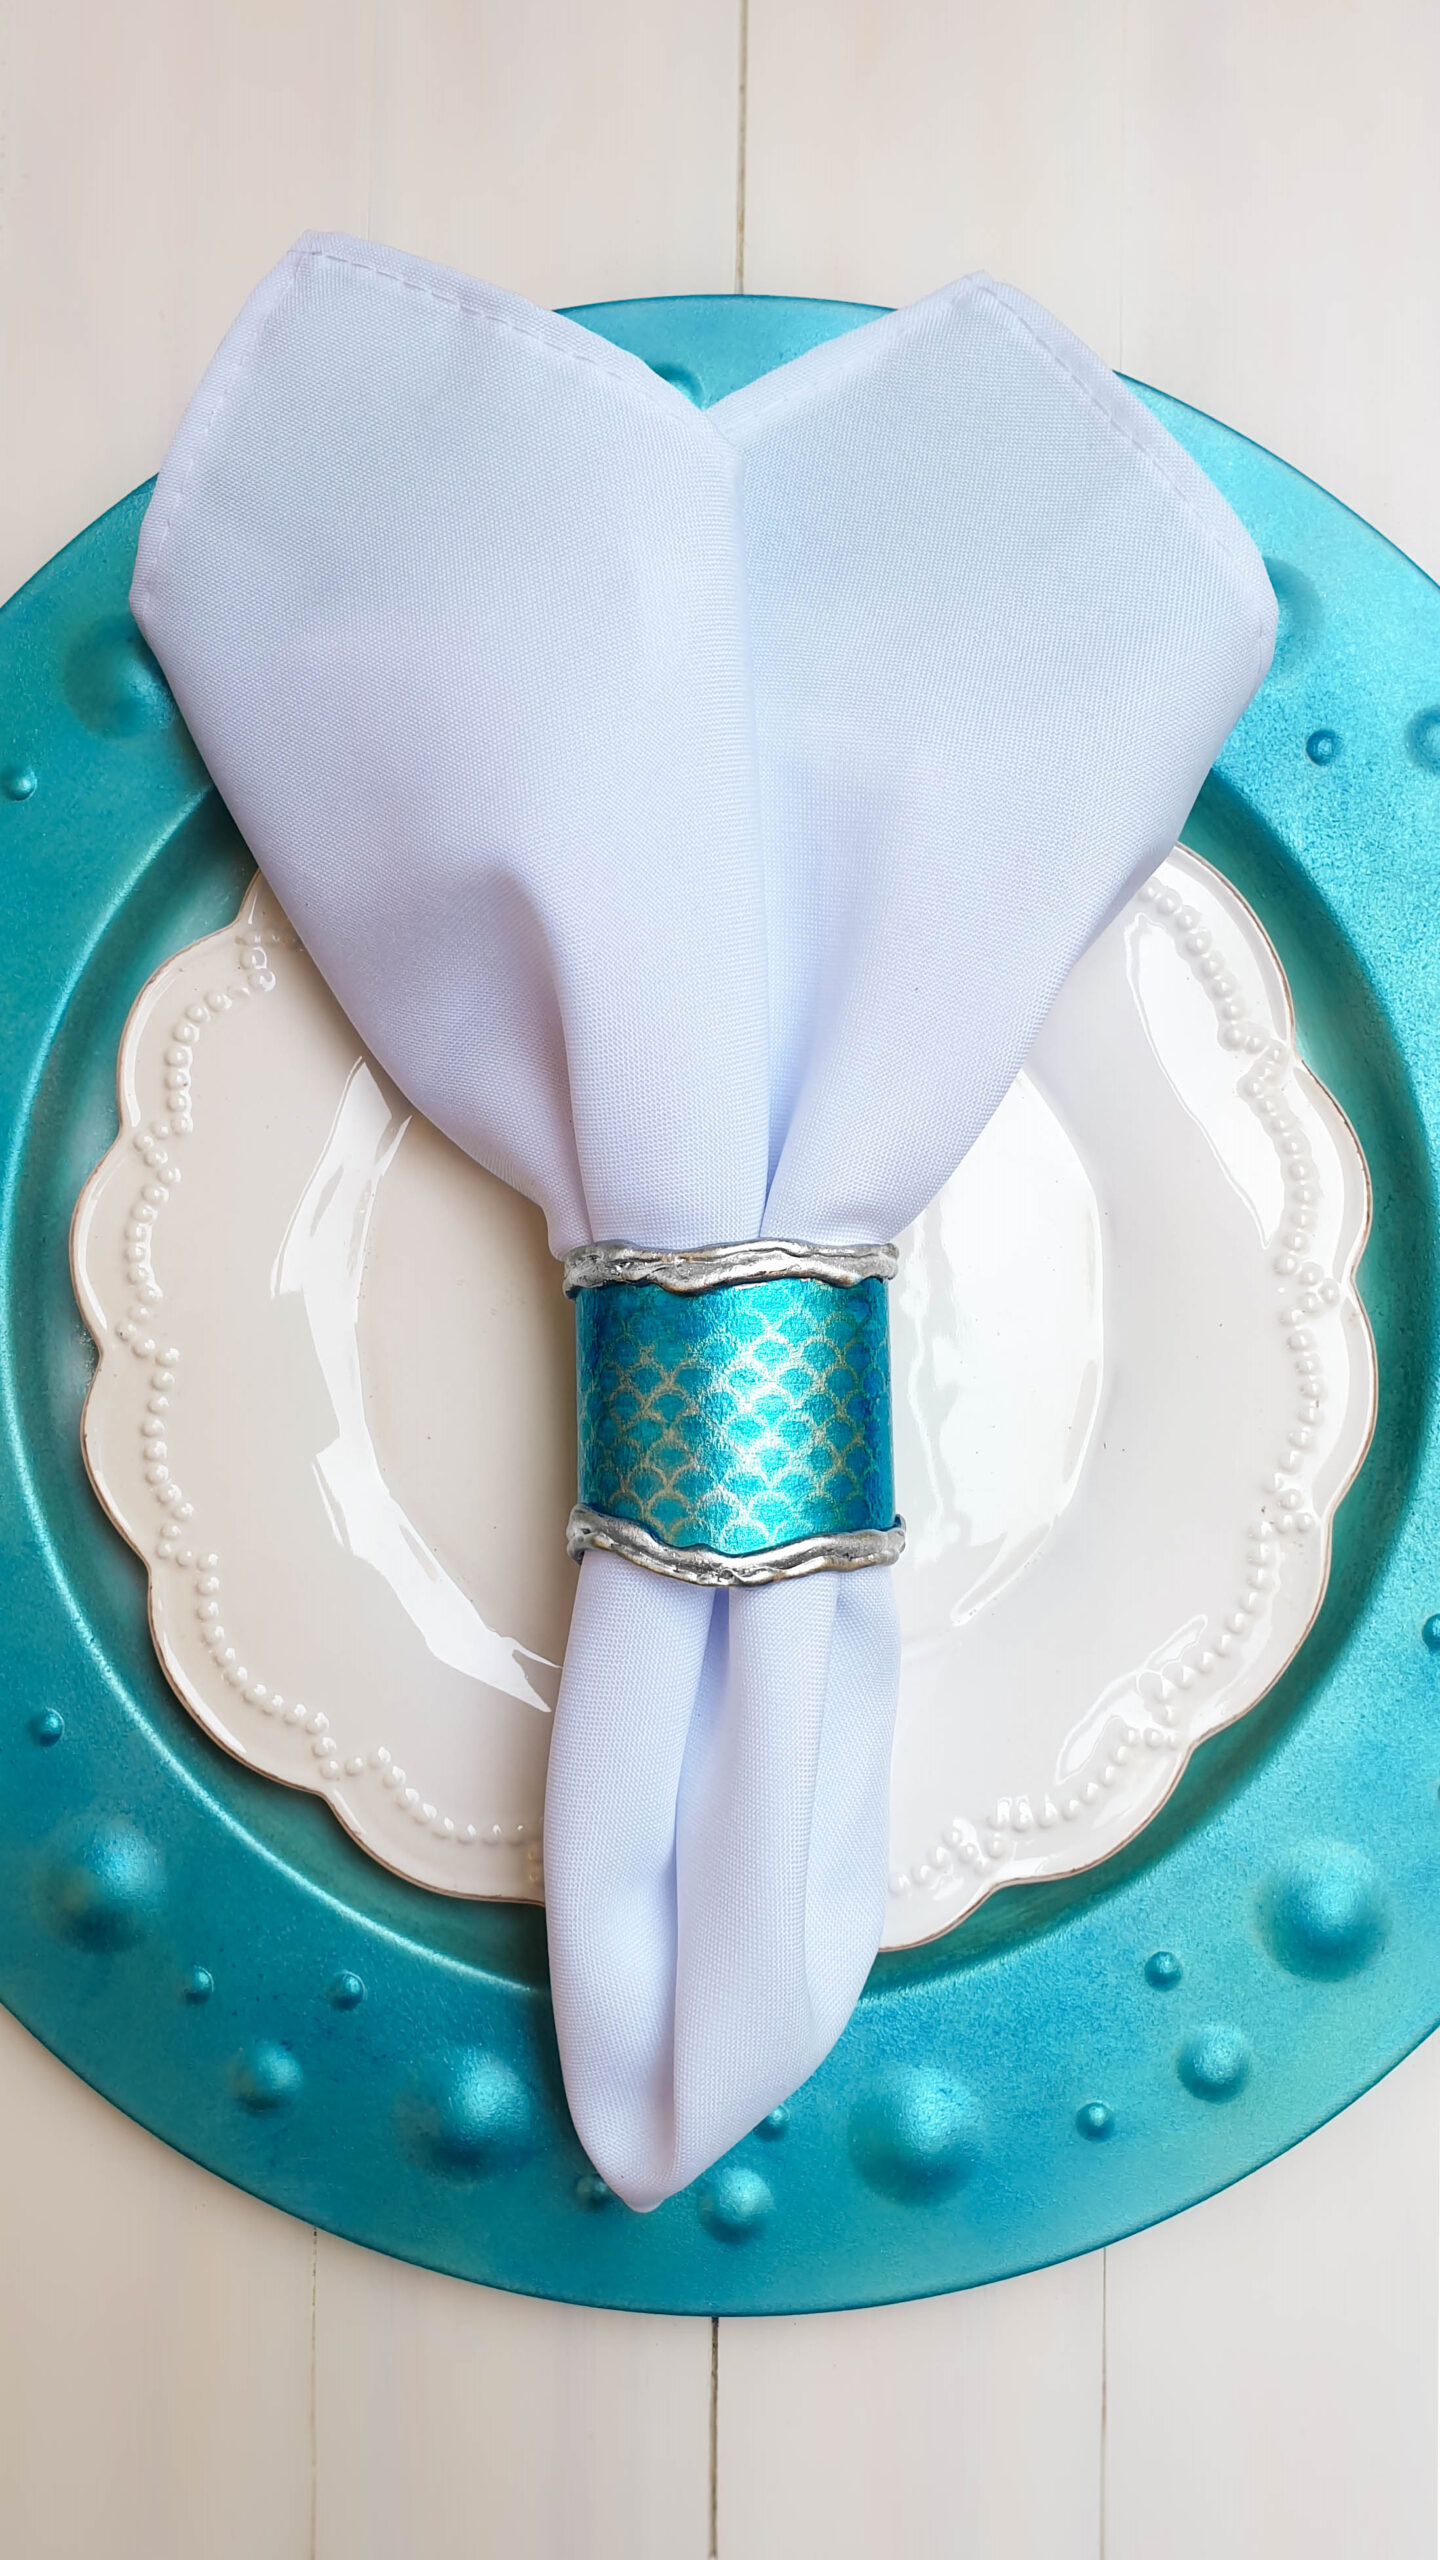
And that’s it. Pop a serviette inside the mermaid-inspire rings, and you’re done.
Have fun and happy crafting.
Michelle lives in Centurion and runs one of the world’s top DIY and craft blogs. Her favourite crafts are those that breathe new life into throw-away stuff. She loves experimenting and dancing with fairies. If she could hold her breath long enough, she’d dance with the mermaids too. She’s passionate about helping people find inspiration in everyday things and rediscover their creativity.