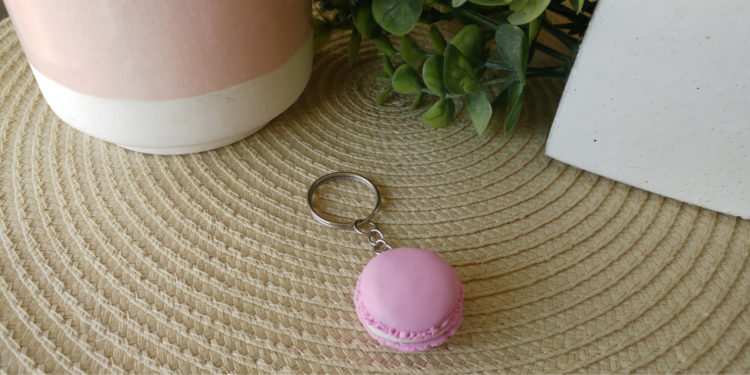
Polymer Clay Macaron Tutorial – By Tracey Van Der Schyff
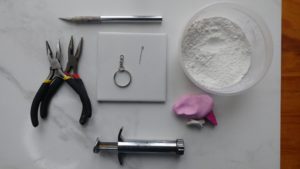
Materials:
- Polymer clay in white and any other colour.
- A needle tool (a normal sewing needle will do!)
- Eye pin
- Pliers
- Keyring
- Oven
- Tile (to sculpt and bake on – optional)
- Clay extruder (optional)
Steps:
Step 1: Mix and condition white clay and whatever colour you’d like your macaron to be. Keep some white clay aside for the filling.
Step 2: Break off 2 evenly sized balls of clay.
Step 3: Flatten the clay on your tile or working surface.
Step 4: Use a clay extruder to push out a thin string on clay. Alternatively, roll the coloured clay into a very thin snake shape.
Step 5: Wind the thin shape around the clay dome.
Step 6: Use the needle tool to give texture to the clay wrapped around each dome.
Step 7: To get rid of fingerprints and smooth out the clay dome before baking, use some corn starch and gently rub the clay.
Step 8: Bake at about 110°C for 30 minutes (depending on which brand of clay you are using).
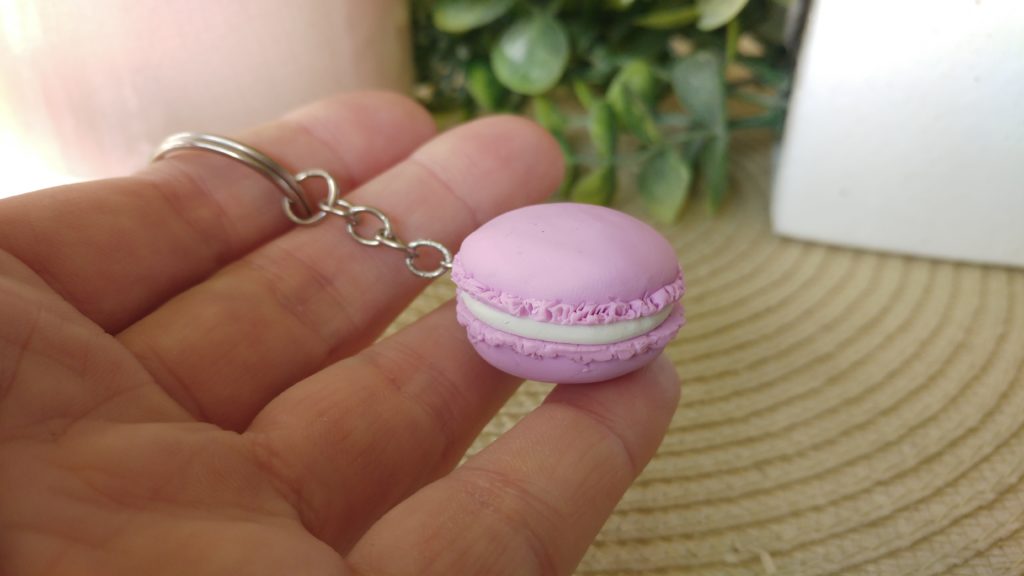
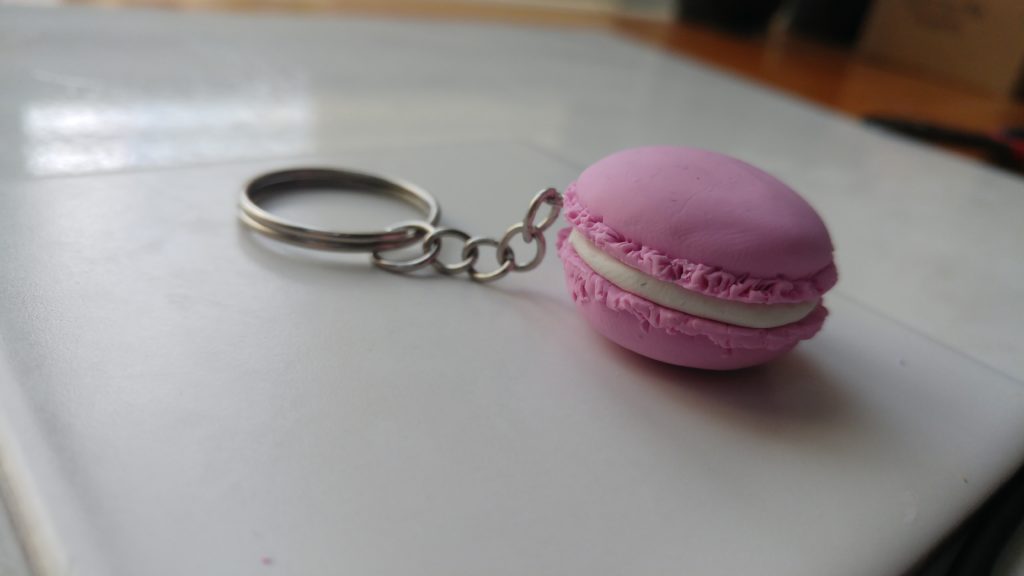
Step 9: Allow to cool, then use a small ball of white clay to create the filling. Insert an eye pin into the filling, squeeze the two halves of the macaron together and attach the keyring chain using the pliers (this can be done before or after baking for the second time).
Step 10: Bake again.
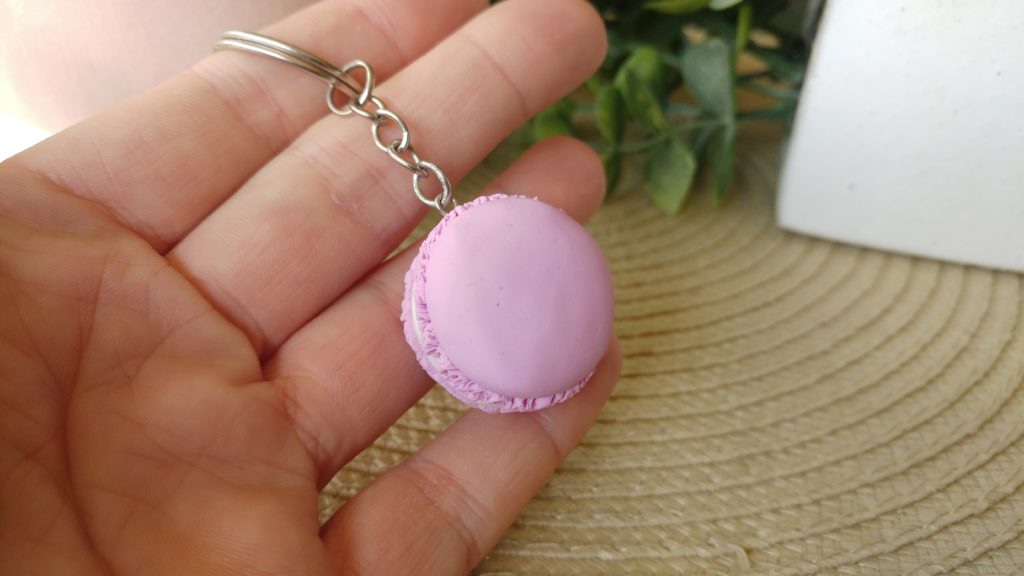
Step 11: Allow to cool. Attach to your keys. 😊
Instagram: www.instagram.com/50shadesofclaysa/
Shop online: https://hellopretty.co.za/50-shades-of-clay