Easter Scrapbooking: Capture What Takes Your Breath Away!
Easter weekend is around the corner from 15 to 18 April 2022, and we’re certain that many people are planning a trip away with family and friends. It’s also a season of rebirth and change… A lot has happened over the last two years, and with everything happening in the world at the moment, yet again, we can’t be sure what tomorrow holds – life remains uncertain.
We want to encourage you to embrace it, laugh, live, and, most importantly, take those snapshots no matter where you’re going or what you’re doing. We also want to encourage you to consider scrapbooking (as a beginner or again), and yes, it’s still popular. Maybe not as much as in the 2000s, but many people still love to scrapbook.
It remains a fantastic way to highlight your favourite memories with context because you can ‘record’ every detail of that specific memory – from the till slip to the WhatsApp message. You just have to let your creativity out of the box!
Let’s Get Started Again!
- Choose a topic: If you’re thinking of starting again using the photos of your Easter breakaway, that’ll probably be your topic – Easter or perhaps the destination where you overstayed. Your topic will help you tell a story, and selecting what to include will become much You can either include the funniest moments or family moments where you were so lucky to capture your family members all in one photo without them having to pose all the time.
- Choose your album: Visit your nearest PNA store to find your perfect scrapbook album size. The most popular sizes are 12”x12” and 8.5”x11″, but the choice is yours. You don’t have to stick to these; you can go smaller too. Instead of having one big album with different memories, you could also have mini albums for each topic memory.
- Choose your snaps: Don’t choose all the photos – only those that stand out most. Here’s how to pick them out – look for the ones with good light and focus (not blurry) and those with more than just smiles. Tip: When printing these photos, choose a matte finish to avoid fingerprints when handling them.
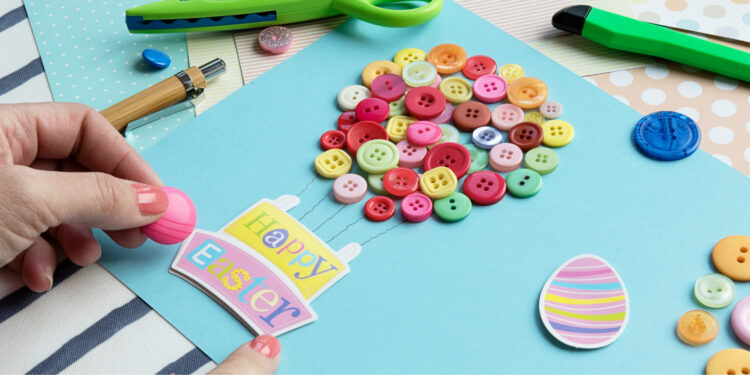
- Choose your layout: Every step before this has been relatively simple, right? So, where do we even start with the layout here? First of all, determine your focal point – what do you want people to see first? Choose a layout that’ll emphasise it if it’s a specific photo. Also, don’t feel bad for cutting photos to fit into a particular position – here, the layout is your playground!
Tip: Visit your nearest PNA store first before deciding on the chosen layout. You’ll get a better idea of what you want to do with the scrapbooking accessories you have. If you’ve done that, then you can visit Page Maps to help you map out your layout.
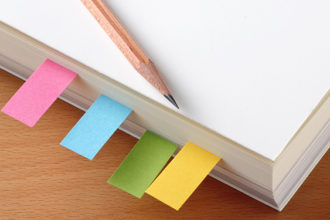
- Basic supplies: Don’t get too overwhelmed with everything in-store and just start purchasing everything you see. Keep your topic in mind, and stick to a colour scheme. Here are some basic supplies you’ll definitely want to get:
- Patterned paper and/or card stock
- Acid-Free adhesive (tape runner and/or liquid)
- Minimal embellishments and/or stickers
- Paper trimmer and/or sharp scissors
- Page protectors/album
‘Life is not measured by the number of breaths we take, but by the moments that take our breath away.’ – Anonymous
Happy scrapbooking PNA stationers, creators and innovators!