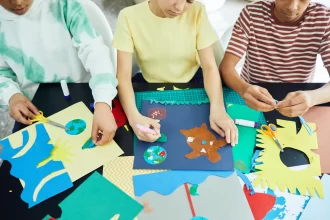
Texturizing on Plastic/Ceramics/Metal with Sonette Haggie
Materials:
- Plastic/Ceramic/Metal Plant Container
- Modelling Paste, e.g., Reeves
- Ice Cream Stick /Tong Depressor
- Kebab Stick, Fork & Anything that you can draw patterns with
- Craft Acrylic/Chalk Paint (at least two colours that are contrasting) – I used Dala’s Craft Acrylic Paint
- Paintbrushes
- Water container
- Damp Cloth
- Wet-Wipes optional if you have a Damp Cloth
- Water-based Sealant
- Sanding Paper – the grittier, the better. I used 100grit
- Hairdryer is optional – but ideal for rainy/wintery days
Steps:
Step 1: Clean the container if previously used. Then roughly sand everywhere you are going to decorate and wipe the container with a clean cloth.
Step 2: Apply a layer of sealant roughly over areas you are going to decorate and let it stand to dry. Steps 1 and 2 just help the paint adhere better to the container later.
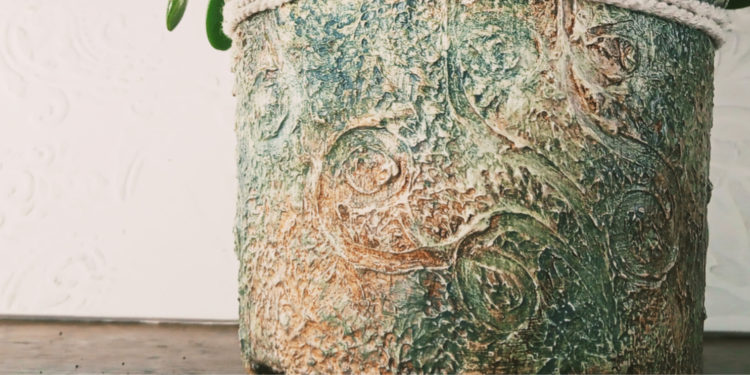
Step 3: Apply modelling paste over the item – there are various options – you can either build with the paste or scratch in its patterns or designs. The trick is – the more variations in texture you have – the more beautiful it will look.
Step 4: Make sure your modelling paste is 100% dry before you continue.
Step 5: Paint a minimum of 2 layers of craft acrylic/chalk paint on your project. Get into the nooks and crannies – none of the backgrounds should show through.
Step 6: Let each layer dry before you continue. If need be, you can add a third layer.
Step 7: Let the paint thoroughly dry – if possible, wait a day for the best results.
Step 8: Use a contrasting colour of paint and apply it in small sections onto your container, working it into the nooks and crannies. Do not let this dry, and have your wet wipes and damp cloth ready.
Step 9: Once you have applied a small section of paint, take your wet-wipe or damp cloth and dab on the edges FIRST– you do not want a harsh line to form on the sides where you need to continue after.
Step 10: Depending on the paint and how quickly you work, if you worked slowly, you can immediately start wiping – but if you worked fast – give it about 30 seconds to settle before you start.
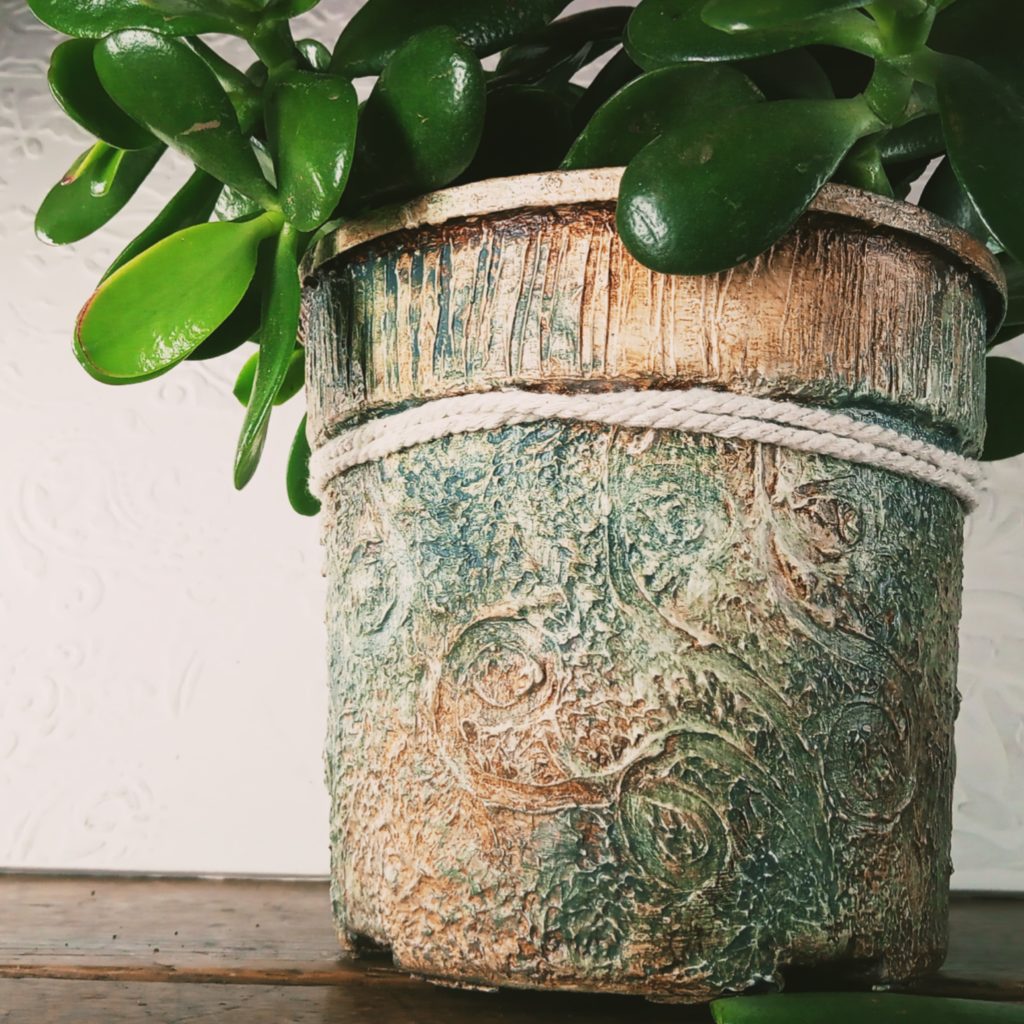
Step 11: Then, start dabbing and wiping away the excess paint so that the background colour comes through, and the second colour paint is now lying in the crevasses of the textures you created.
Step 12: If you wiped away too much – you can always go back and do it again. But first, move onto the next section repeating steps 8 to 10.
Step 13: For fun, you can add another colour, as seen in the video.
Step 14: Once it is finished – let it dry thoroughly – preferably a day if possible.
Step 15: Apply two to three thin layers of the water-based sealant, wherever you decorated, allowing each layer to dry before adding the next.
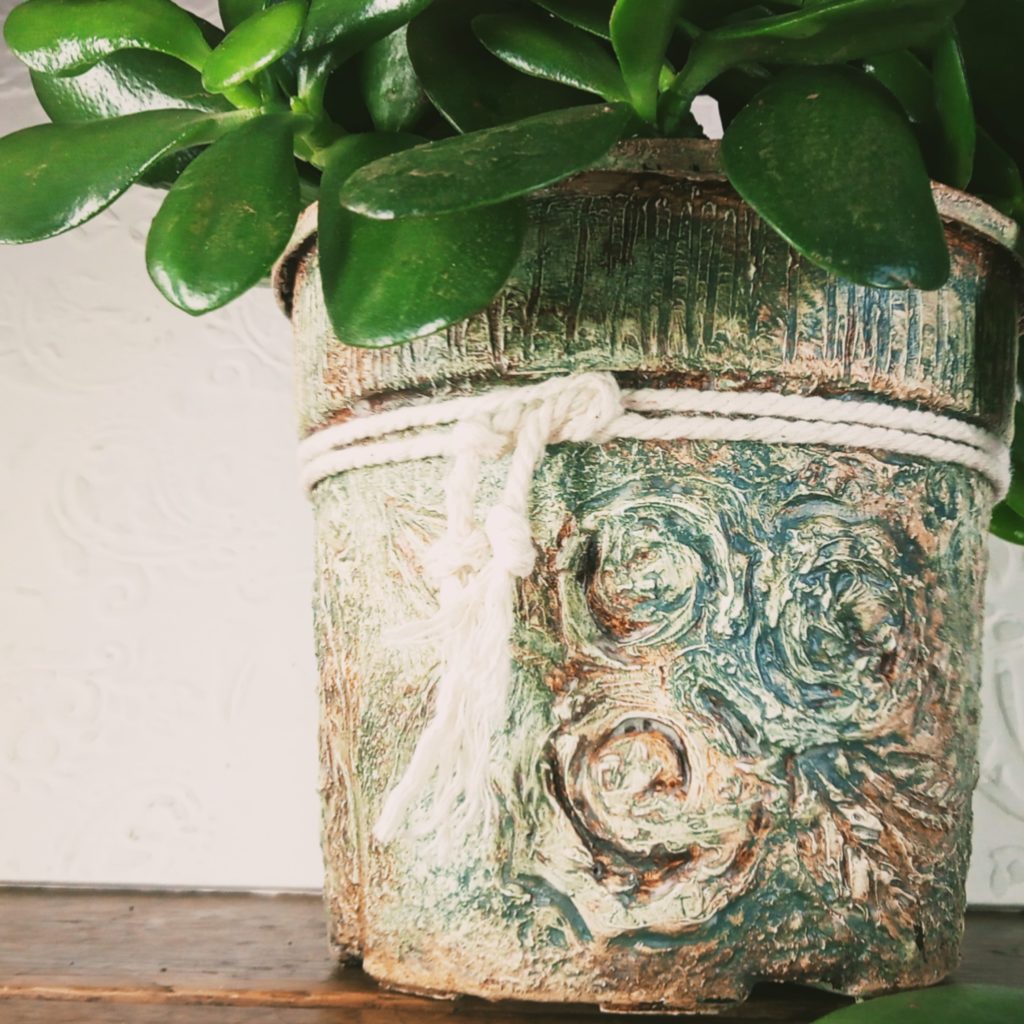
Step 16: Once completely dry – you can use it as a container for anything. You can add ribbons etc. It is a great home decorator and an excellent gift.
Have fun!

Sonette Haggie’s KWIRKI CRAFTS
+27 83 645 5408
Instagram: @kwirkicrafts
Facebook: https://www.facebook.com/kwirki/