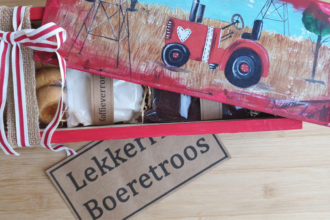
DIY GIFT FOR HER – Step-by-Step by Veronika Olivier
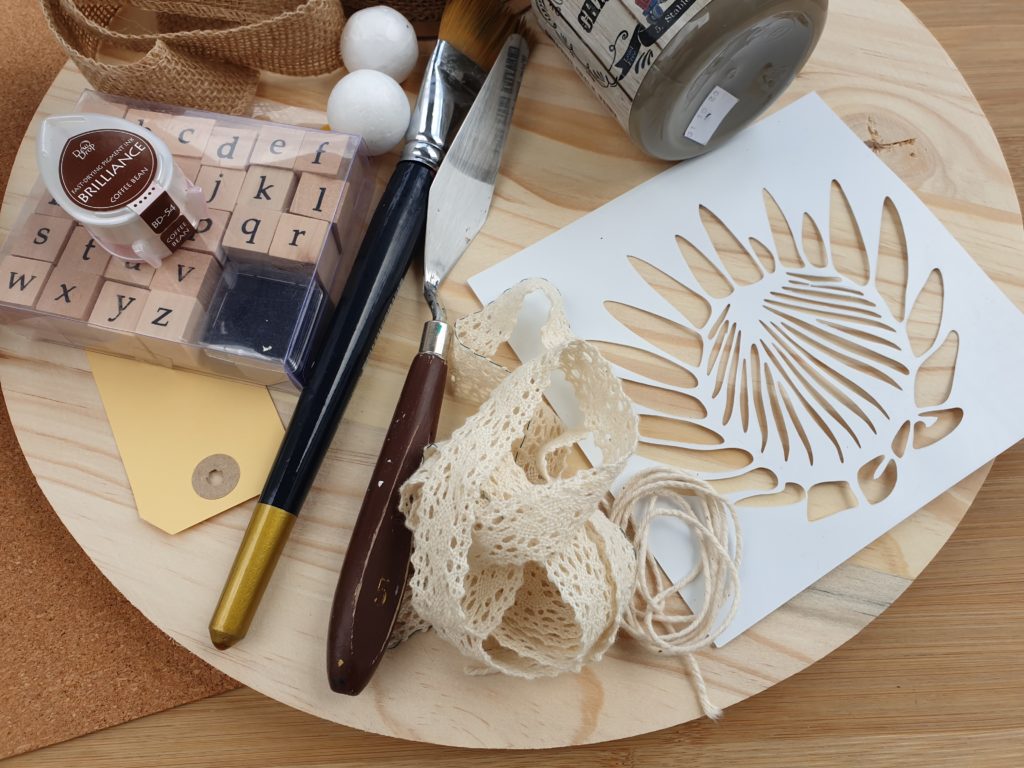
Supplies:
- 35cm Pinewood Board
- 1 A4 Sheet Cork
- Protea Stencil
- Acrylic Smooth Texture Paste
- Satin Finish Spray Sealer
- 2m Natural Jute Ribbon 35mm wide
- 80cm Crochet Cotton Ribbon
- 30cm Office Twine
- 1 Number 2 Buff Manila Tag
- 1 Coffee Bean Ink Stamp
- Stamp Set
- No 32 Golden Taklon Paint Brush
- Medium Palette Knife
- 100ml Stable Colour Chalk Paint
- 2 Polly Balls 3cm
Tools required:
- Heat Gun for fast drying (optional)
- Glue Gun
- Mouse Sander (optional)
- Sanding Paper 180 grit
Step 1:
Paint both sides of the board with Stable colour chalk paint. Allow drying completely before sanding.
Paint both Poly Balls the same colour and allow to dry.
Step 2:
Use a mouse sander (or hand) for sanding the chalk paint lightly until you can barely see the grain lines of the paint. Sand the first layer in the opposite direction of the grain line. Sand the second time with the grain lines of the wood.
Step 3:
Wipe with a wet wipe or damp cloth. Repeat on the reverse side. This gives you a natural grey wood look.
Step 4:
Sand the edge of the board holding the sander or sanding paper at an angle to smooth out the edge.
Step 5:
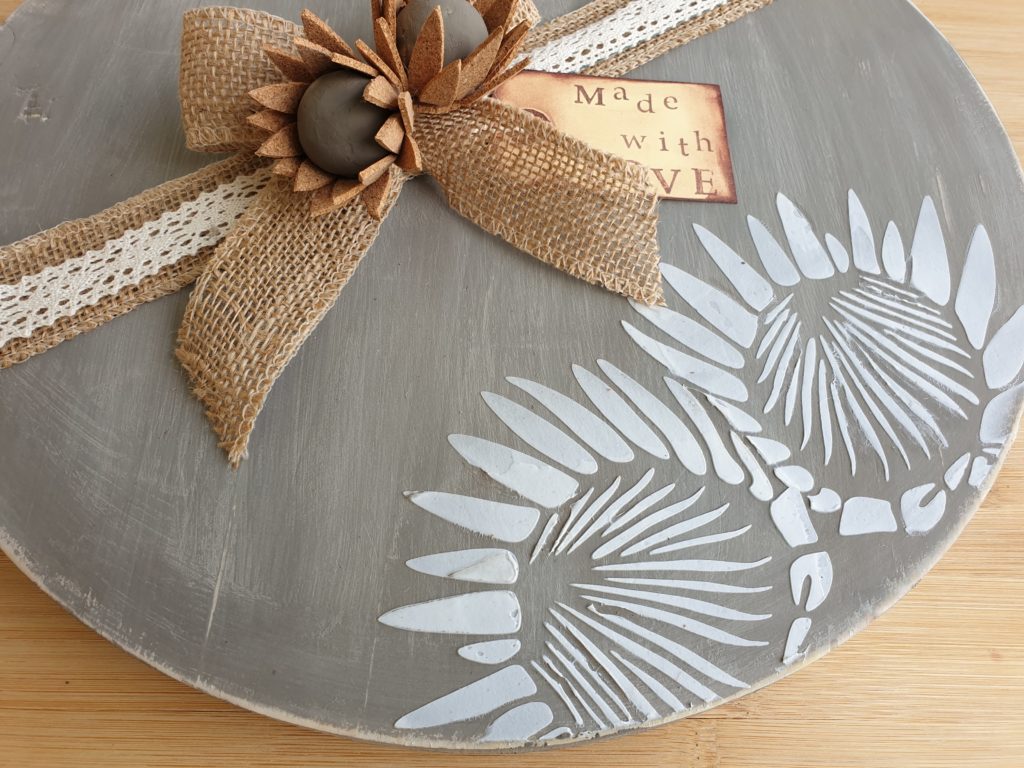
Position your stencil where you would like it and allow it to go over the edge. To stencil two flowers, make sure you have the position right.
Load the palette knife with enough texture paste to cover the stencil with one or two smooth strokes to prevent the paste from running in below the stencil. Hold the stencil down with the other hand so it won’t move. Texture paste dries very hard, so make sure to clean any excess immediately. Also, clean your stencil right after every use.
NOTE: A heat gun is very handy to speed up drying times of paints but do not use it on the texture paste. Texture paste contains glue-like substances that will melt if too much heat is applied.
Whilst the texture paste dries, we can make cork flowers to use as decoration to present this gift.
Step 6:
Cut 2 – 3 strips of 3cm from the cork sheet. Cut random flower petals. You do not need to measure or draw petals.
Step 7:
With a glue gun attached petals one by one ¼ from the bottom. Remember to put the glue on the cork and not the polystyrene. Glue the first row all the way around.
Step 8:
Glue the second-row petals 5mm below the first row, allowing each petal to overlap two of the first row petals. Continue all the way around.
Step 9:
Cut a small circle from the cork and glue to the bottom to finish it off. Keep it to the side for later use.
Step 10:
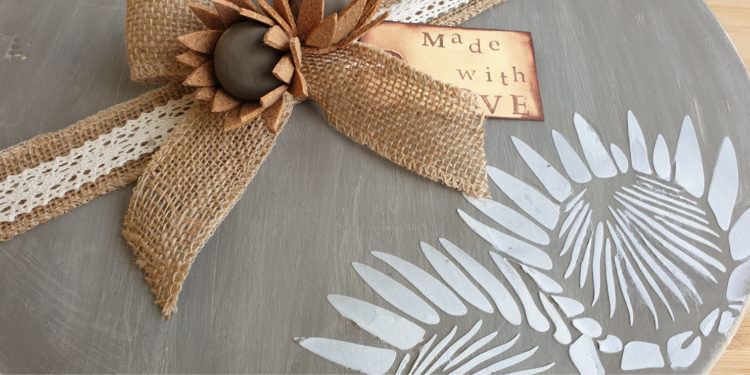
When the first texture paste flower is dry, position the stencil to overlap the flower a little bit. Use the flip side of the stencil this time to create the illusion that it is two different flowers. You can also use more than one stencil pattern. Repeat step 5. Clean up the excess paste with a fine paintbrush.
Step 11:
Choose the word you want to use on the label and stamp randomly using the ink pad. Brush the ink pad around the edges of the label to finish it off. Tie the office string through the hole to make a tag.
Step 12:
Spray both sides of the board with a Satin or Matt Finish spray sealer and allow to dry.
Step 13:
To present this as a gift tie Jute Ribbon around the middle and secure with a glue gun. Make a bow and attach with the glue gun. Position the two flowers and glue.
Optional: Attach crochet ribbon over the jute ribbon and secure with a glue gun.
Step 14:
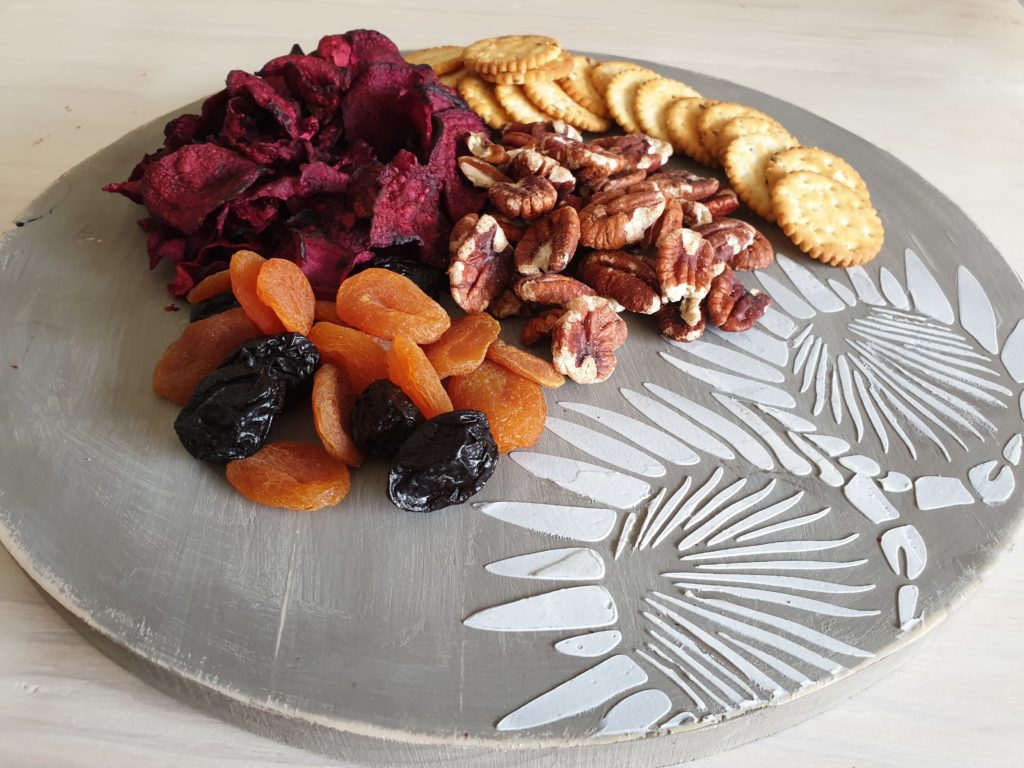
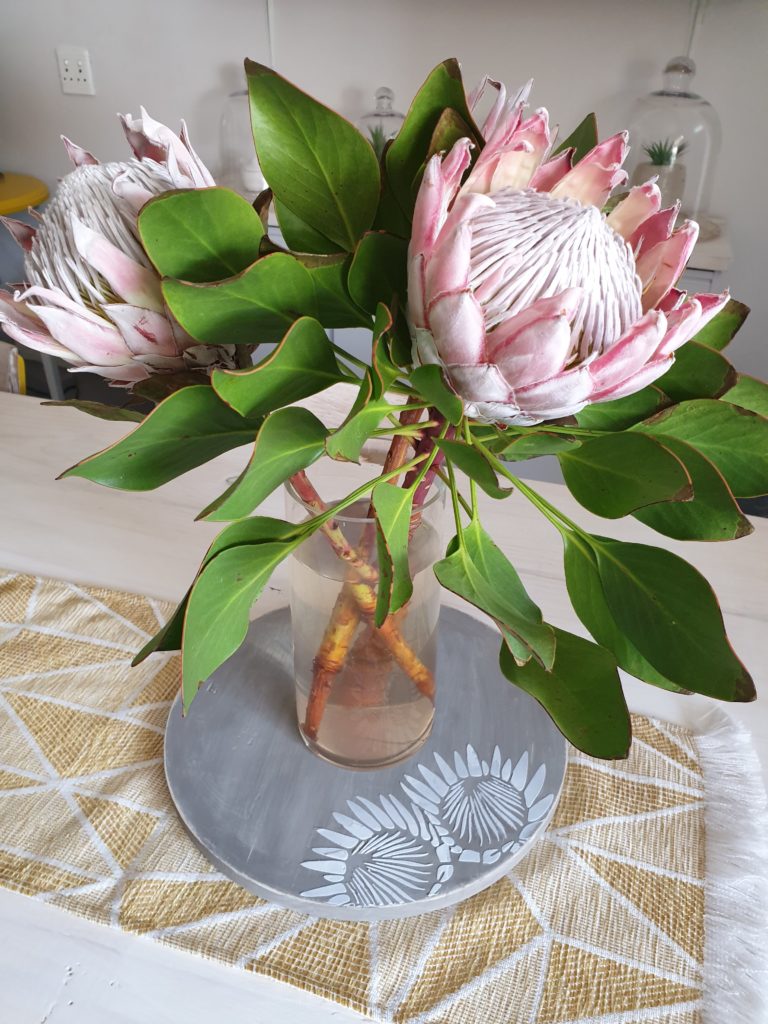
Attach your label to the gift and voila! The perfect multi-functional gift for her.
Follow Veronika on:
Facebook: @VeronikaOlivierArt
Instagram: @veronikaolivierart