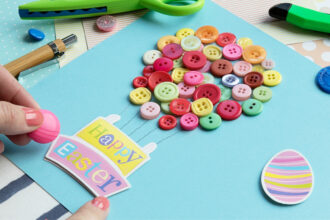
Make an Easter Egg Hunt Map!
Today, we’re going to show you how to make an Easter egg hunt map.
Making an Easter egg hunt map:
One of the fun things about Easter is the hunt for Easter eggs! If you have children or grandchildren, you’ll know the delight they have in searching the garden for hidden eggs. It’s special to see how excited they get, especially when they find one.
Of course, it can be frustrating for the kids too, when they search here and there, unable to find those eggs. One way to help them along is with a hand-drawn map. But what’s a map without making it look authentic?
Well, we have a guide as to how to make it look like a genuine treasure map, of ye olde pirate style! This will definitely add an element of excitement to their quest!
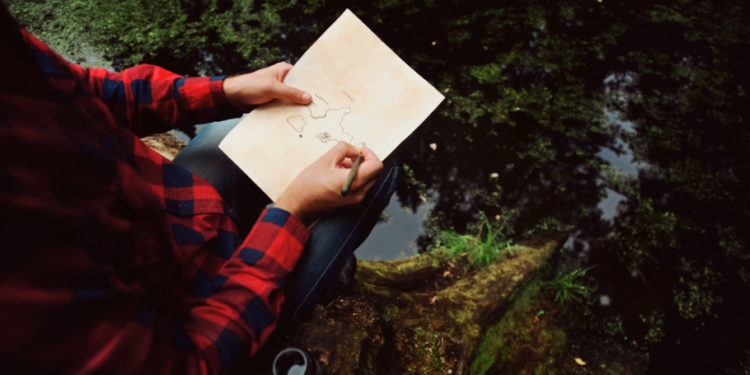
Map the garden.
The first step is to use slightly thick stock paper. And, in fact, the watercolour pads we sell make egg-cellent material, because of their durability. Using a felt (or a thin marker) pen is a must. Sketch out the garden, and mark with “X”s where you plan to hide the eggs. Your Easter egg map is going swimmingly!
Include ‘landmarks’ too, like that old pine tree in the centre of the garden, for instance. In the corner of the map, you can add an upwards arrow with an ‘N’ for North.
Crumple the paper.
To really give the map the texture of parchment, crumple it up a good few times. Do it like you’re crumpling paper to throw away, then carefully uncrumple it. Once it has a soft texture, you’re ready to move onto the next stage.
Teabag stains.
Brew up some tea, then take the teabags out and once they’re cool enough, squish them to remove excess water. When done, ‘brush’ the map with them. This will add a distinct colouration to the map that give it an old parchment paper look. Brush carefully – now that the map has been crumpled a good few times, it can be prone to tearing. After all this effort, you don’t want to ruin the map!
Lighten the mood.
Then, using a lighter, you can burn the edges of the Easter egg map. Again, be careful! You don’t want it going up in smoke! But if you applied the teabags correctly, the map should be slightly damp and so resilient to igniting. Still, you’ll want to do this outside, just in case.
Mapping the way ahead.
You’ve done it! The Easter egg map is done, and you just need to gently roll it up like a scroll and place a ribbon around it (which you can get at one of our PNA stores). It’ll add egg-citement to your child or grandchild’s fun-filled Easter adventure!