Watercolour Tutorial by Amy-Jane
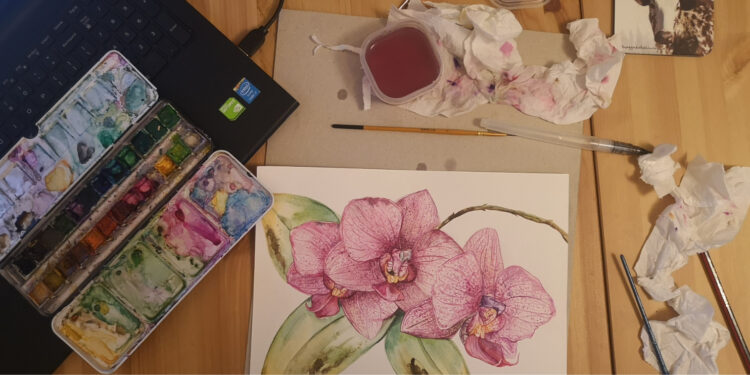
List of Tools You Will Need:
- PrimeArt brushes
- Brush watercolour pen (can’t find the name online, I think it’s Pental Aquawash)
- Stadler pencil, usually a 2H
- PimeArt Hot Press Watercolour pad or mixed media pad
- Koi watercolour set with the occasional tube top up, which is Windsor and Newton, or any tubes available
Step by Step Instructions:
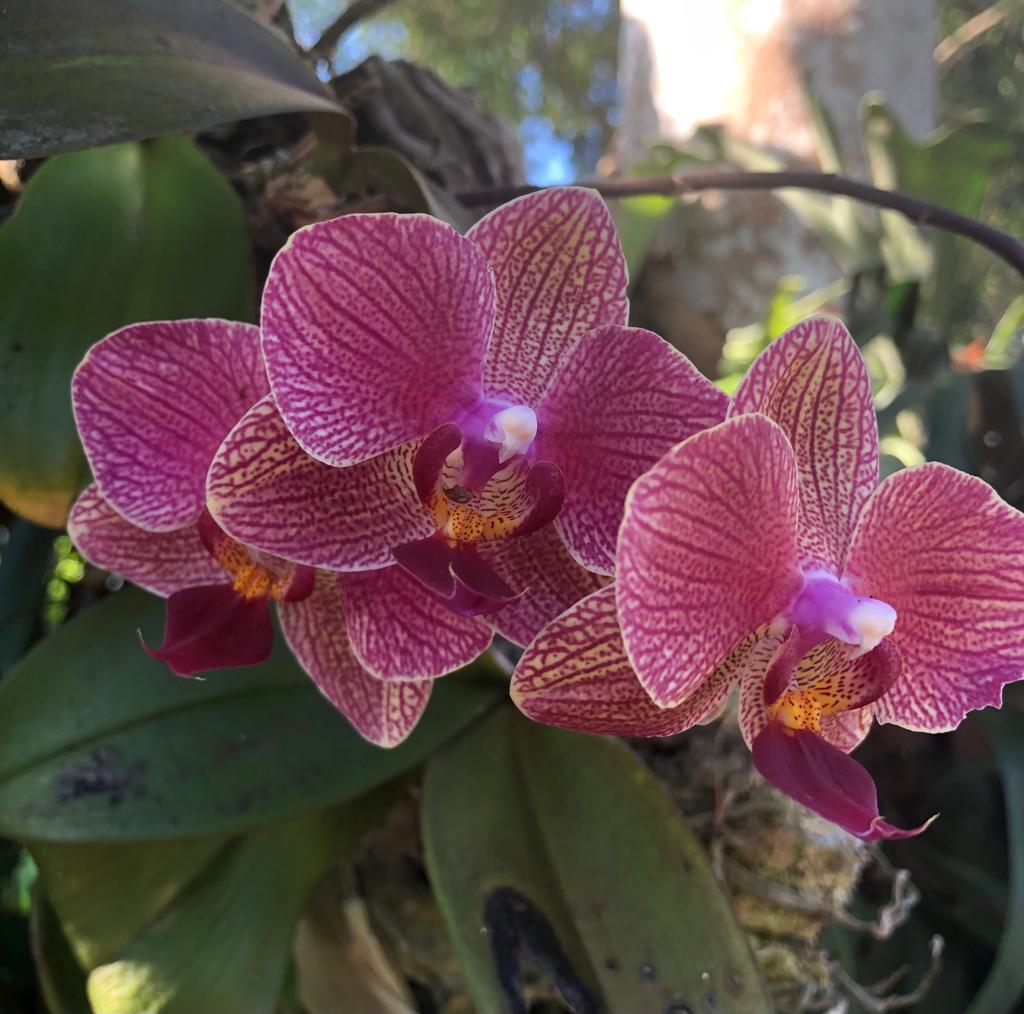
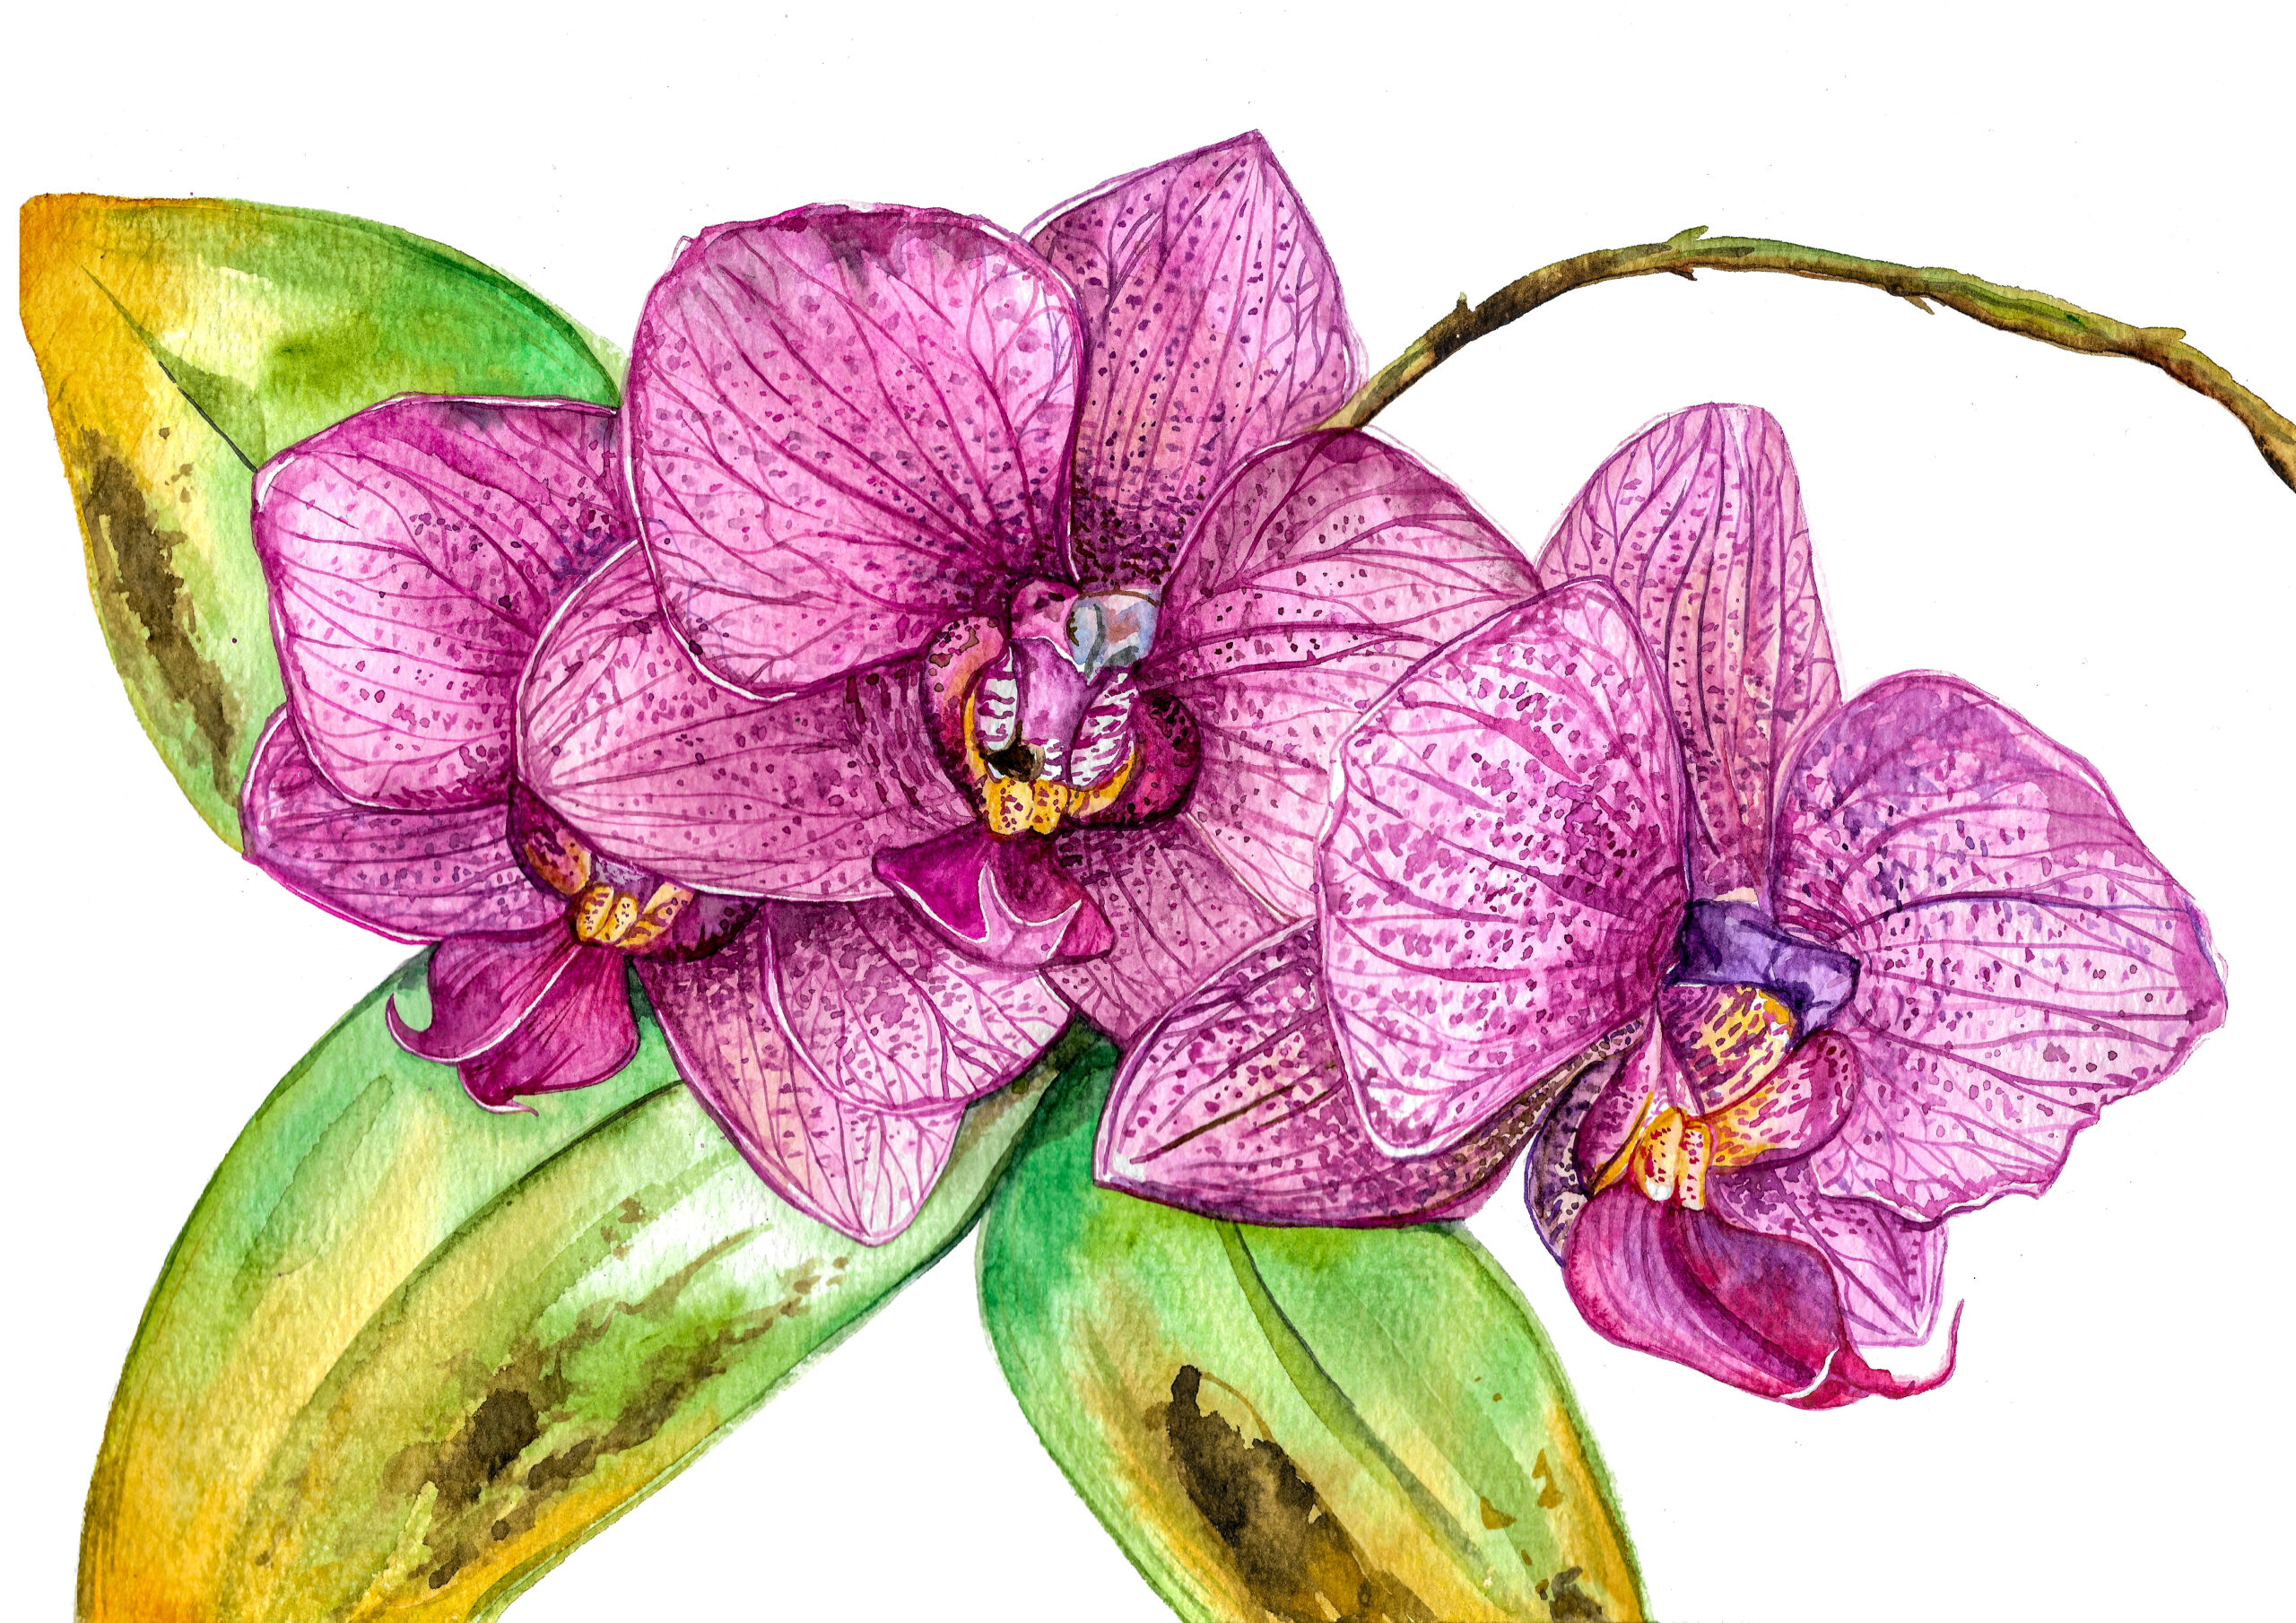
- I sketch the basic outline of the image and sometimes almost “rub it out” again to make a very soft indent/outline of the image, enough that you can just see but so that the pencil does not shine through the watercolour. As you can see, I have the original picture on my laptop screen close to me so that I can constantly check/refer, but I also often leave things up to artistic licence.
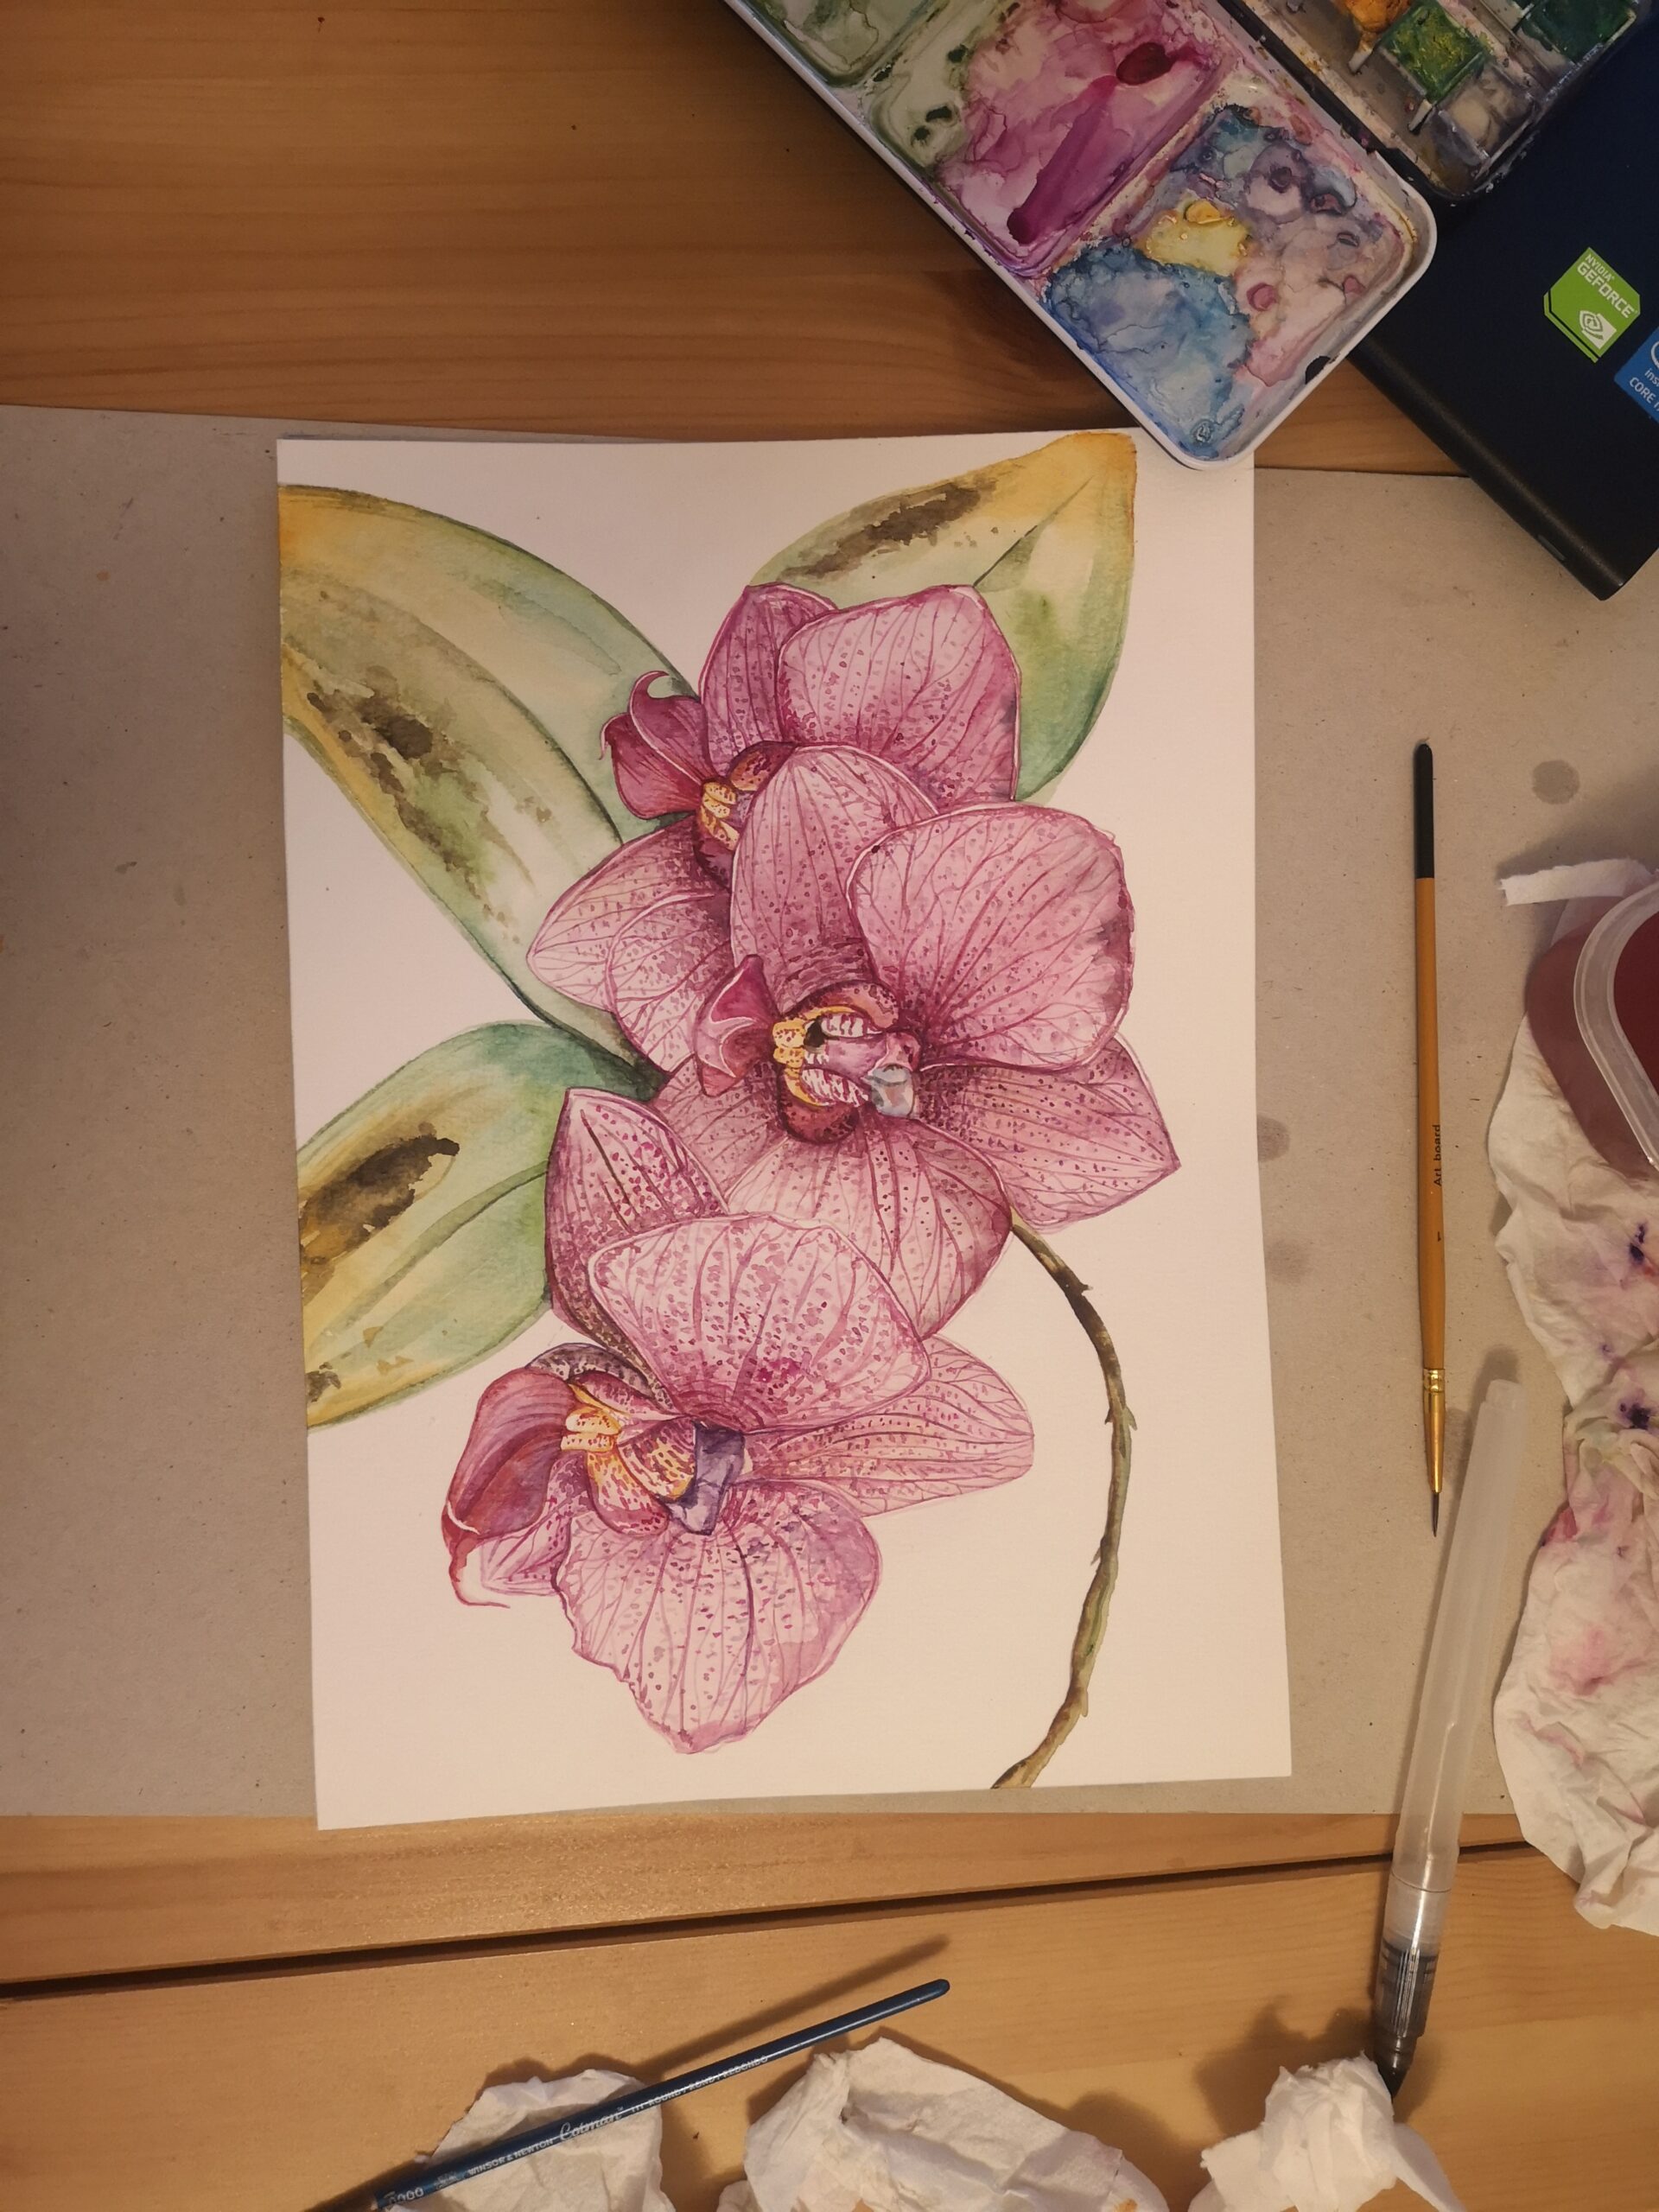
- Flat colour is the process of putting the undercoat of paint. Here, you can see me doing a lot of “washes”, whereby the watercolour is loosely applied with a lot of water. I sometimes dab the page or tip the page to distribute the water more equally.
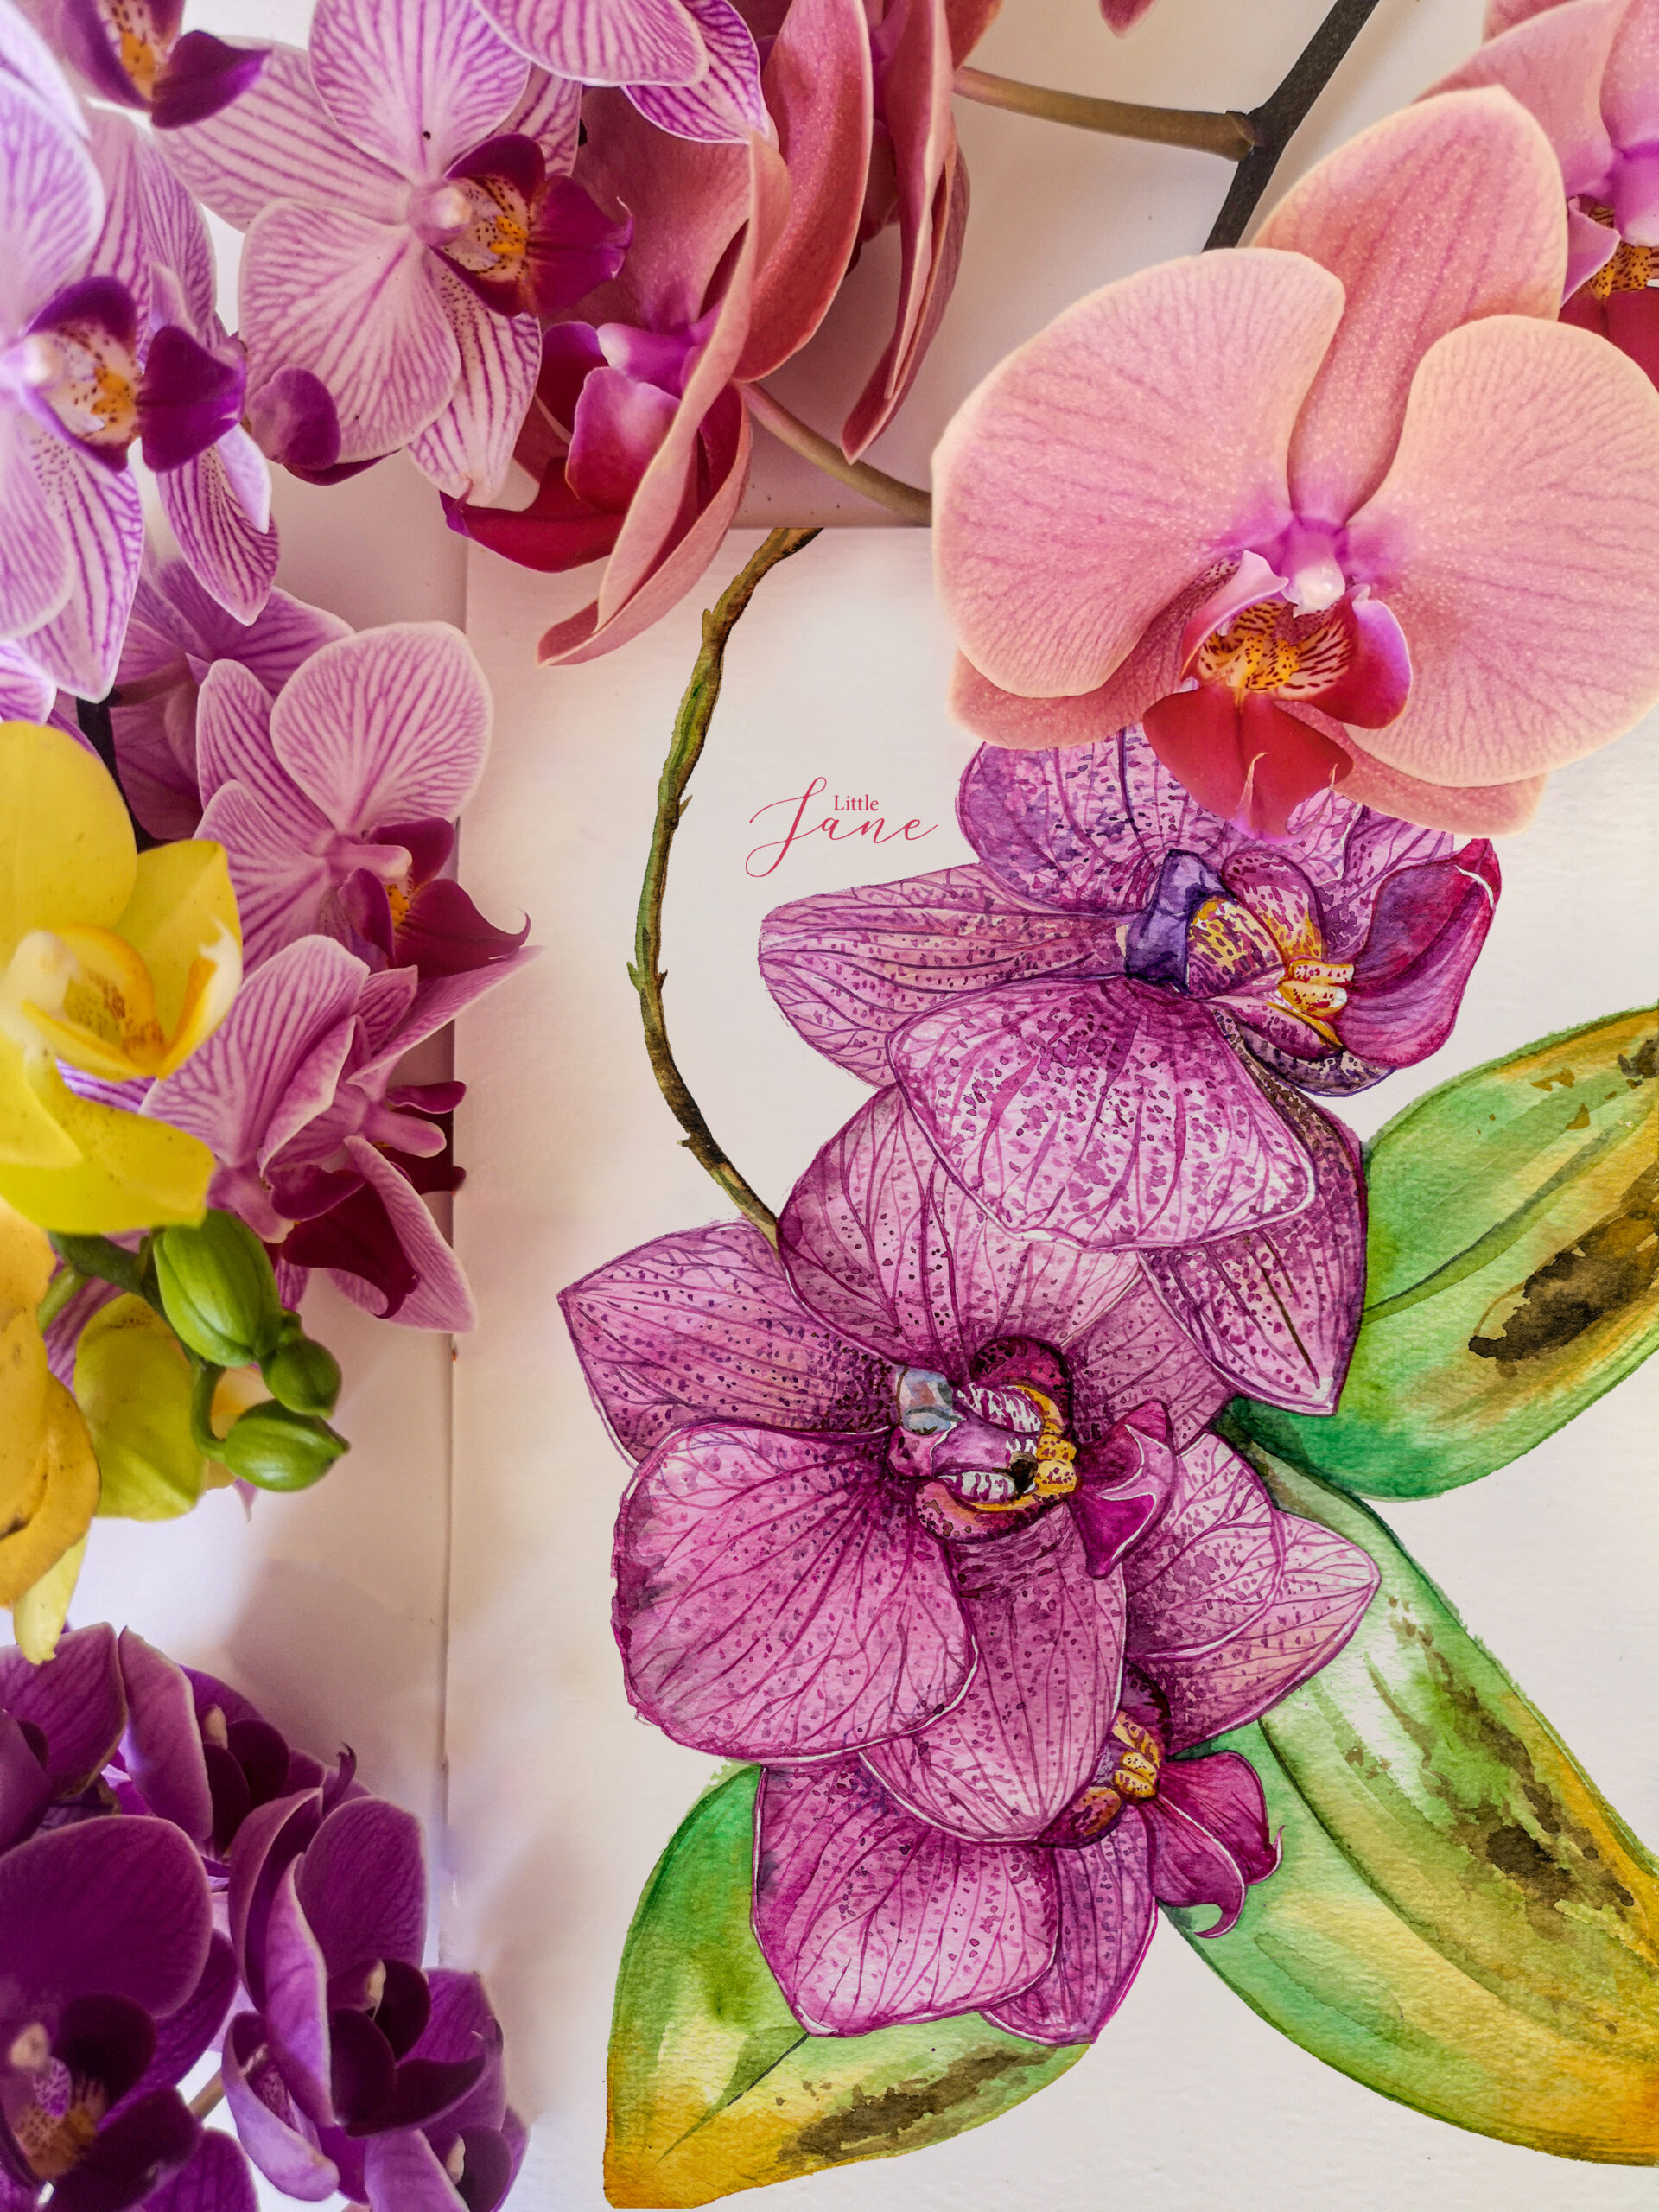
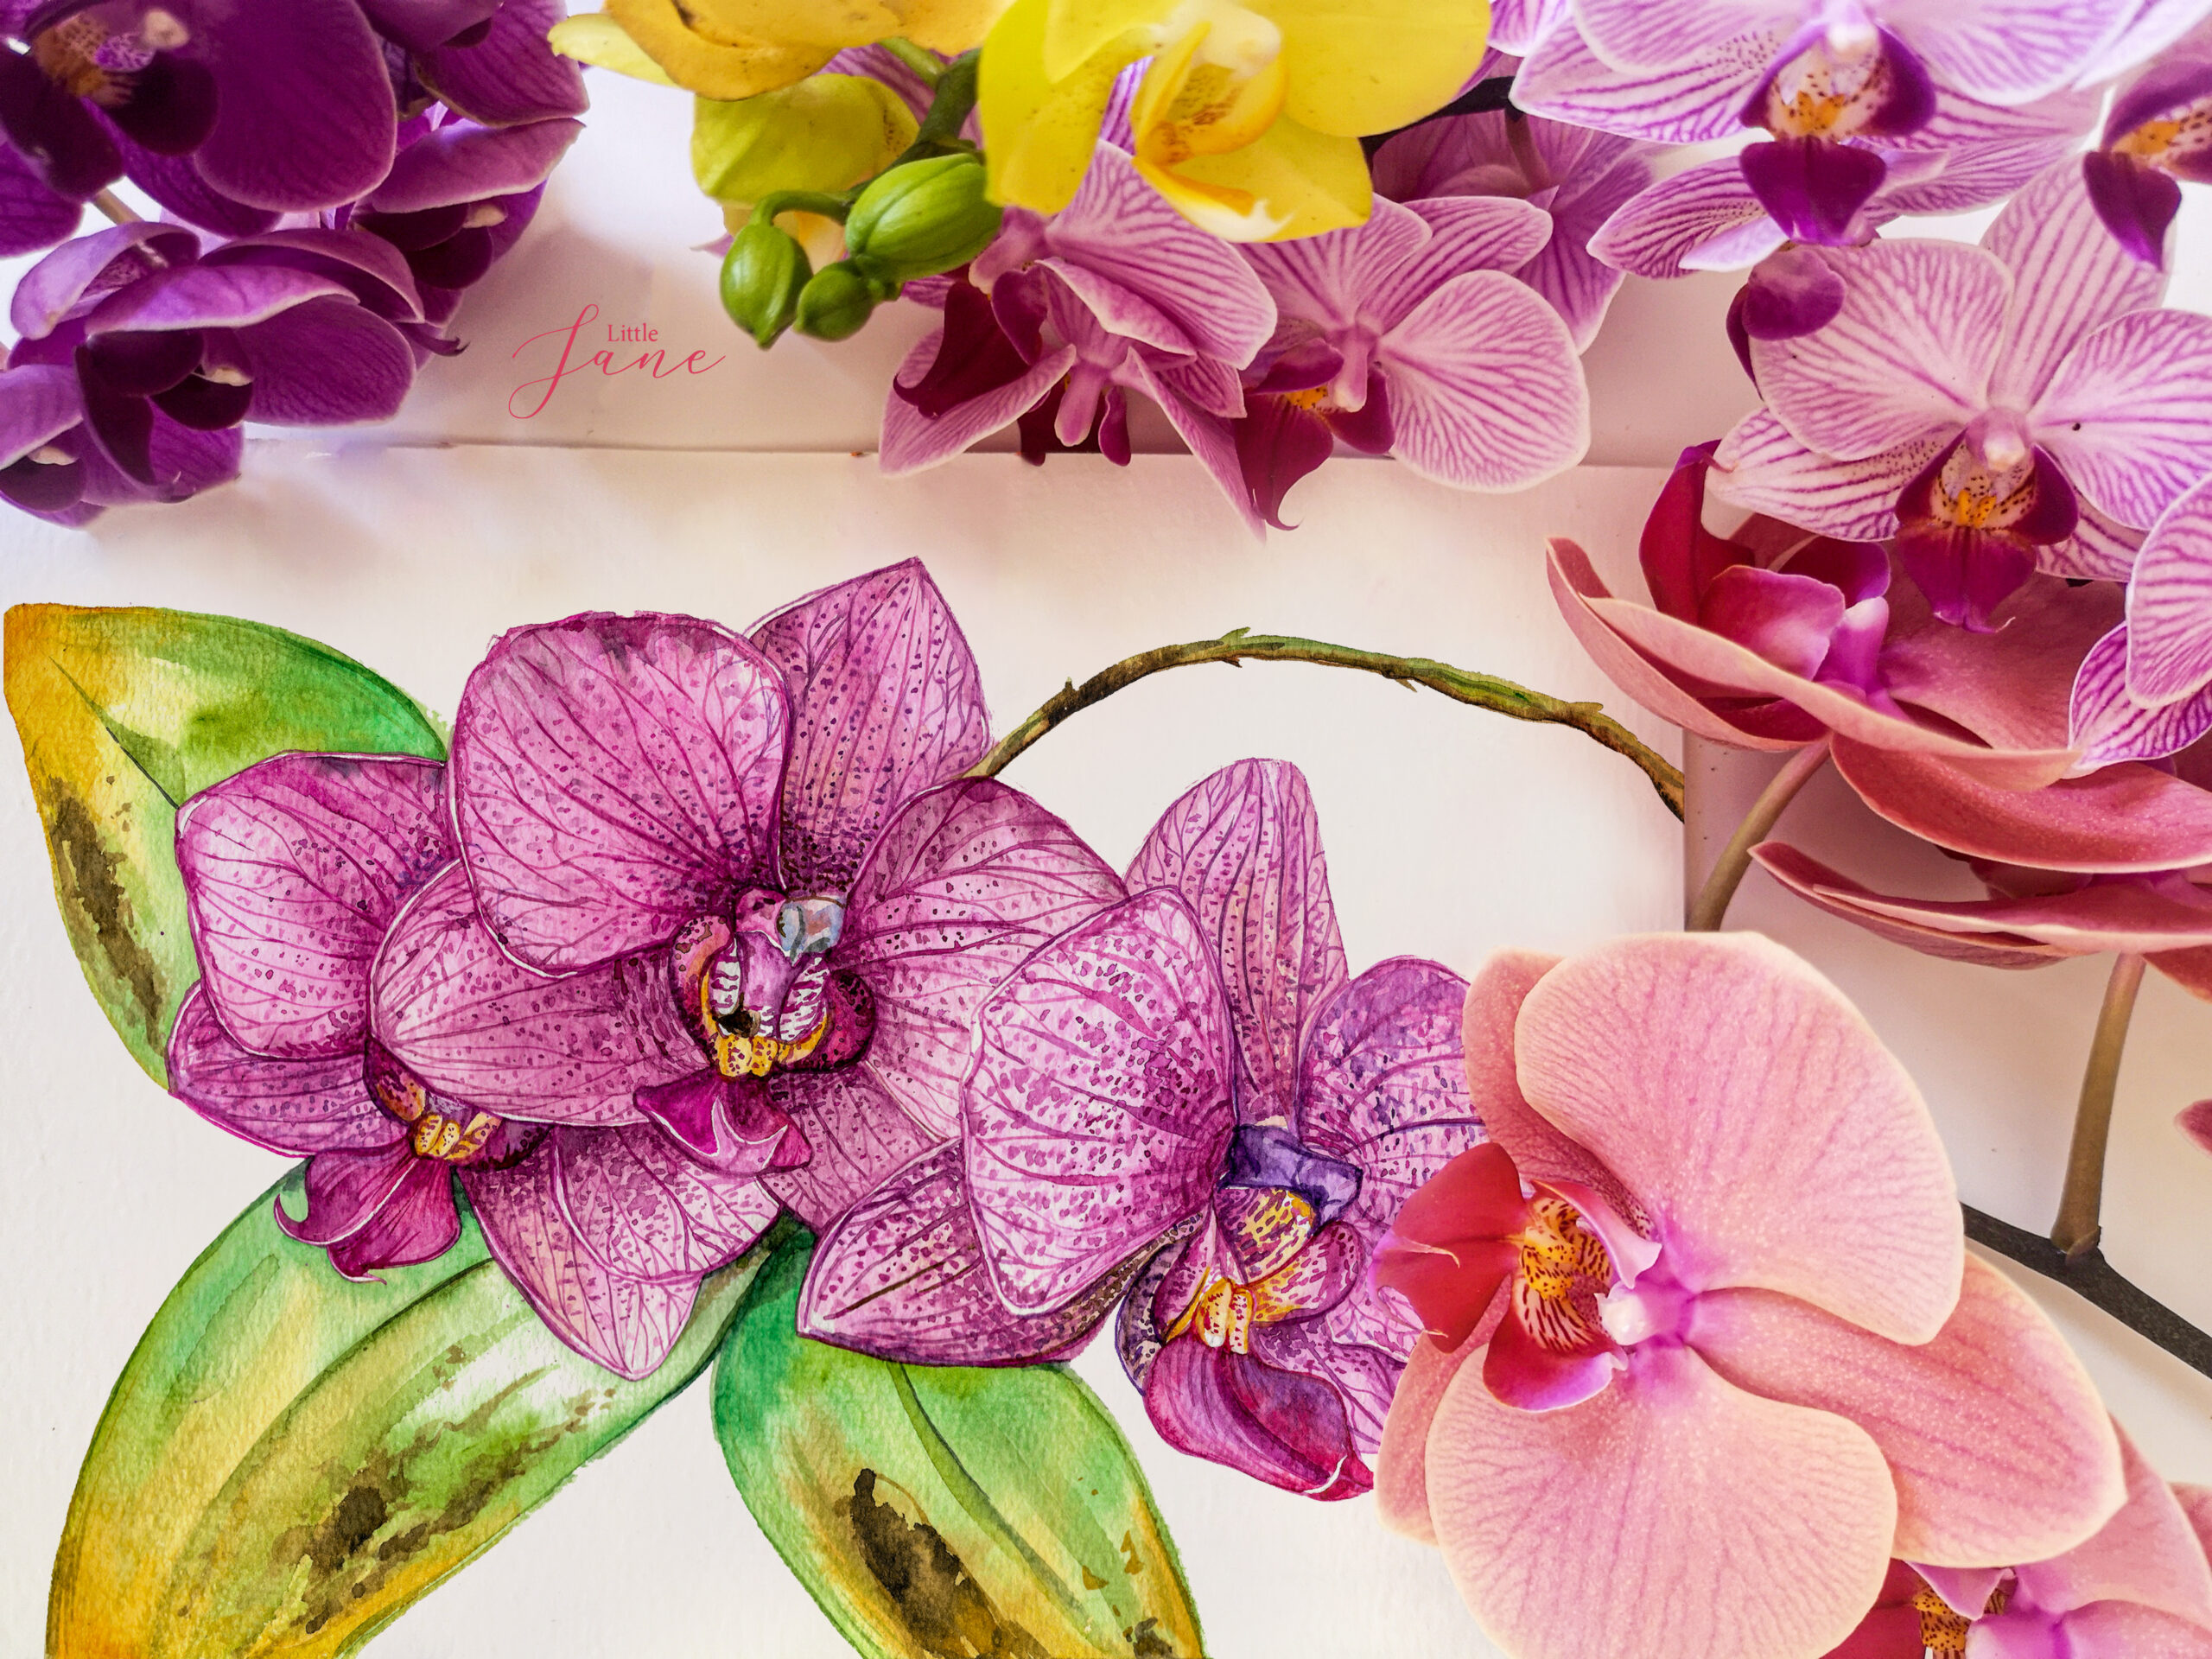
- Part 1 of detailing: sit and try to capture the image in as much detail as possible.
- Part 2 of detailing: finishing touches and small intricacies that make the image unique.