Cricut with Rae Roberts

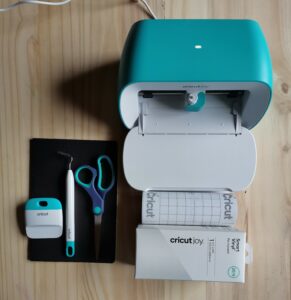
What you need:
- Cricut Joy
- Notebook
- Smart Vinyl (white)
- Scraper
- Weeding tool
- Scissors
- Transfer Tape
- A Bluetooth enabled device and the Design Space app
Step 1:
- Plugin your machine and make sure your light is flashing.

Step 2:
- Search for a cool image and select an image you like.
- Once selected, insert the image onto the canvas in Design Space.
- Adjust the image and place it on the grid so it fits your design.

Step 3:
- Follow design Space prompts to cut the decal.
- Select “make it” when you are ready to cut.
- Select without Mat, as we use Smart Vinyl and won’t require a mat.
- Continue to connect your paired machine to your device.
- Select your machine and connect.
- Now, we select the material (Smart Vinyl Permanent).
- Make sure your blade is loaded and ready to cut.
- Load Smart Vinyl onto Joy. Your machine will measure your material, and once confirmed, select go, and the machine will cut. Remember to select finish so your machine can unload your project.
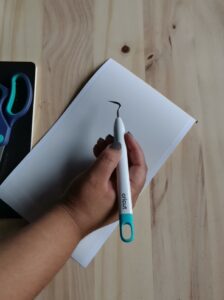
Step 4:
- Onto weeding, using the weeder to remove unneeded bits.
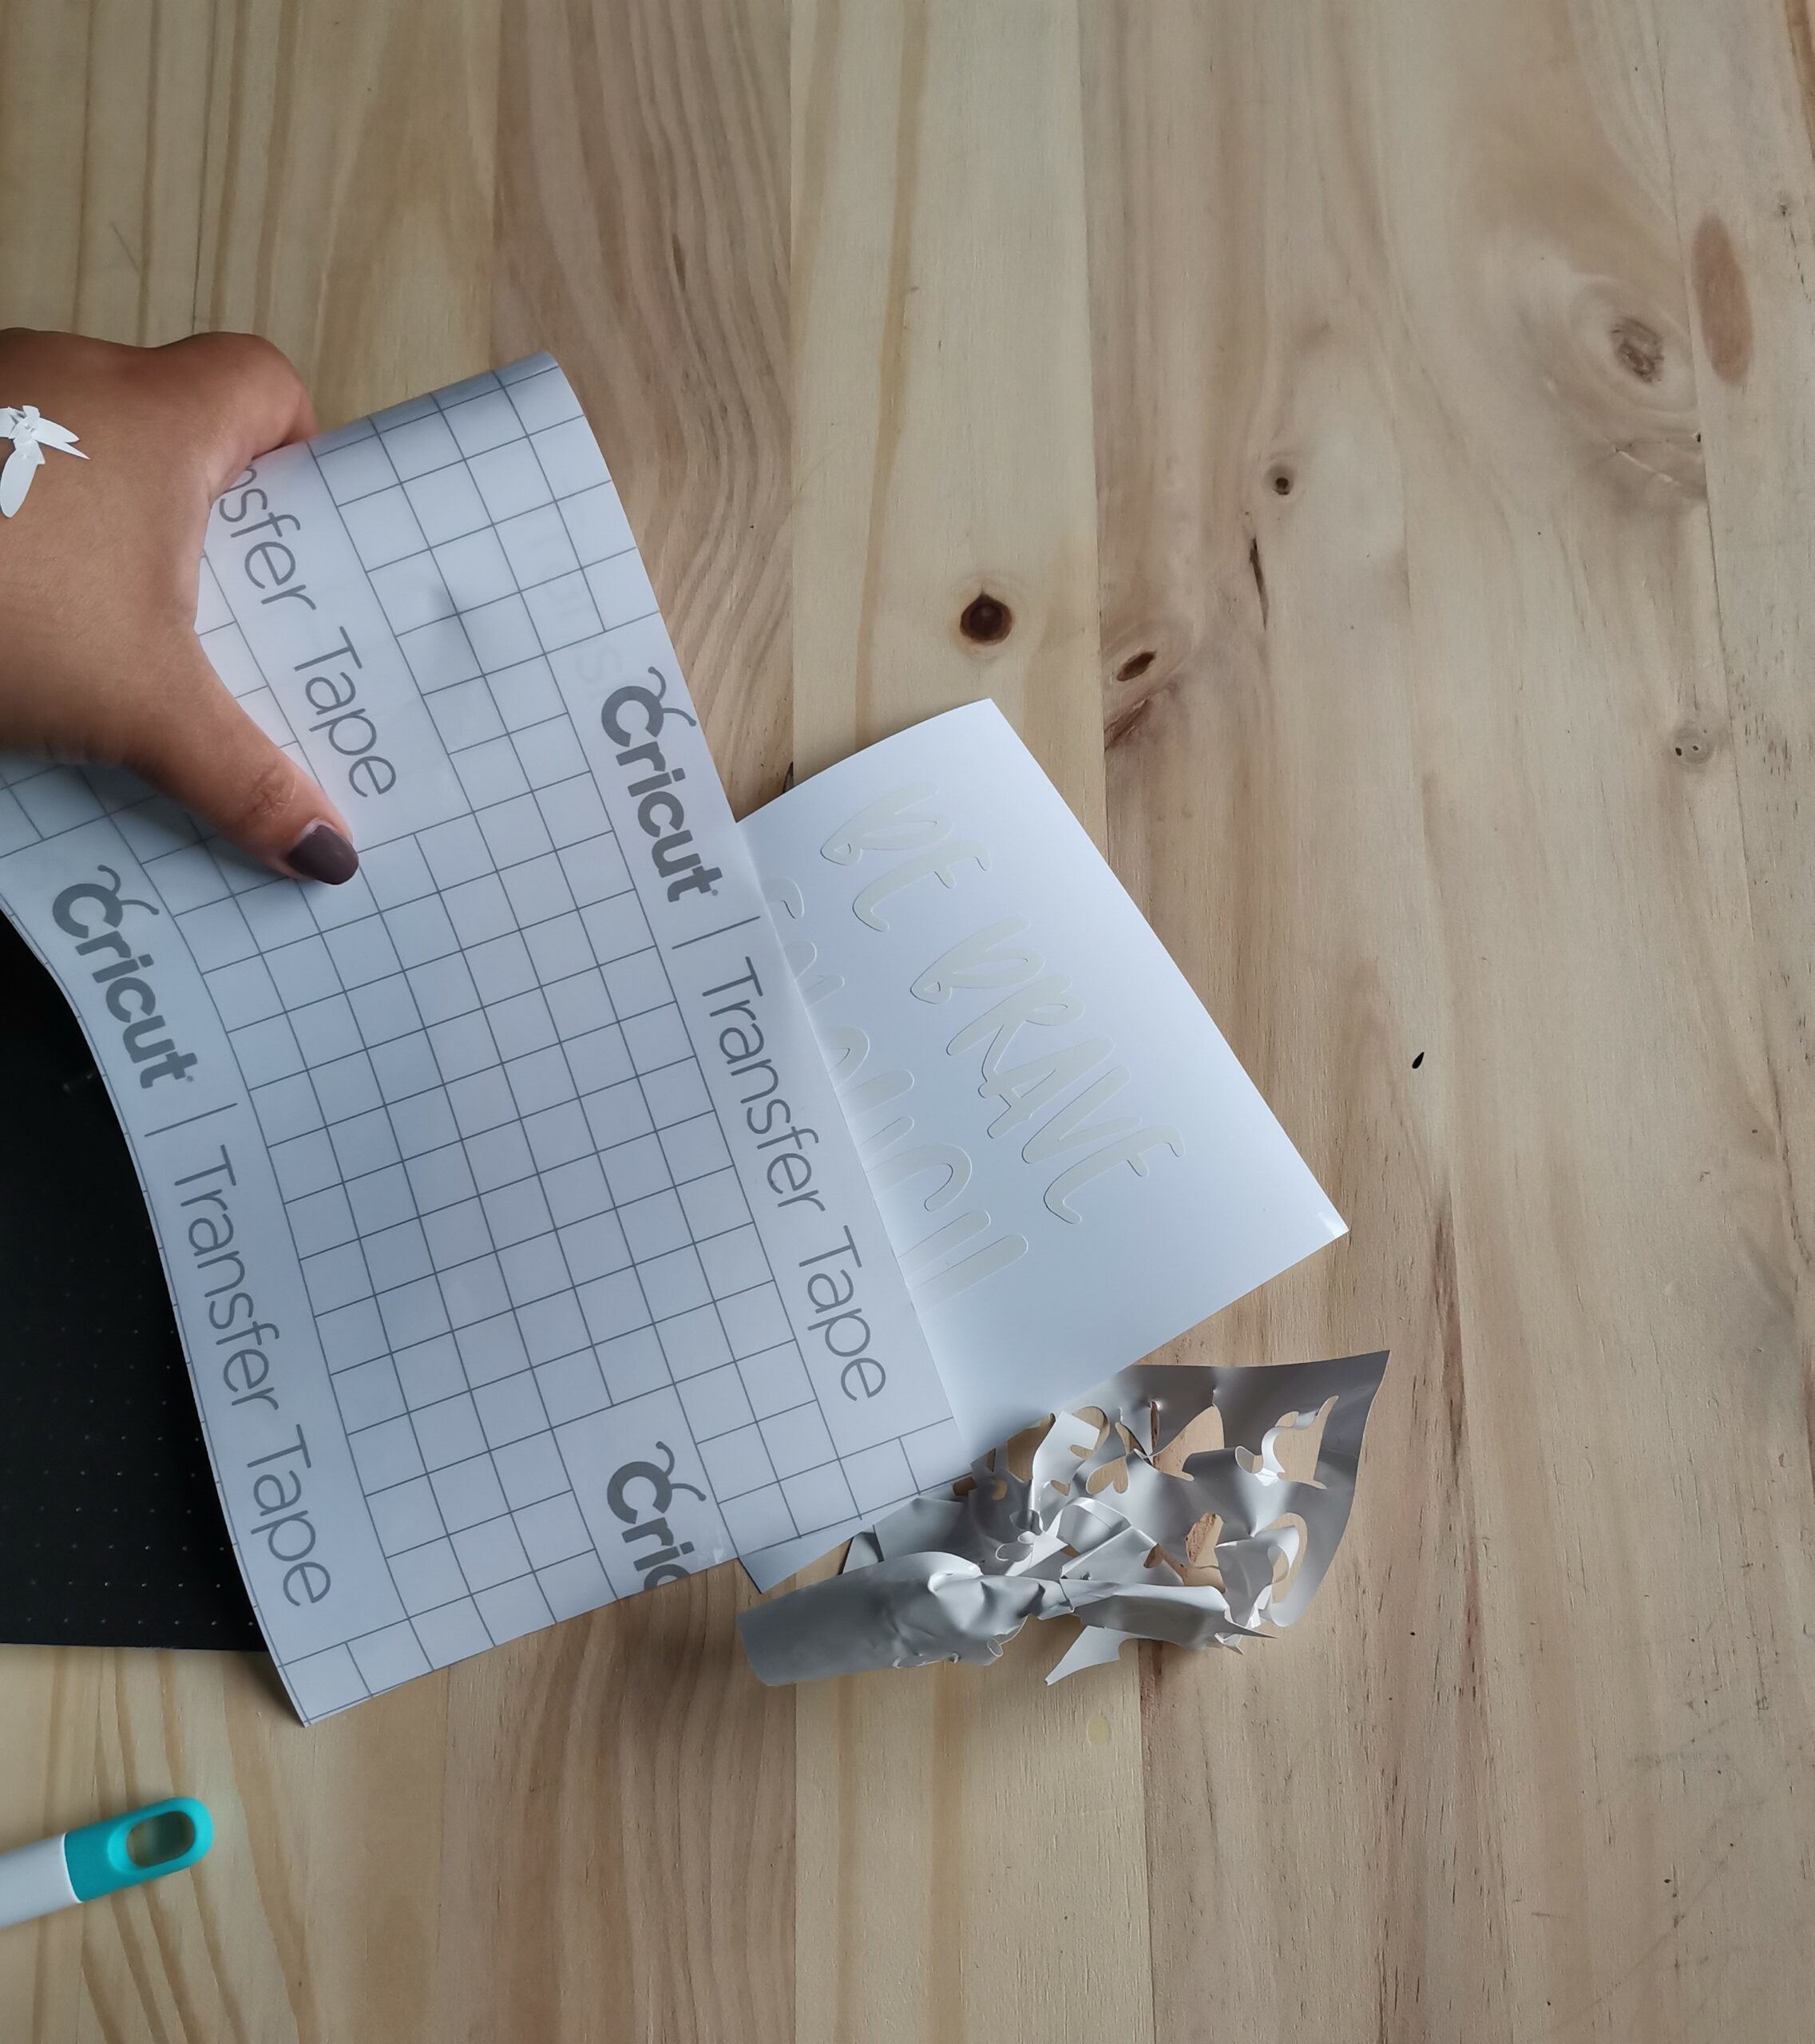
Step 5:
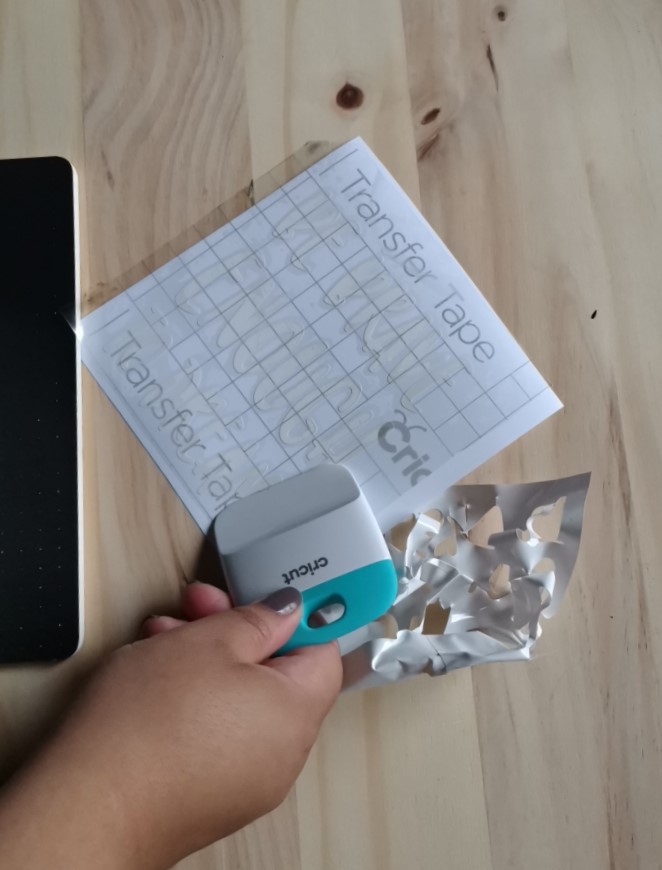
- Let’s transfer!
- Measure how much transfer tape you’ll need and cut along the gridline.
- Remove clear transfer tape from its backing and place it into the decal.
- Scrape vinyl onto transfer tape to allow easy transfer onto your project.
- Separate transfer tape from the vinyl backing.
- Scrape vinyl down onto the notebook to secure the decal, and remove the transfer tape.
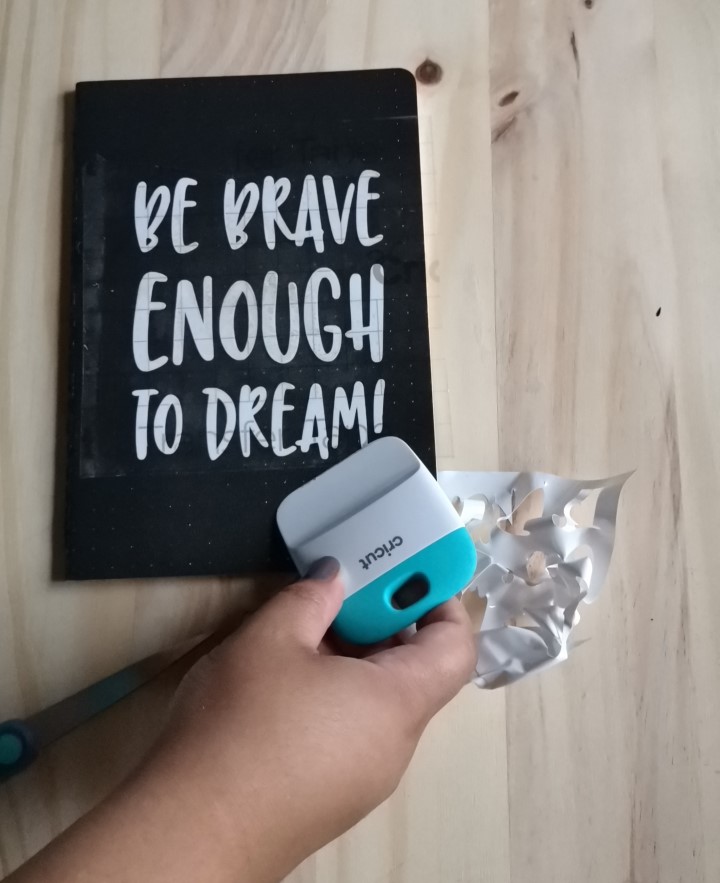

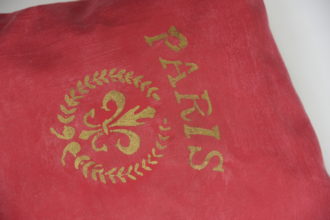
Project complete.