WATERCOLOUR DOODLING THERAPY AT ITS BEST!
How to create your own doodle journal or notebook.
If you ever had the wish and desire to make a beautiful notebook or journal to bring life to memories, this is an excellent idea to put it all together in one book!
Doodling creates a space for you to express your creativity in a small but creative way and to make it your own!
The spring season is upon us, and this is a great opportunity to create a notebook or journal for the individual as well as the family.
Below you will find easy but yet extraordinary steps, and you can use basic materials found at your local stationery shop. It is simple shapes and drawing techniques that give you the base to doodle on.
It is so simple yet so beautiful and elegant!
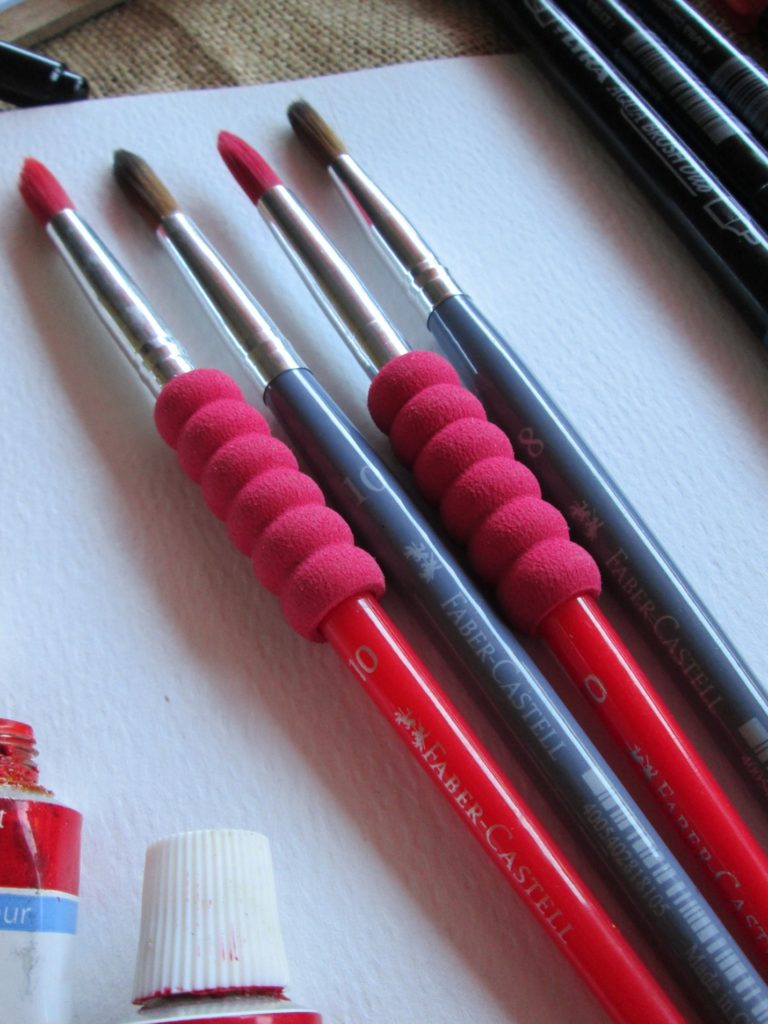
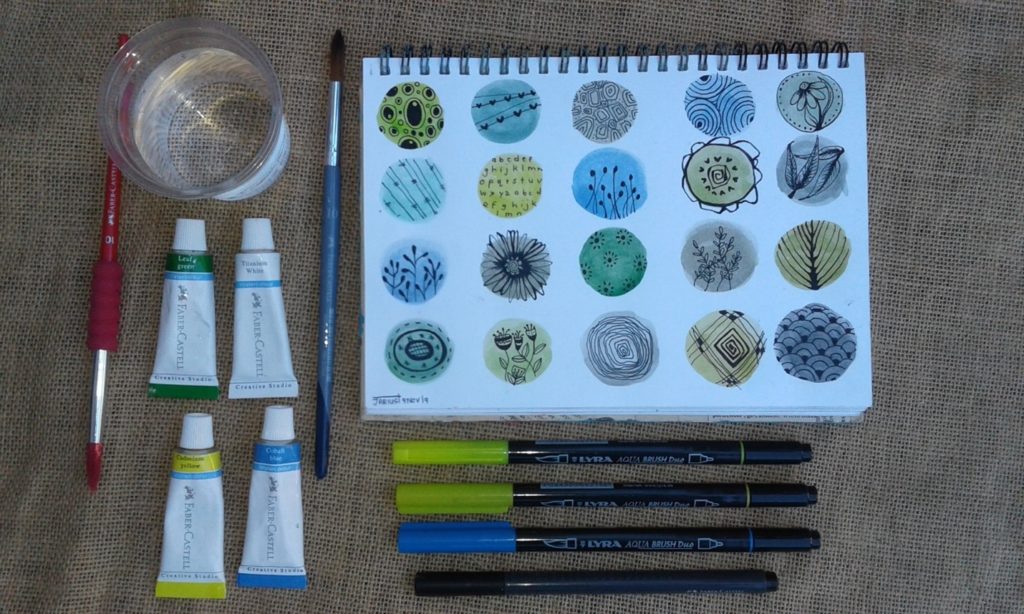
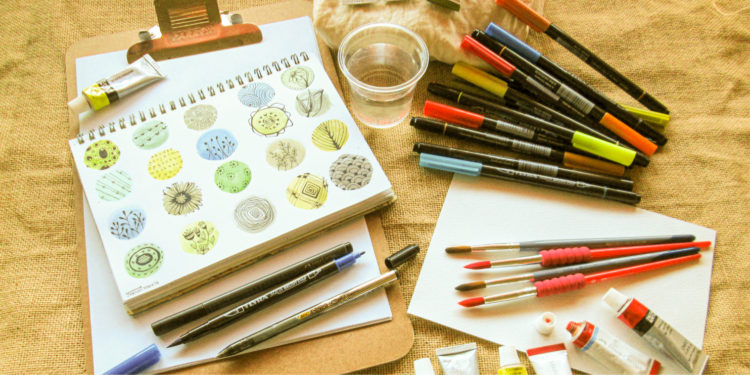
Materials needed:
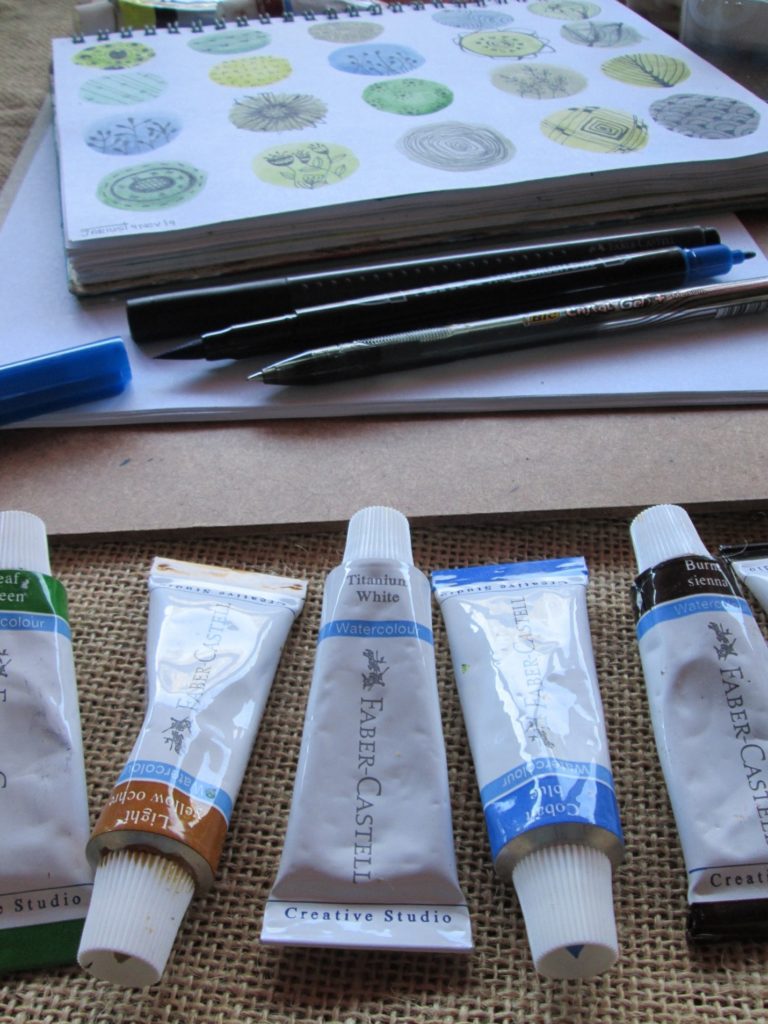
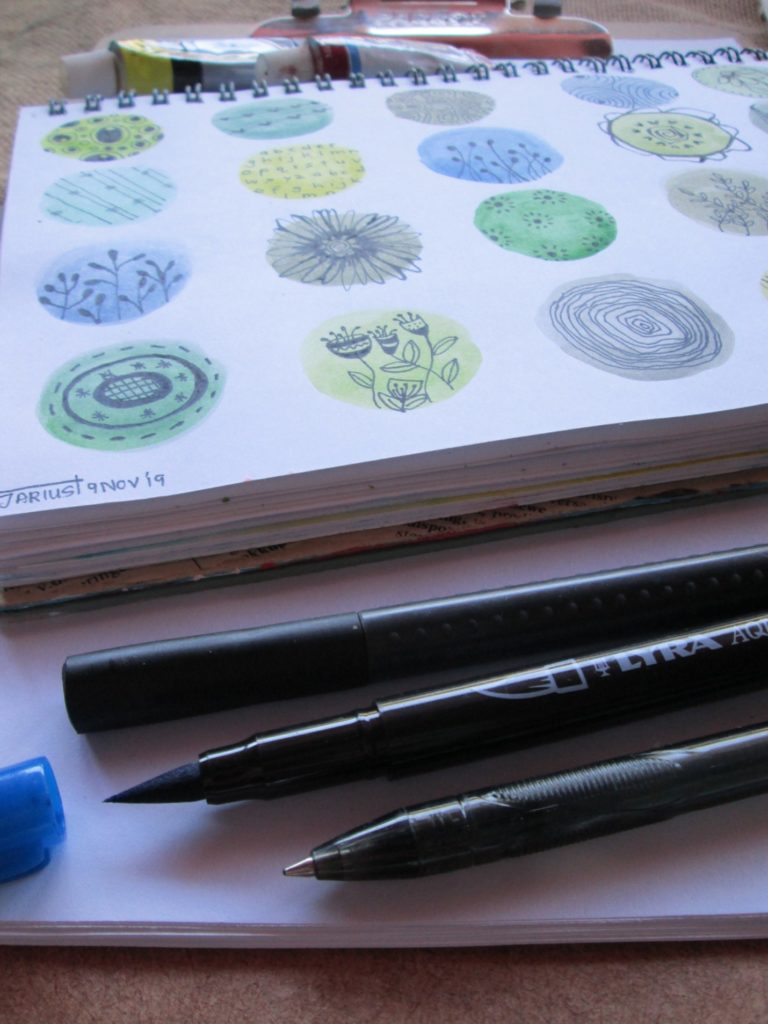
- Medium round brush
- Fineliner/permanent markers – colours of choice (black Fineliner used)
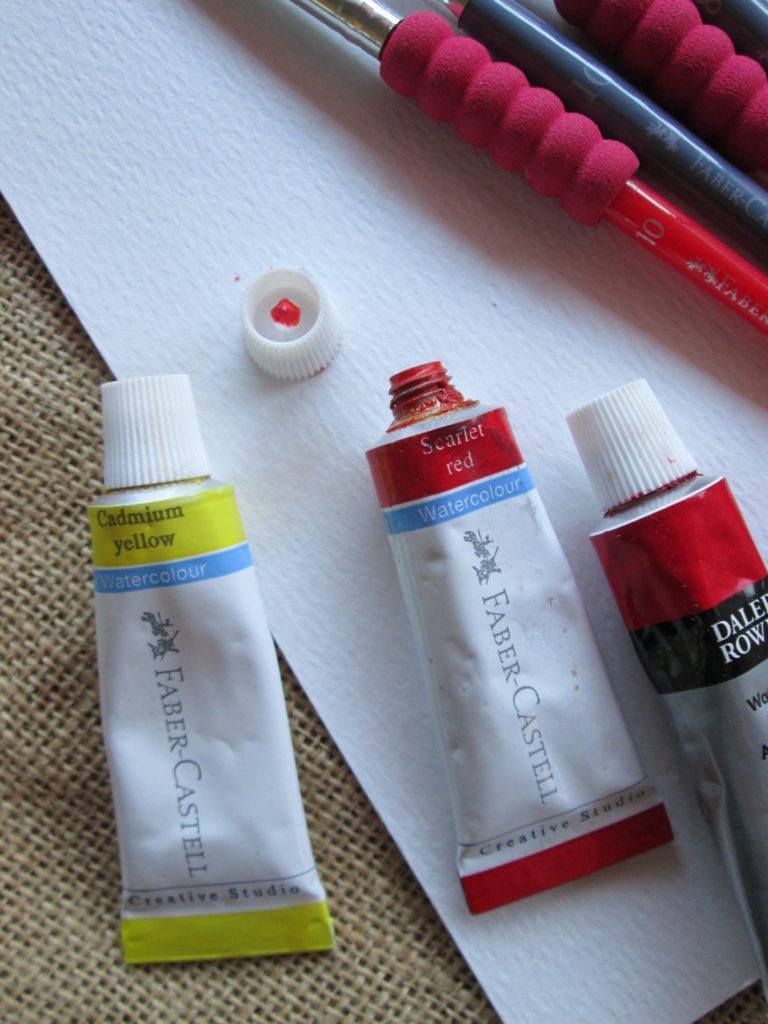
- Watercolour (Faber-Castell used)
- USED:
- Titanium white mixed with black
- Cadmium yellow
- Scarlet red
- Orange – yellow and red mixed
- Ultramarine blue + Cobalt blue
- Leaf green + Pine green
- Dry cloth and clean water x 2
- Lyra Aqua Brush Duo (alternatively for not using the paint tubes)
- Pencils to draw samples on separate printer paper
- Plain printer paper pieces
- Journal blank book -Thick white, or alternatively, mixed-media pad to cut out and add in journal
Tips: For beginners, the use of a watercolour pad is recommended, the moistened paper smoothes again while drying. The use of natural hair brushes provides optimal results. Medium brush sizes absorb enough water to work linear as well as over large areas. Porcelain or plastic plates are suitable for mixing colours.
Step-by-step instructions to start with your journey of Doodling
Painting:
A watercolour image is created from light to dark. After the first bright coat of paint has dried, the picture is painted over by further layers, darkening the picture. The wet-on-wet technique offers a superb effect: diluted colour is applied to heavily dampened paper. Soft colours are blurred together, creating a picturesque optic. On dry surface more accurate lines, edges and shapes are possible.
Techniques & Tools:
Bright reflections of light and image details are caused by the white of the paper and must be left blank while painting. The characteristic transparency of watercolours will be modified by adding titanium white. It doesn’t only brighten up the colour, but rather increases the opacity. The salt technique creates beautiful structures. Spread onto the wet picture, coarse salt is able to soak up water and colour, and can be removed easily after drying. Grasses, fur and lose structures can be painted in the blink of an eye with the fan brush.
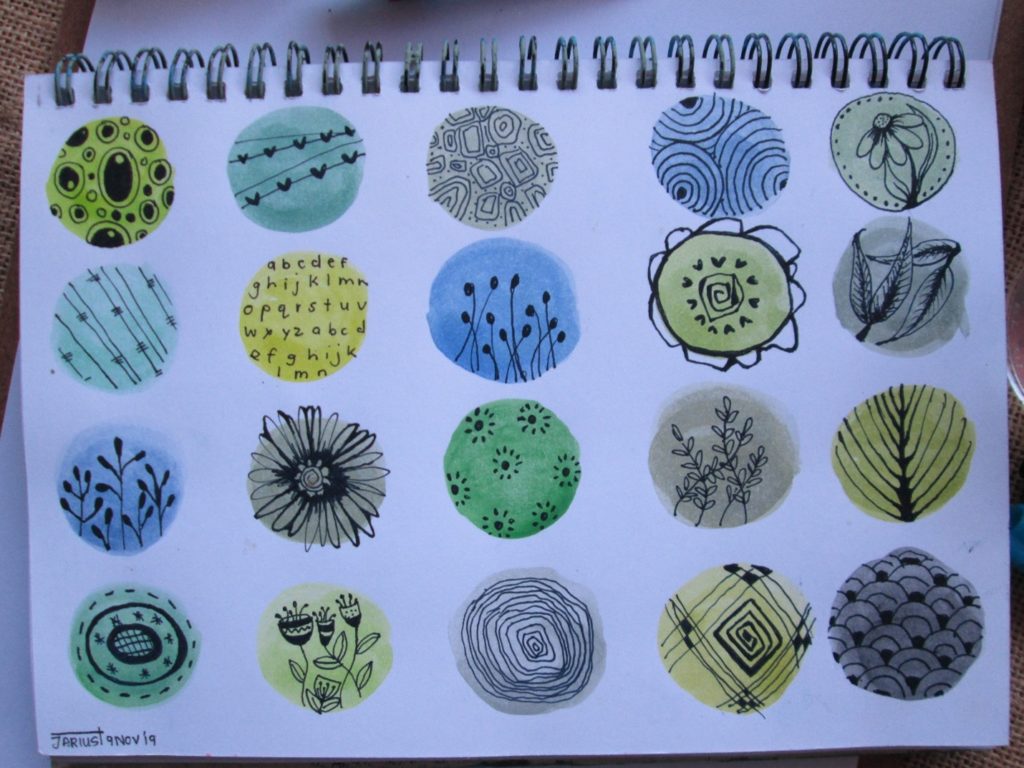
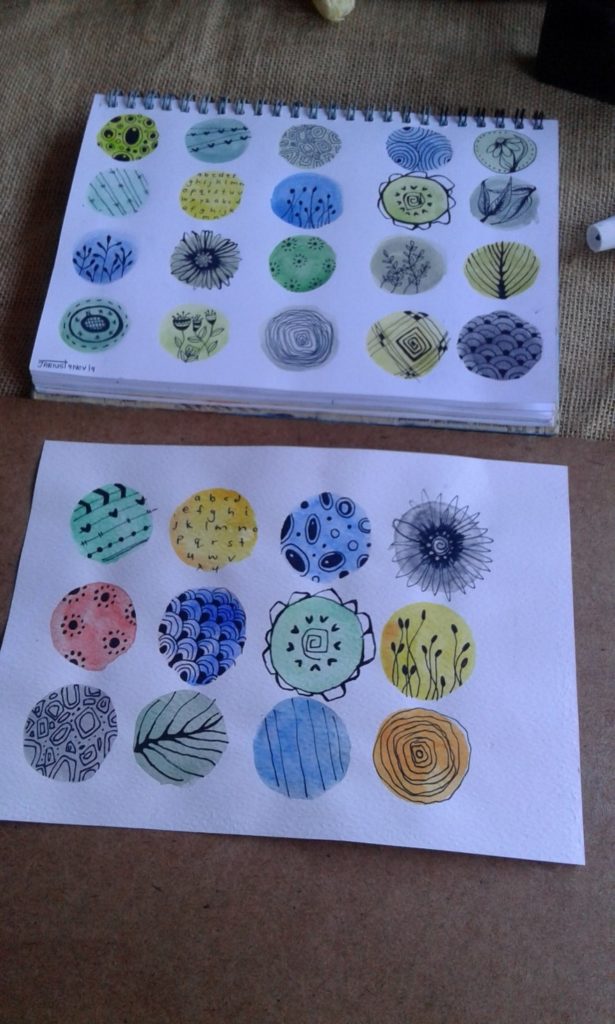
STEP 1: Draw or download a few doodle samples to get your creativity flowing. Draw and create some doodles by using different shapes, lines and curles until you are satisfied with your idea.
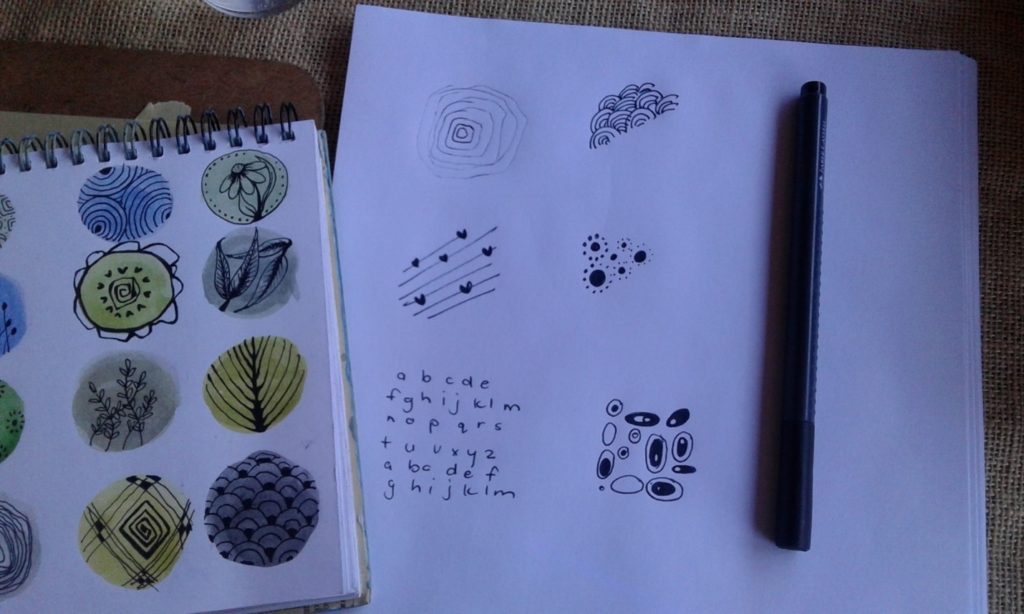
TIP: Alphabet, leaves, chevrons, flowers, dots…
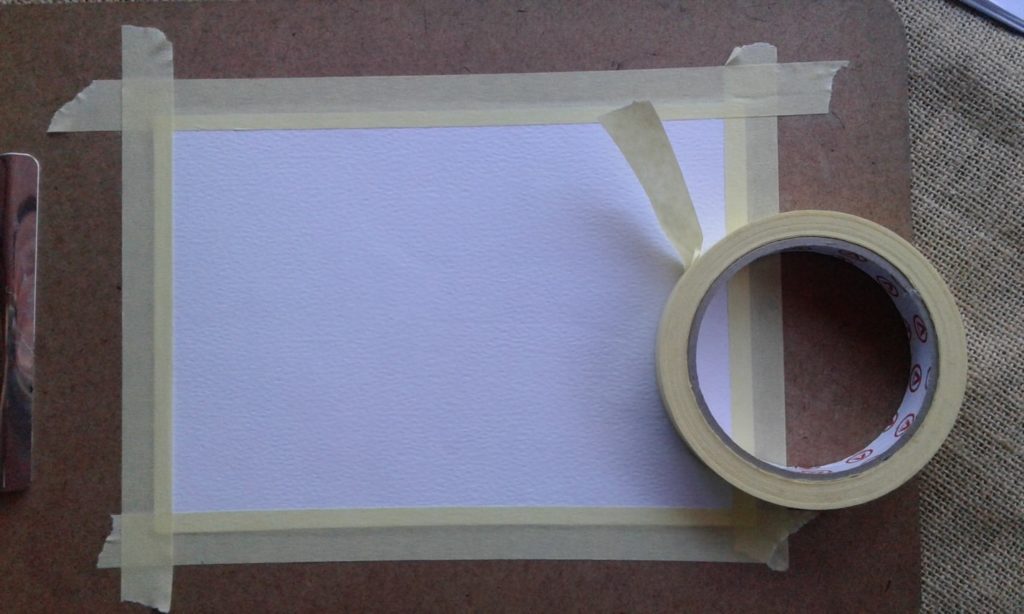
STEP 2: Stick the Mixed media piece onto a clipboard by using masking tape. Strengthen it by sticking masking tape around your paper about 0.5cm into the paper.
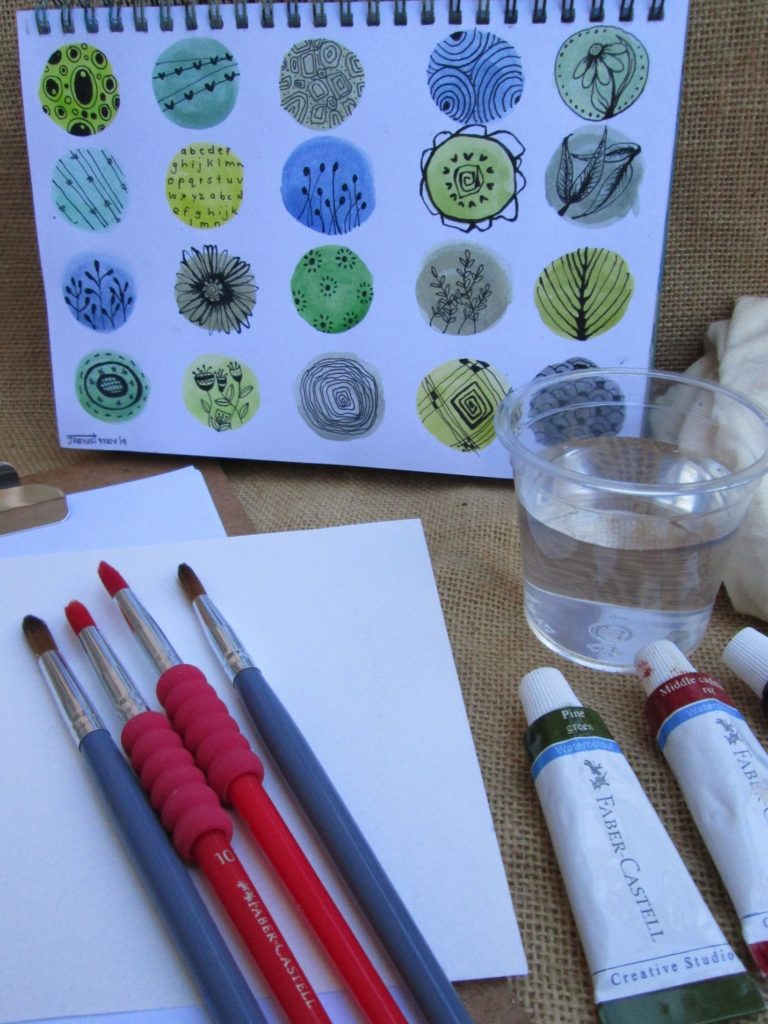
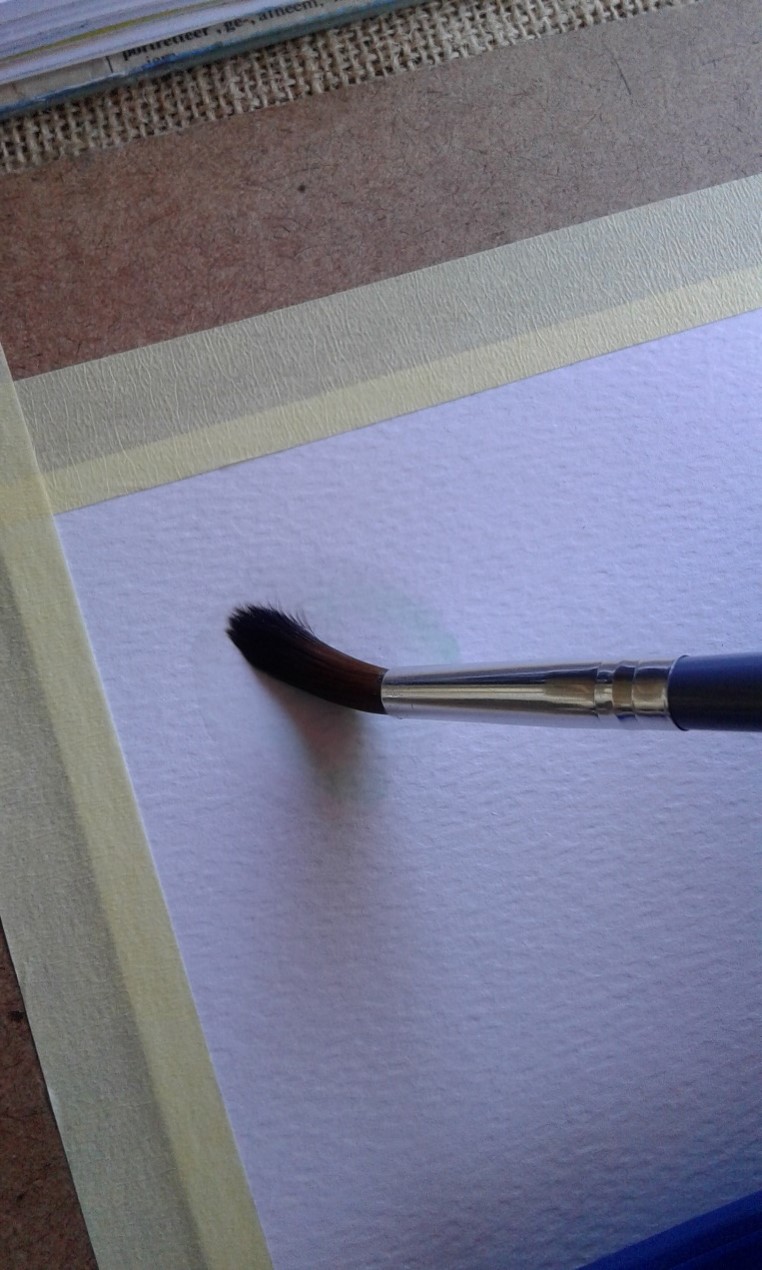
STEP 3: Take your Mixed media paper piece and prepare water shapes like circles or squares using your wet brush. Start with one shape and take some diluted watercolour paint and apply onto the wet shapes. You will see that when applying the diluted paint, it will flow automatically into the wet space. It will only fill the dampened space.
TIP: Do not use too much brush strokes to prevent damage to your paper.
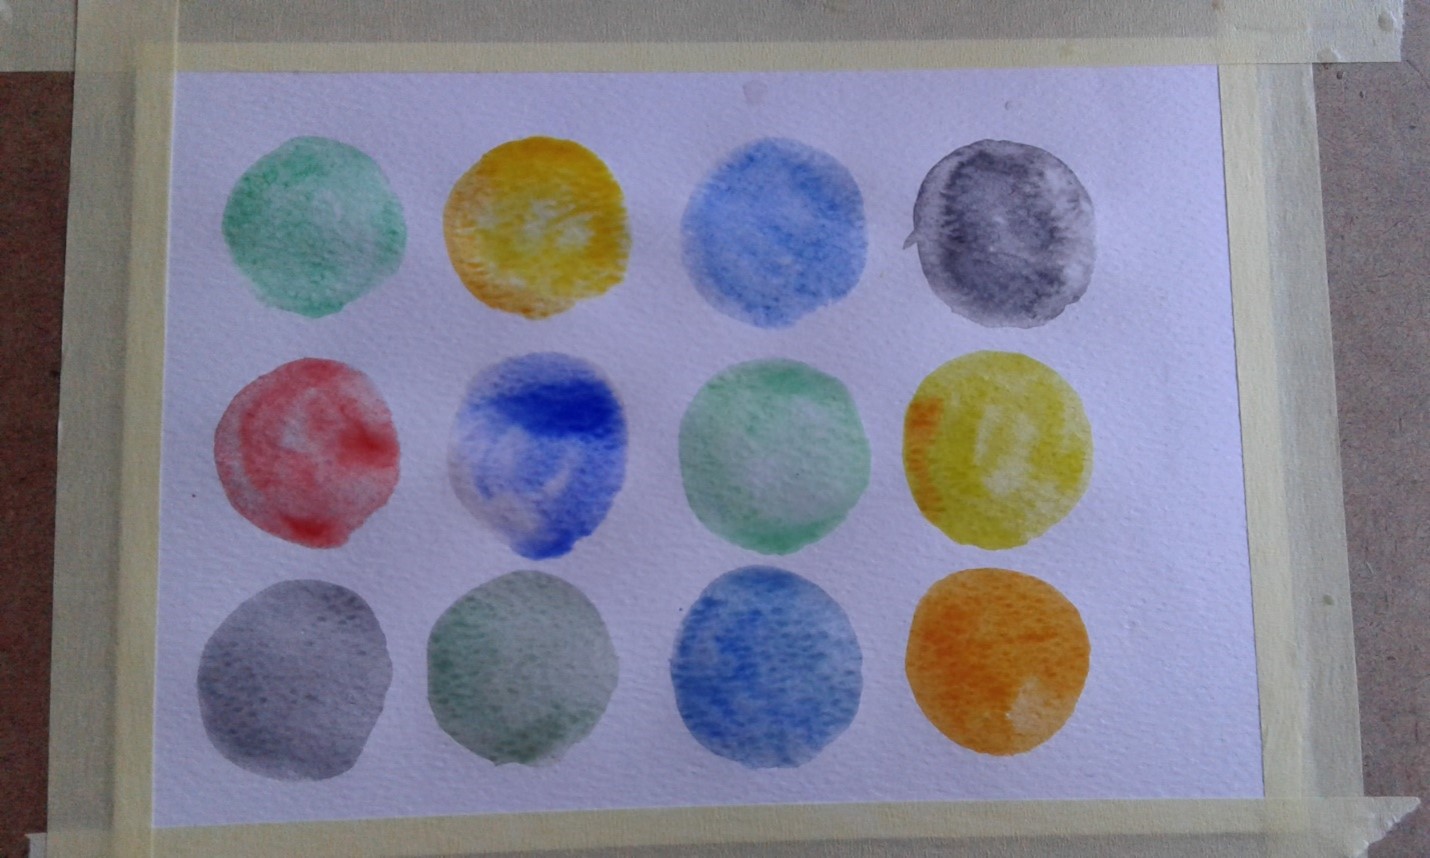
STEP 4: When done creating a few blank colourful doodles, let it dry completely. Do not remove the masking tape yet.
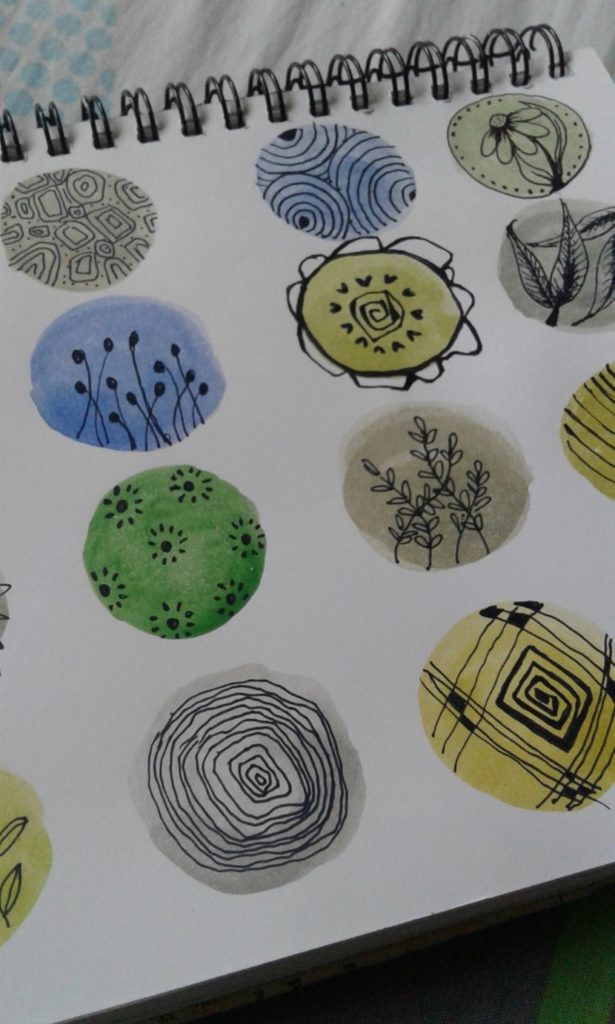
Draw some shapes you prepared onto the doodle blanks by starting in left or right top downwards. It will help the marker or Fineliner to dry while drawing.
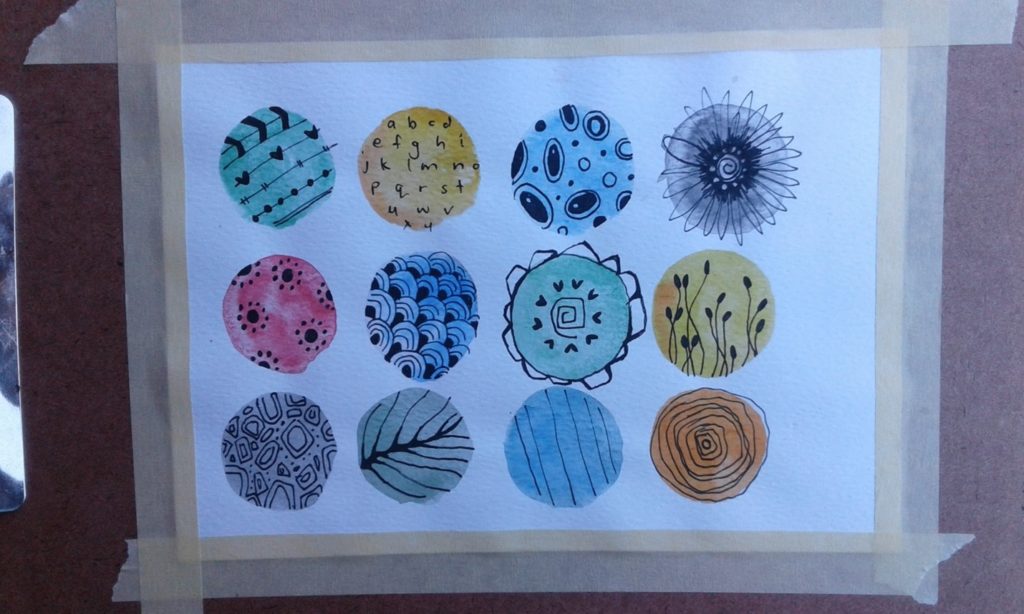
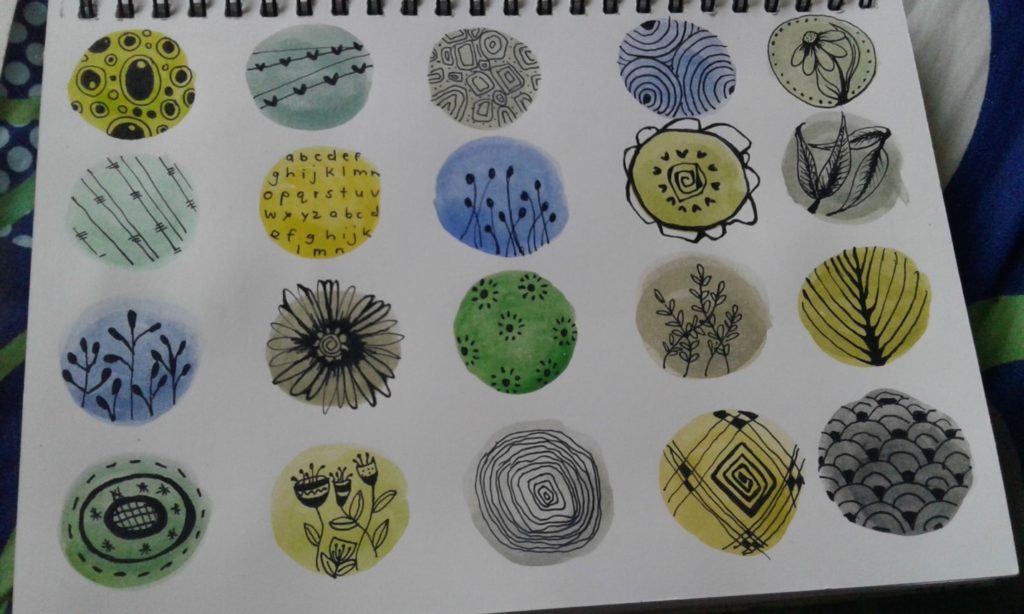
Try to draw separate individual doodles but keep in mind to create one piece overall.
Draw thin and thick lines, colour in some of the circles, leaves, hearts and leave some open spaces as well.
STEP 5: When satisfied with your whole project, you can carefully take off the masking tape by pulling it off from the inside-out.
Don’t worry if your paper bent because it will automatically flatten when glued in your journal or notebook.
Step 6: Glue your piece in a preferred space by using paper glue.
This gives you a whole new world of opportunities and projects because the ideas are endless. You can also make some bookmarks, Gift cards and tags, only to mention a few other ideas.
Don’t feel pressured when doodling. Be free to explore and be creative!
SIMPLICITY is KEY!
For regular craft inspiration, join us on Facebook where you will find a lot of handmade flowers, wooden home decor, demonstrations, tutorials and lots more.
To join us on Facebook, you can use this link to explore all the Proudly South African Handmade décor made by Jarius Senekal.
Link: https://www.facebook.com/JariusCAH/
Email: [email protected]