Reverse Flower Dip by Bernadette Liedeman
Step 1
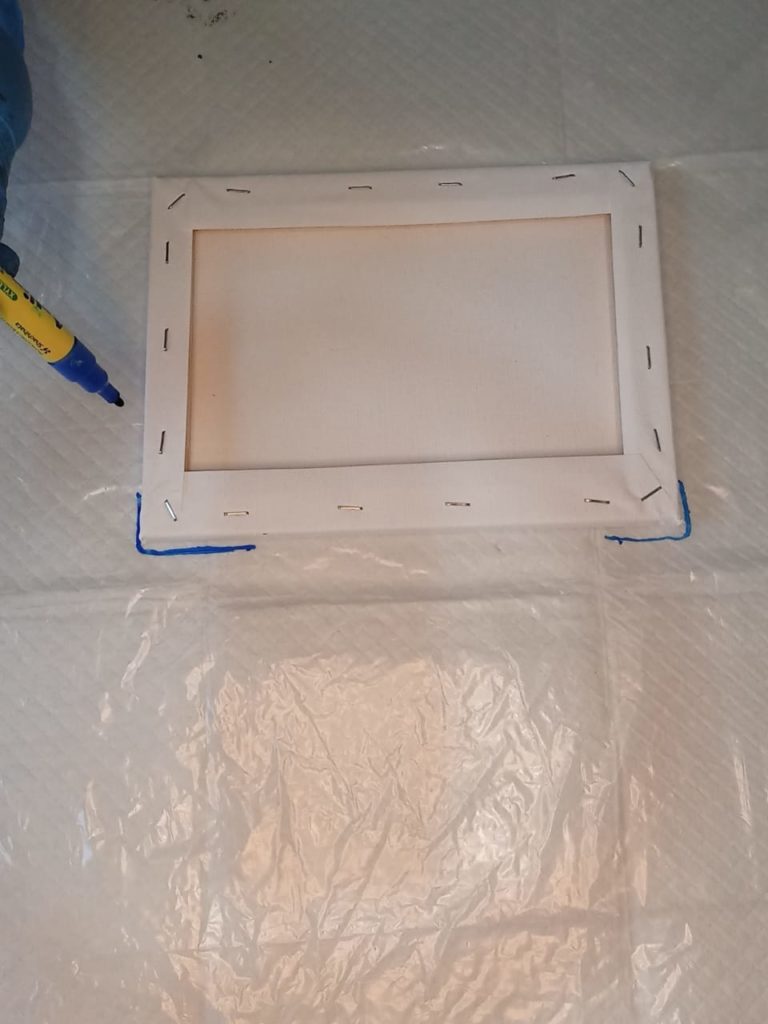
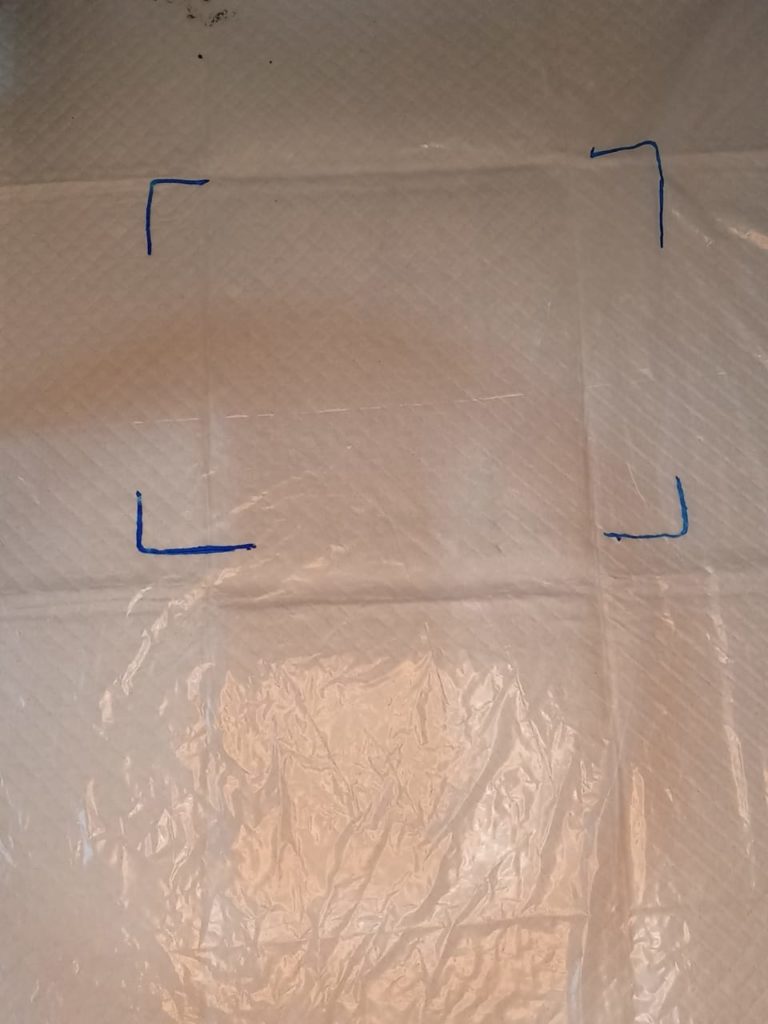
Mark off the sides of your canvas onto a plastic sheet below or directly onto a plastic tray.
Step 2
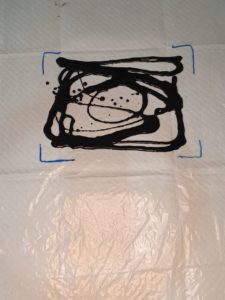
Fill in this space with a base colour. This base colour was mixed up as follows 1 part paint with 1 part pouring medium. 50g paint with 50g PM, and I added 5 ml extra water for consistency.
Step 3
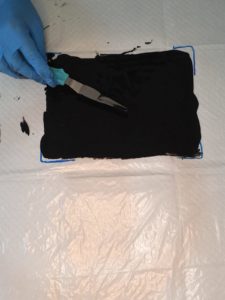
Spread paint with a spatula or a craft stick.
Step 4
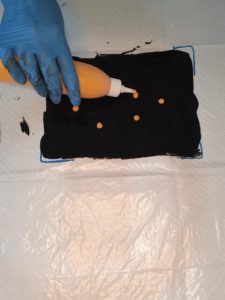
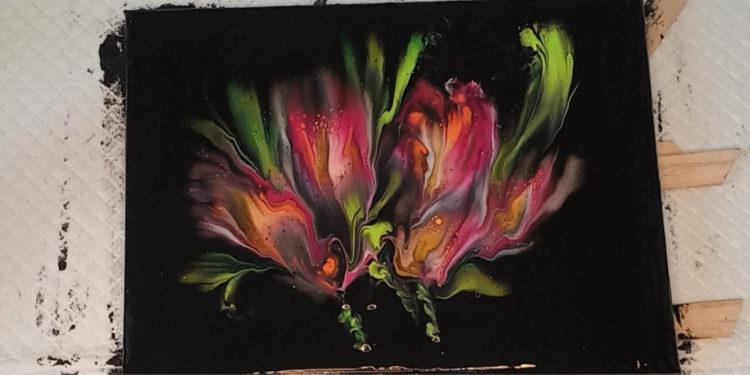
Now dot your flower centres with your first colour. I used cadmium yellow.
Step 5
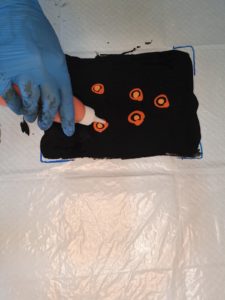
Pour a ring around the centres with a second complimentary colour. I used permanent orange.
Step 6
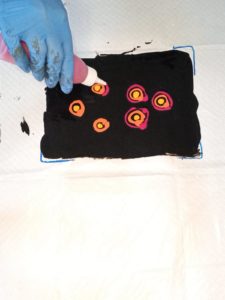
Next, another ring. This time with magenta.
Step 7

Now for highlights. You need a light colour to show dark. So I add in a metallic white around the edges and in the centre on top of that yellow dot I placed at the start.
Step 8
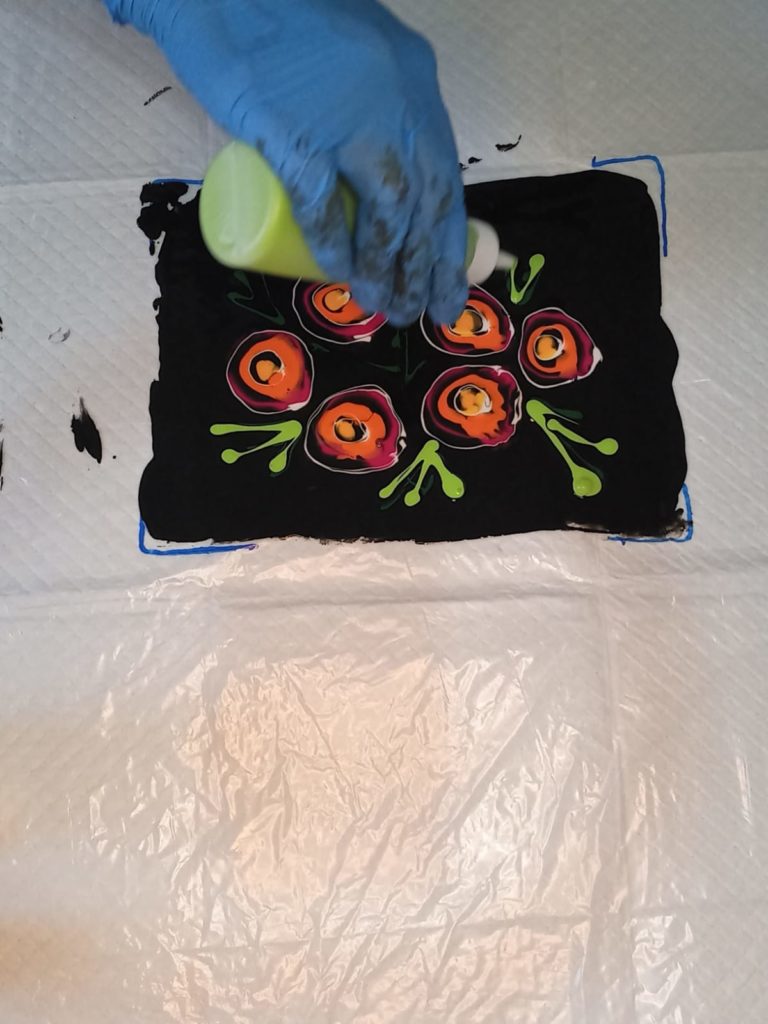
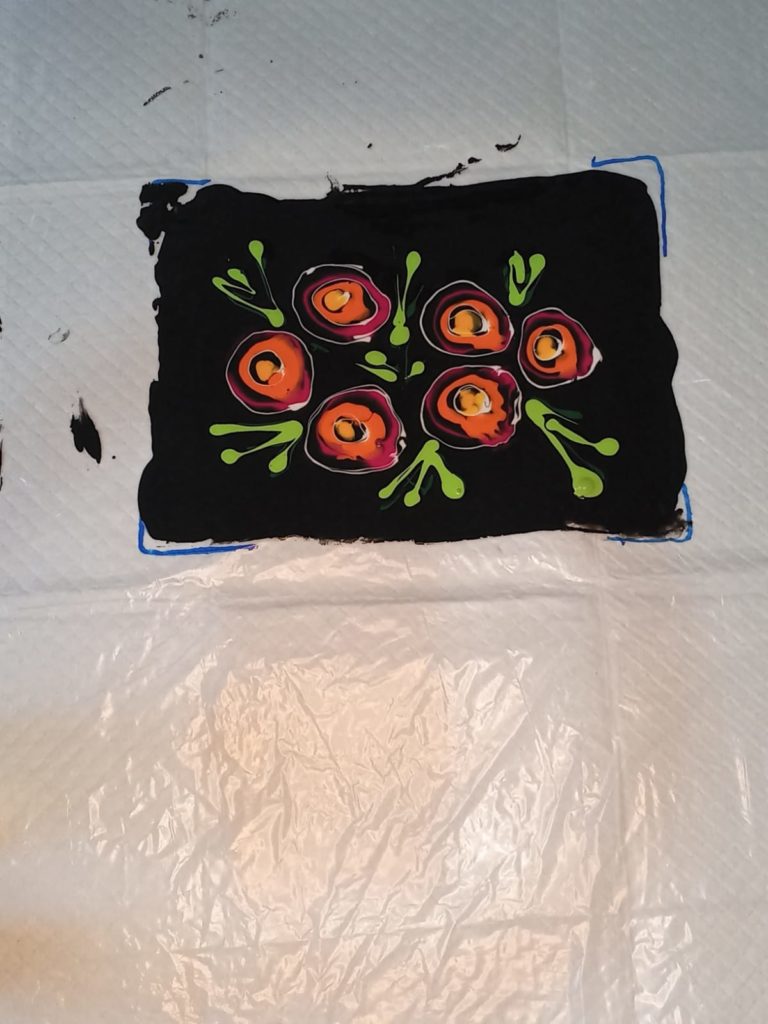
Next, I use two shades of green to fill in the leaves and foliage. I used V patterns.
Step 9
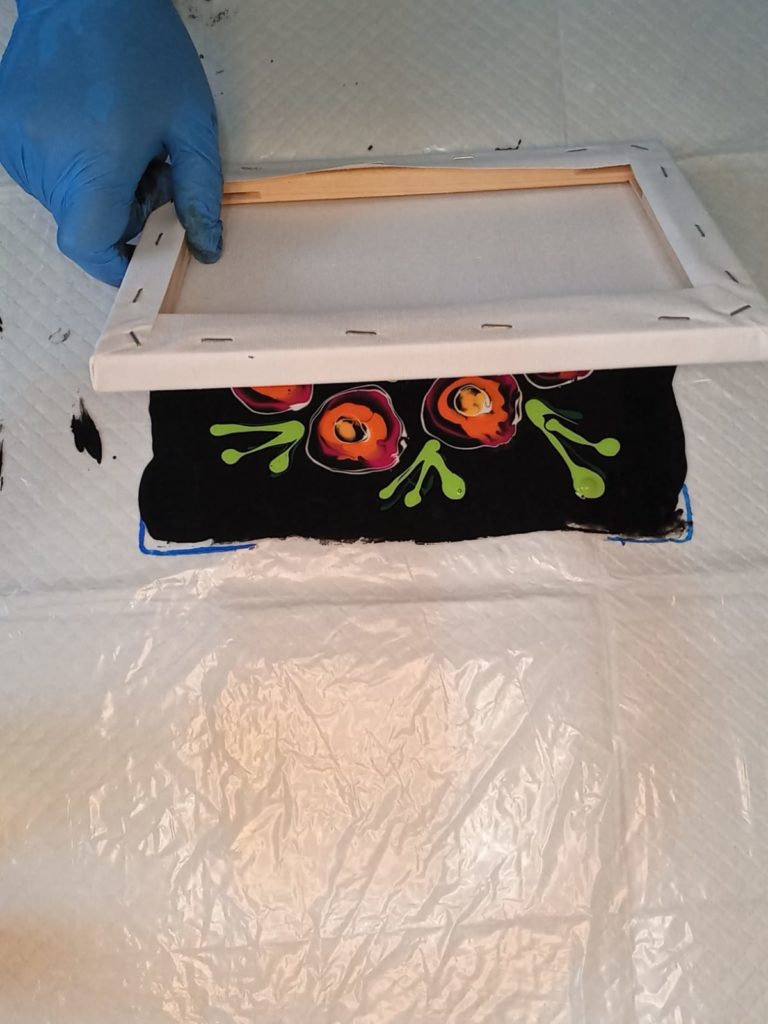
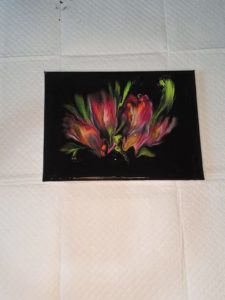
The next step is to place your clean, dry canvas right on top of your flower design, as shown.
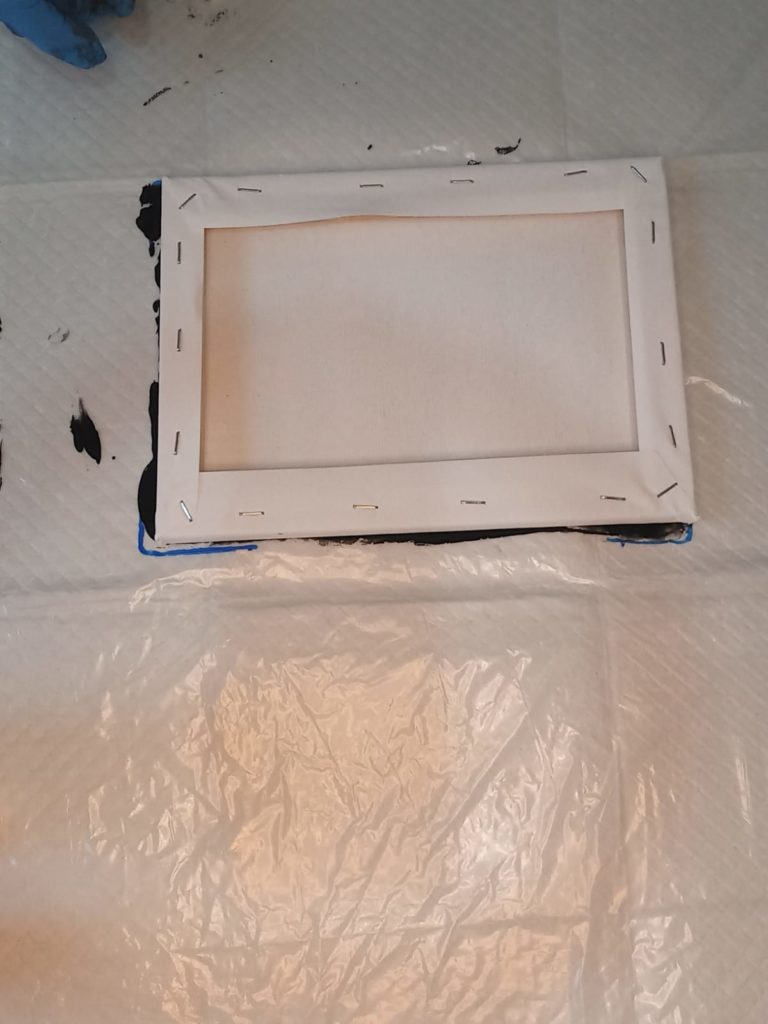
Step 10
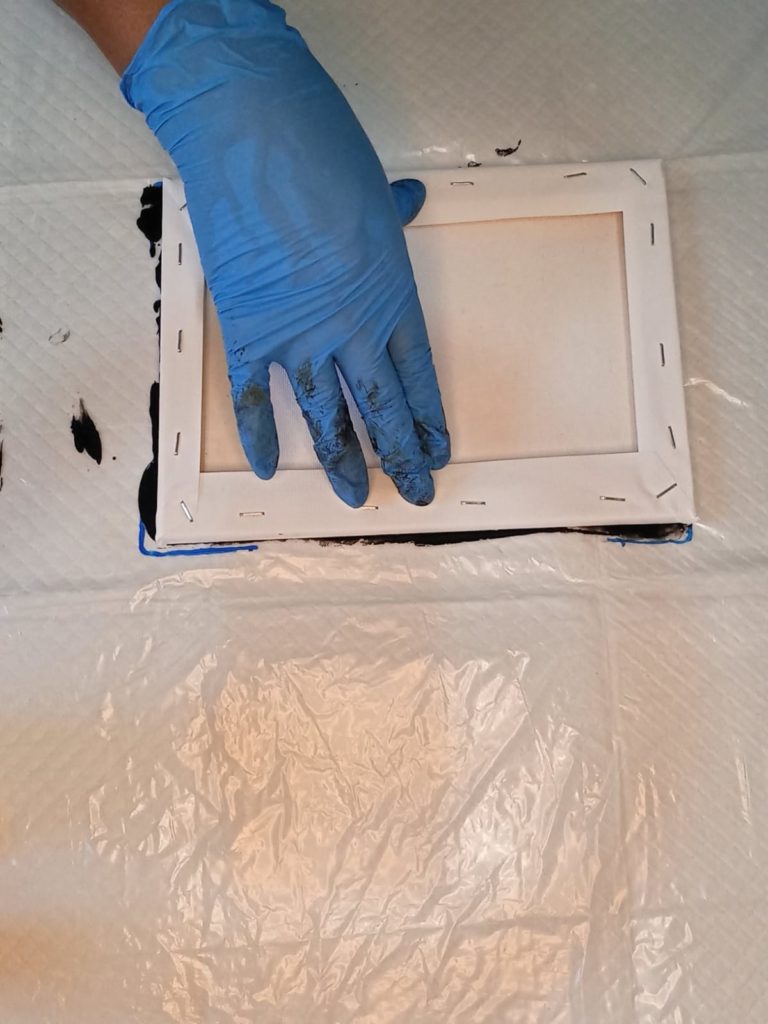
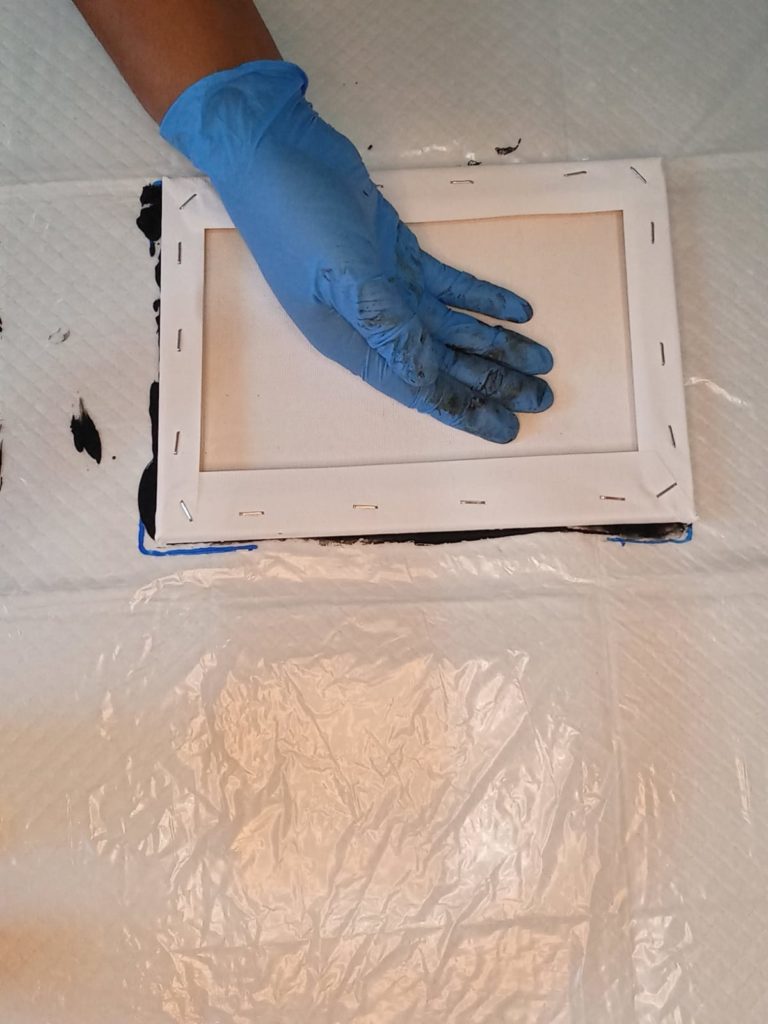
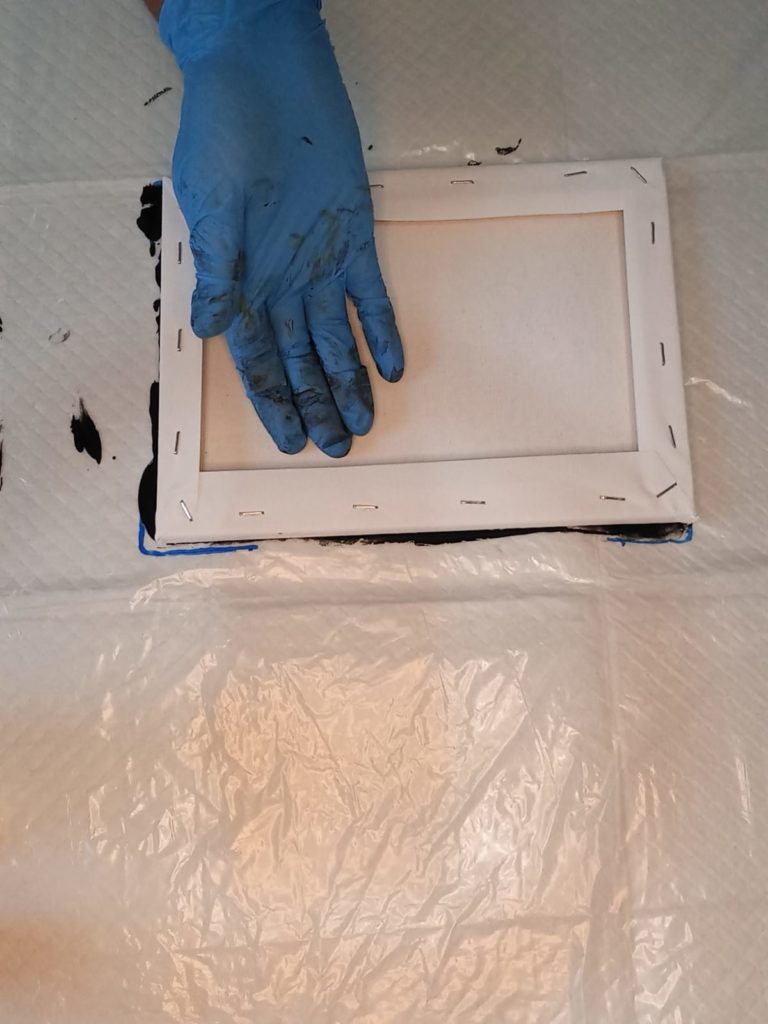
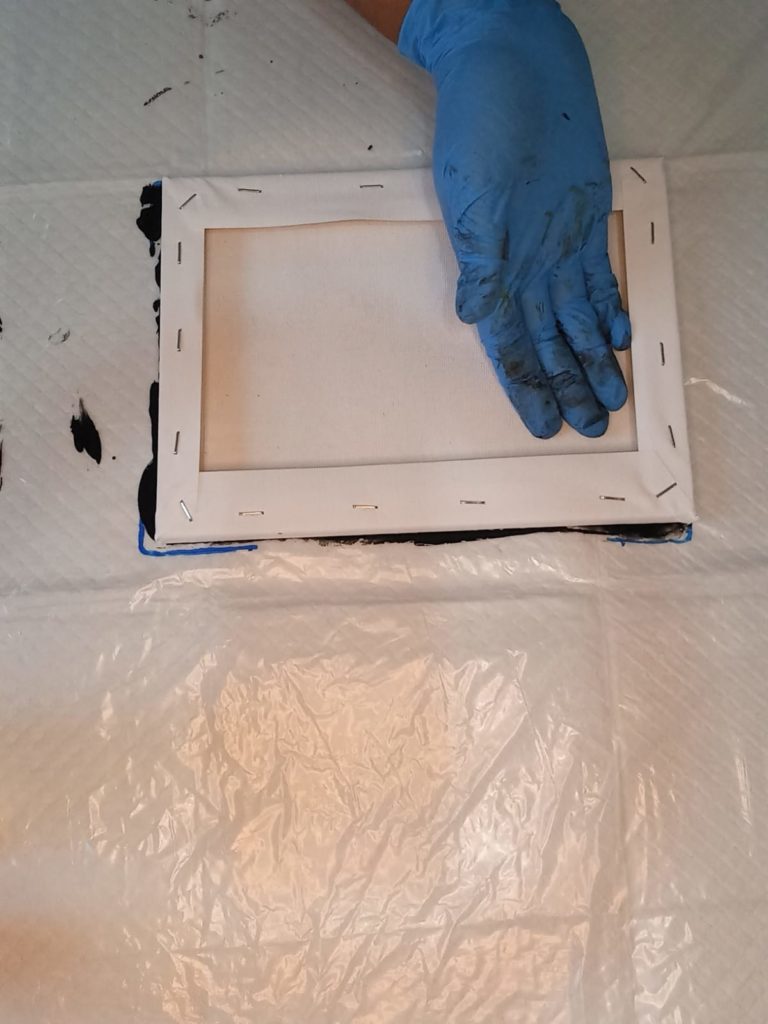
With a few gentle touches and feather-light presses with the back of my hand, I ensure that the paint underneath adheres to the canvas.
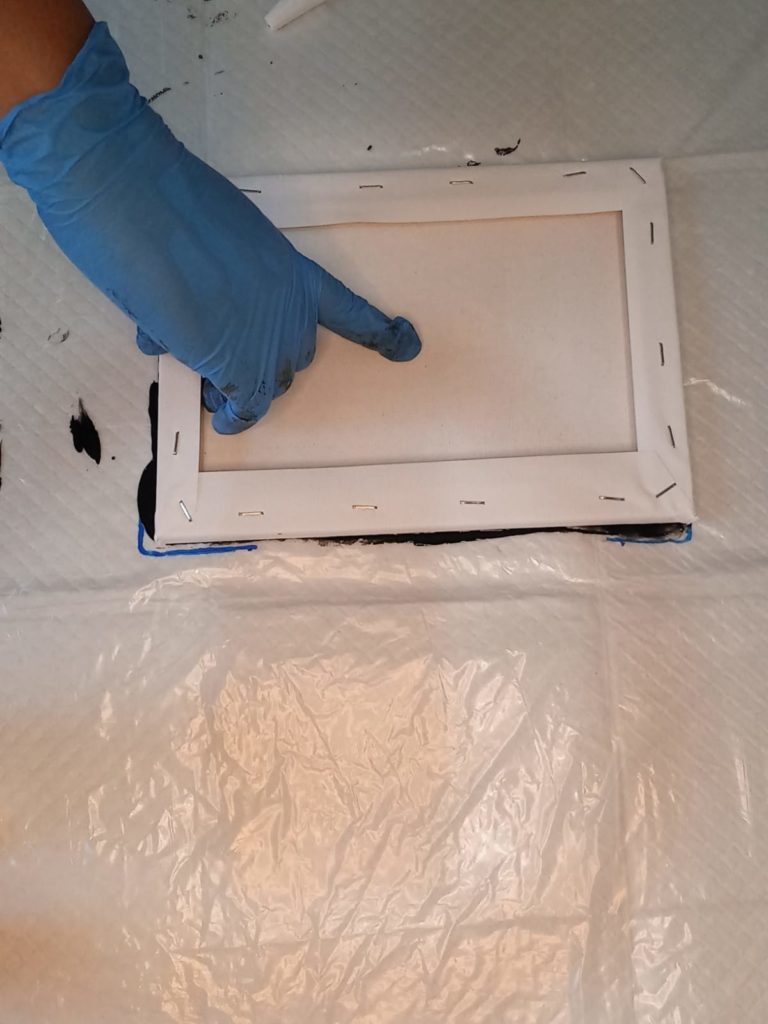
Step 11
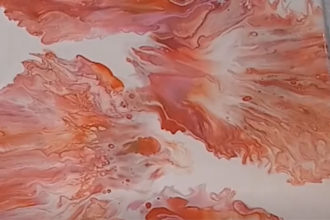
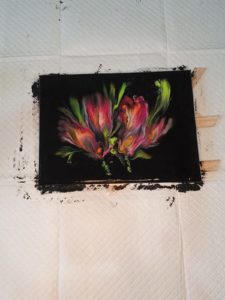
Now gently lift the canvas off the plastic. There will be some suction, so don’t pull up too fast or too hard. Take it slow and release the edges first and the middle part of the canvas last.
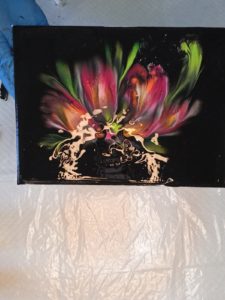
Step 12
The paint will be thicker in some parts and other parts you may need to fill in with your fingers. Simply lift the paint off from the plastic and touch up your canvas, don’t forget about touching up the edges at this time as well.
Step 13
You can add in stems if you like while the paint is still wet.
Step 14
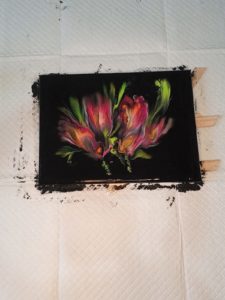
Ensure that the canvas is level as it dries. The paint is wet and will continue to move on the canvas, so if it is not level, the paint will run off the canvas and ruin your design