How to Start Watercolour Painting.
There’s a delicate, gentle beauty about watercolours that no other paints have. Some are even translucent visions brought to life by the artist. An almost not-quite-there stream in a soft green forest, where a fawn grazes on tender grass as a rabbit is in mid-hop a little away. So we’re doing a guide on how to start watercolour painting.
The word we most likely associate with a watercolour painting is ‘ethereal’. It has the quality of something from a children’s storybook, a tenderness to it.
And it makes for a joyful, easy discipline to take up as a hobby. If you have an interest in diving into the well of watercolours, read on.
How to start watercolour painting.

First stop: brushes.
You’ll want to start with a selection of brushes. We go into this in some detail in a previous blog, which you can read here. But basically, you just need a set of six brushes, two round, two flat, one mop, and one rigged. We explain the right sizes for beginners in that article. But a brief recap for convenience’s sake is:
Your round brushes are your versatile brushes used for the majority of the painting; the flats are used for blocks of painting and broad, thick strokes; the mop is for covering a large area – such as when you are painting the sky of a landscape painting; and finally your rigger is a very specialised, fine brush used for painting intricate details. Why you need two sizes each for the rounds and flats is because you want one double the size of the other. And that’s how to start watercolour paintings.
Second: paper
Watercolours shouldn’t be done on canvas. Canvas is unsuitable for watercolour painting because it isn’t designed to handle the amount of water you’ll be using in this paint medium. On the other hand, you’ll be able to find specialised watercolour pads and paper at our stores. Watercolour paper is clearly marked as such. It is highly absorbent, allowing it to “hold” the water much better. If you were to use other paper, like printer paper, for watercolours, you’ll find the paper actually bubbles and warps. Whereas with watercolour paper, the thick, textured stock beautifully holds the paint.

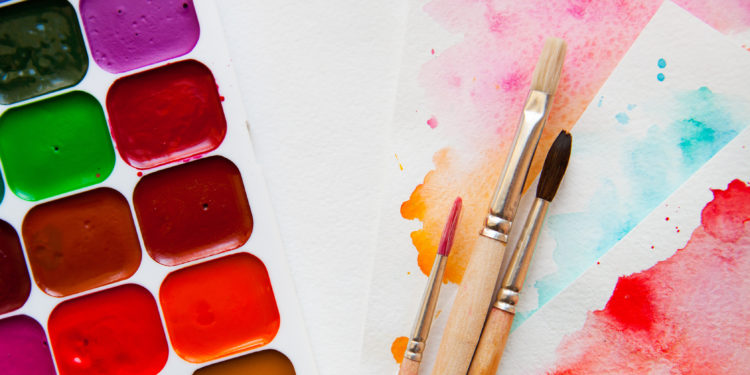
Third: pick a palette
A palette is an artist’s best friend when it comes to applying their craft. No truer is this than with watercolour paintings. If you’re not sure what a palette is, it is an (often) round plastic or wooden device that allows multiple drops of paints (of different colours) on it for ease of painting. With watercolours, you’ll want a plastic palette with deep wells. The wells allow you to mix water with the actual watercolour paint and achieve the translucent painting effect we’re looking for.
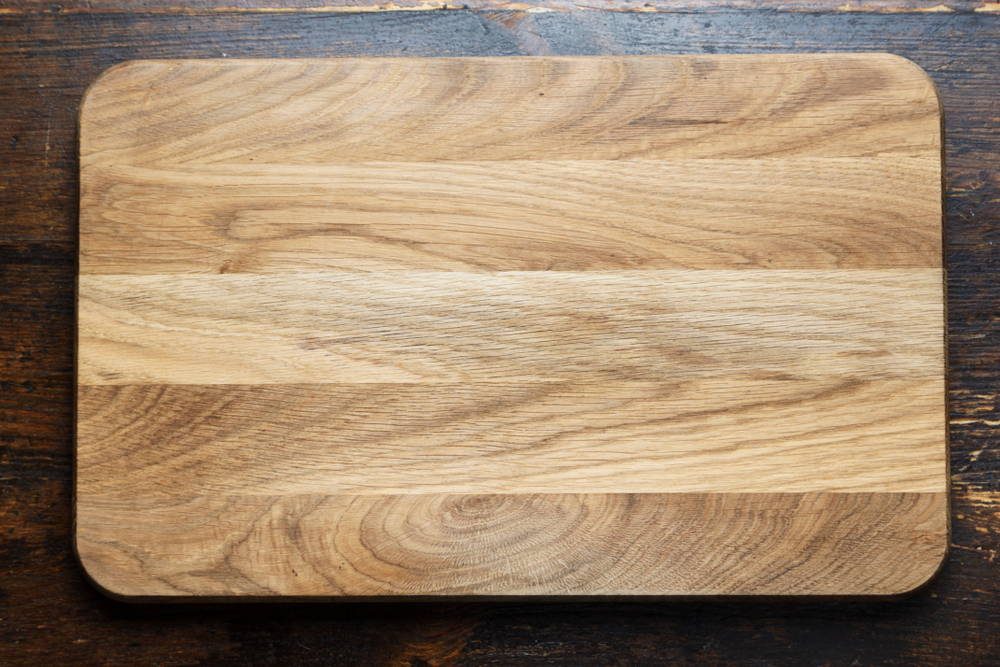
Fourth: now for some backing
Because paper being what it is, you’ll want to consider backing your watercolour paper with a board. This could be a wooden board you buy while out at PNA or simply cardboard.
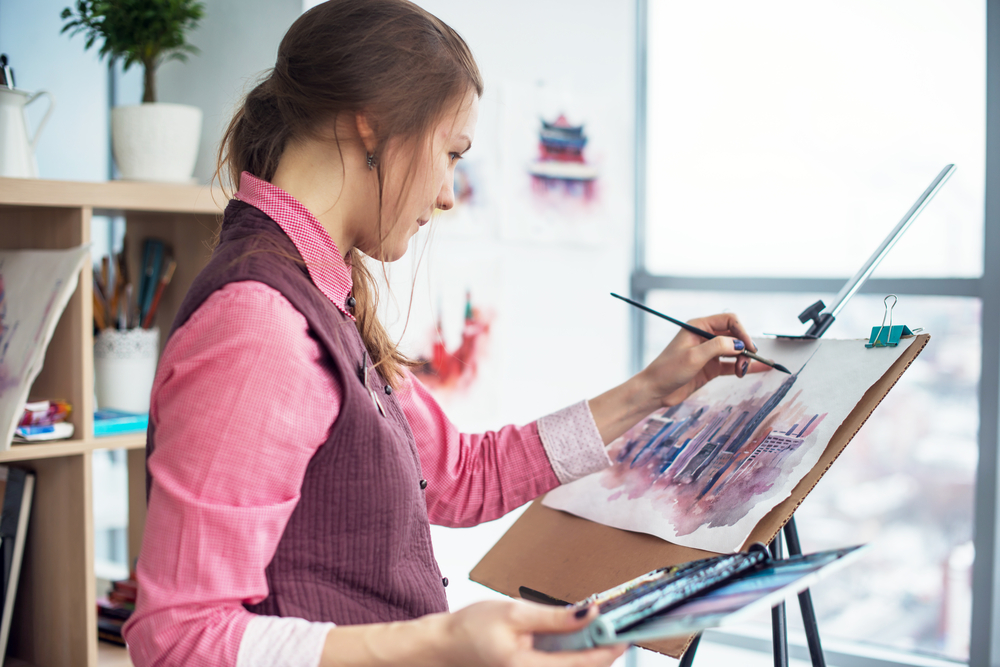
Fifth: to easel or not to easel
Whether you use an artist’s easel or not depends on your personal preference. An easel allows the artist to paint at an angle. You may find your wrist is happy with this and you have more flexibility and control in your painting. Or, you may find you have an easier time of it by placing the watercolour paper on a flat surface. Many people prefer to paint this way – it is this artist’s preference too. Especially when it comes to how to start watercolour painting.
Getting started.
Set up a workspace that’s comfortable for you. Use your intuition on what will allow you to flow with the act of painting. Then, when you’re ready to begin, start by dabbing small drops of water (from a water glass) onto the paint in the palette. Don’t use too much water as it will dilute the paint too much. If you haven’t used enough water for the desired effect, you can always add a few dabs more.
Sixth: Start with a simple project.
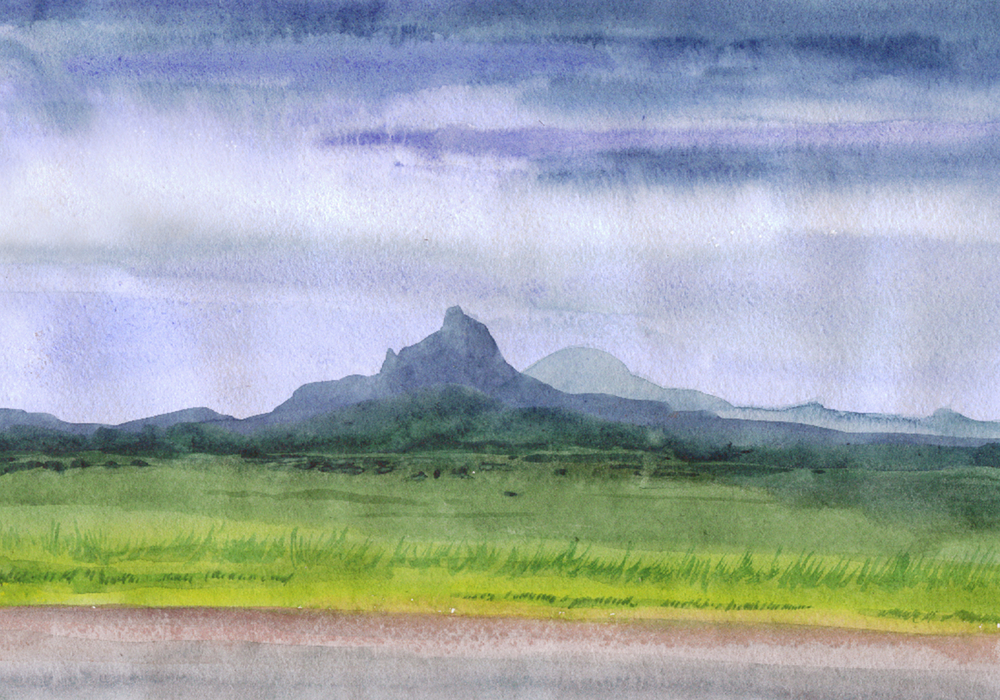
If you’re not an especially intricate or experienced artist, a good way to start is with a simple landscape. Paint from left to right (or the opposite direction if you’re left-handed). And use the mop head for elements like the sky. Use the rounds for painting rolling hills or a meadow. You may not need the larger of the two flats for this, but the smaller one could come in handy while doing the sky, especially higher up where you may want to go darker!
As you can see from the picture, various dilution levels were used in the sky, from almost no dilution to high dilution in the whiter parts (which create the rolling clouds). The same with the mountains. Less dilution for the mountains that are “closer” to us, more dilution with the “further” mountains – mimicking the vanishing point effect that happens with more distant objects to those closer to us.
Light.
This all has to do with a knowledge of how light works with our optical centres. How we’d perceive a sense of distance if we were there in person, standing in that exact spot and looking in that exact location. And the use of blues for the distant mountains is clever, because blues have the longest wavelength, meaning other colours fade from view before the blues do. A very far object often has a blueish tinge to it because of this.
Art, all art, is about understanding how light works and its real-world effects. Something worthy of its own blog topic – so stay tuned to our page!
And finally, use the rigger for capturing finer details, like that of the individual flowers, or leaves of grass or flowers. You can even use it for adding more details to the rocks. And certainly the sky.
And that’s your first project done.
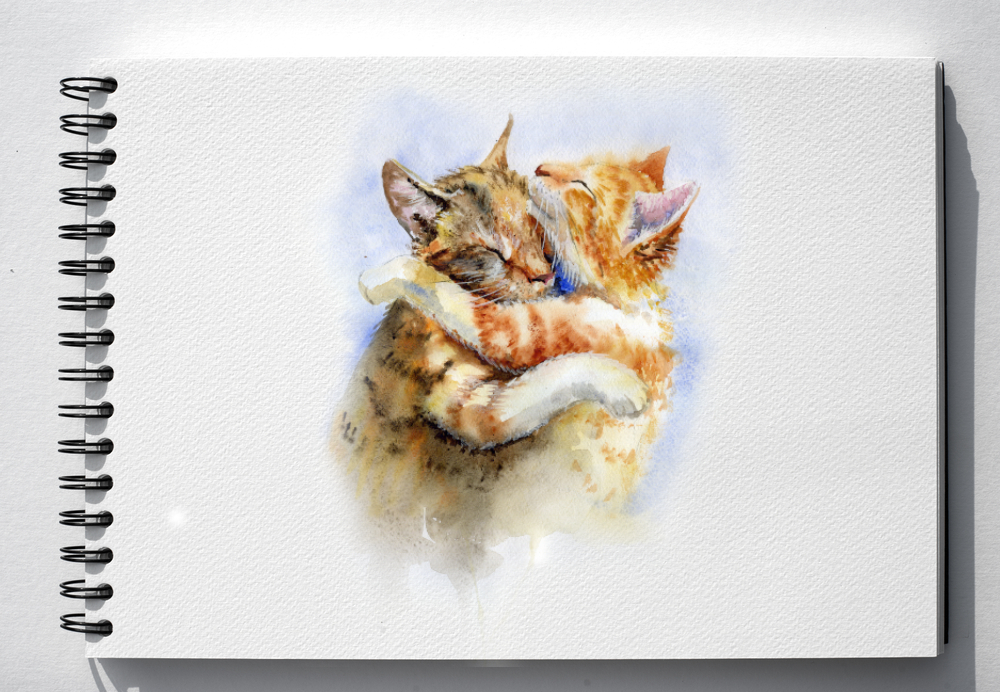
Well done! Now keep experimenting with this fine and exciting art form. You’ll be a master in no time. Then your next project could be a portrait of a friend or even a gentle animal. And make sure to frame your new piece of art! We hope you enjoyed this guide on how to start watercolour painting.