Here’s a Simple DIY Kite for Kite Flying Day!

“Imagination is the highest kite one can fly.” – Lauren Bacall
Almost like the Mary Poppins movie, kite flying is lovely! If you haven’t seen it yet, make a note, take some time – you won’t be disappointed! But let’s get back to this blog’s subject – Kite Flying Day on Monday, 8 February. It’s Friday, yeah!… A Friday is a start to a weekend, and sometimes it takes significant time to wrap your head around innovative ideas to keep those little hands busy. You may think that kite flying is not appropriate for this rainy weather…
But, building a kite is! It would probably be one of the easiest tasks this weekend, and yes, the weather is not precisely fit for kite flying, but it’s all in the imagination and having things ready for when the sun shines again and the wind is counting in our favour, is what counts. At least make one, with your kids, to fly another day.
So gather all the kiddos and have a kite party. Sit down with them and have a kite making session first – glitter included! Then choose the perfect day to march to the park or your backyard and fly those kites. Remember to pack lunch and don’t be in a hurry to bring the kite back to earth. Let it take all your worries and sadness you have left and fly away.
Easy Paper Kite For Kids
Here is a simple, easy-to-make, easy-to-fly paper kite that is great for children.
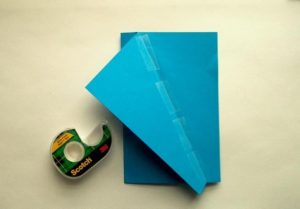
Step 1: Materials
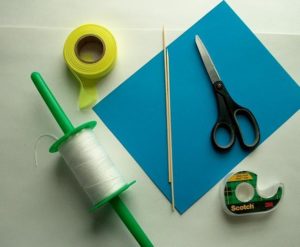
- Card paper – colour of your choice or white if your kids choose to decorate it.
- A wooden skewer or two drinking straws.
- String – strong, but light such as quilters’ string.
- Ribbon
- Scissors or a hole punch.
- Tape
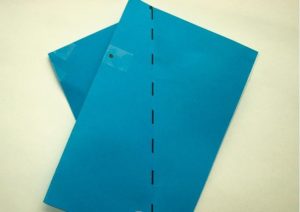
Step 2:
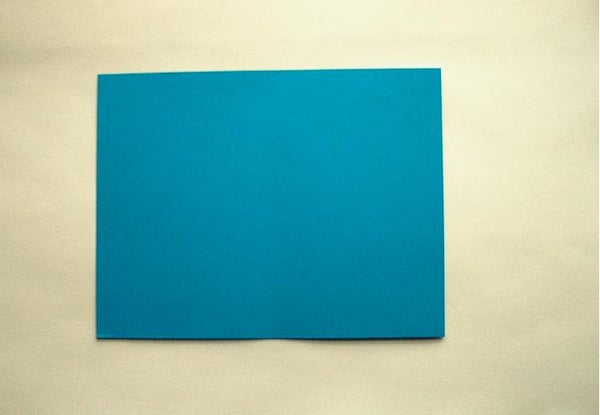
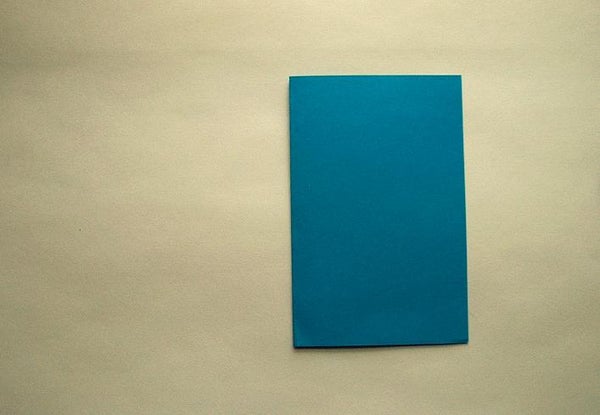
Fold your paper in half.
Step 3:
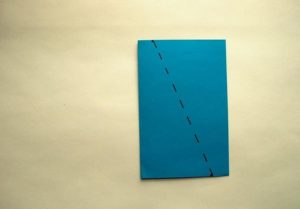
Mark a point on the top of the paper about 2,5cm from the fold. Mark a point on the bottom of the paper about 2,5cm from the open side. Imagine, or draw, a line connecting these two dots.
Step 4:
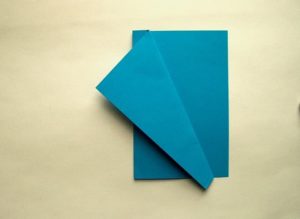
Fold the top corner of the paper down along the line that you’ve just created.
Step 5:
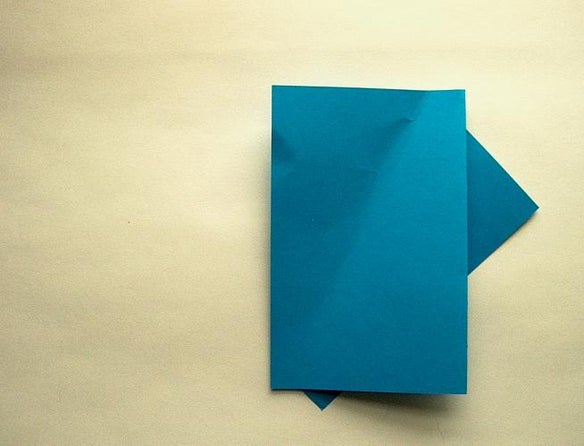
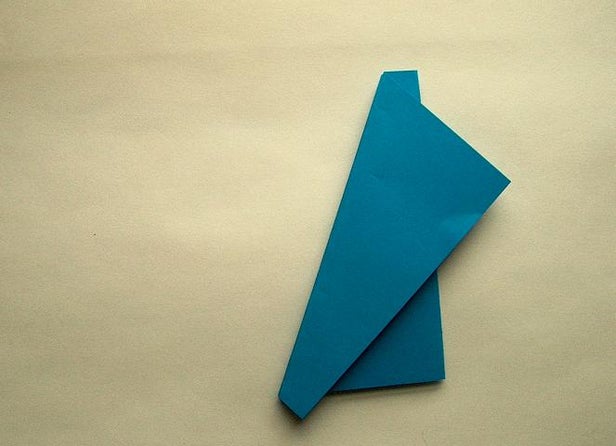
Next, flip the paper over and fold the other side down to match the side you just folded.
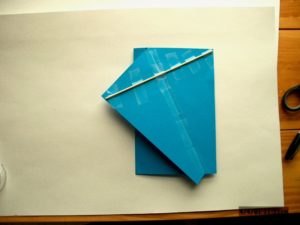
Step 6:
Flip the paper back over so that it looks the way it did in Step 4. Tape along the middle seam.
Step 7:
Lay a skewer across the kite, as shown, and tape it in place. You’ll probably have to cut the skewer down to size with your scissors.
Step 8:
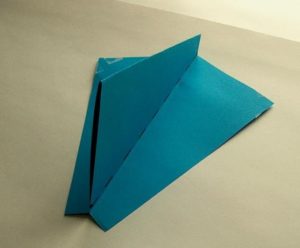
Flip the kite back over and straighten the “spine”.
Step 9:
Mark a spot about a third of the way down the spine, and about 1,25cm from the edge. Put tape over this mark to reinforce it on both sides. Use your hole punch or scissors to make a hole in this spot. Tie your kite string through this hole. Make sure to use a good knot!
Step 10:
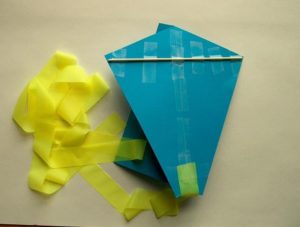
Tape a length of ribbon to the back of the kite, at the bottom. If you use light ribbon, the tail can be 2 – 3 meters long. Heavier ribbon should be shorter. You can experiment with the length; if it seems the kite can’t hold up your ribbon as it flies, just trim it shorter.
Step 11:
Your kite is ready to fly! These kites don’t need very much wind to get a lift and are not the best for VERY windy days. A nice steady breeze is all it needs. Remember, sometimes it takes practice to learn to fly a kite. Just remember to reel it in some if it looks like it’s falling, and let out more string if it starts to tug hard. Make sure that the middle “spine” is straight before the kite goes up.
Happy Kite Flying!