Bible Journaling with Anri Erasmus

Material requirements:
- Journaling Bible or notebook
- Pencil or clutch pencil
- Eraser
- Ruler
- Watercolour Pencils (GoldFaber Aqua Pencils)
- Wet wipes
- Paper towels
- White Cardstock
- Water Brush
- Fine Brush
- Gold Paint
- Black Journaling Pens
Process:
- Before we start the actual artwork, I always encourage Bible Study first. I find that when you study the Bible, it is easier to create an entry that links to scripture and helps you remember it. You can also use a notebook, normal or journaling bible; it’s totally up to you! With that said, journaling in your own bible or notebook is a personal journey, and you should try not to compare your artwork with other people. It is about spending time with God while worshipping him creatively! The fun process of creating art is just a bonus.
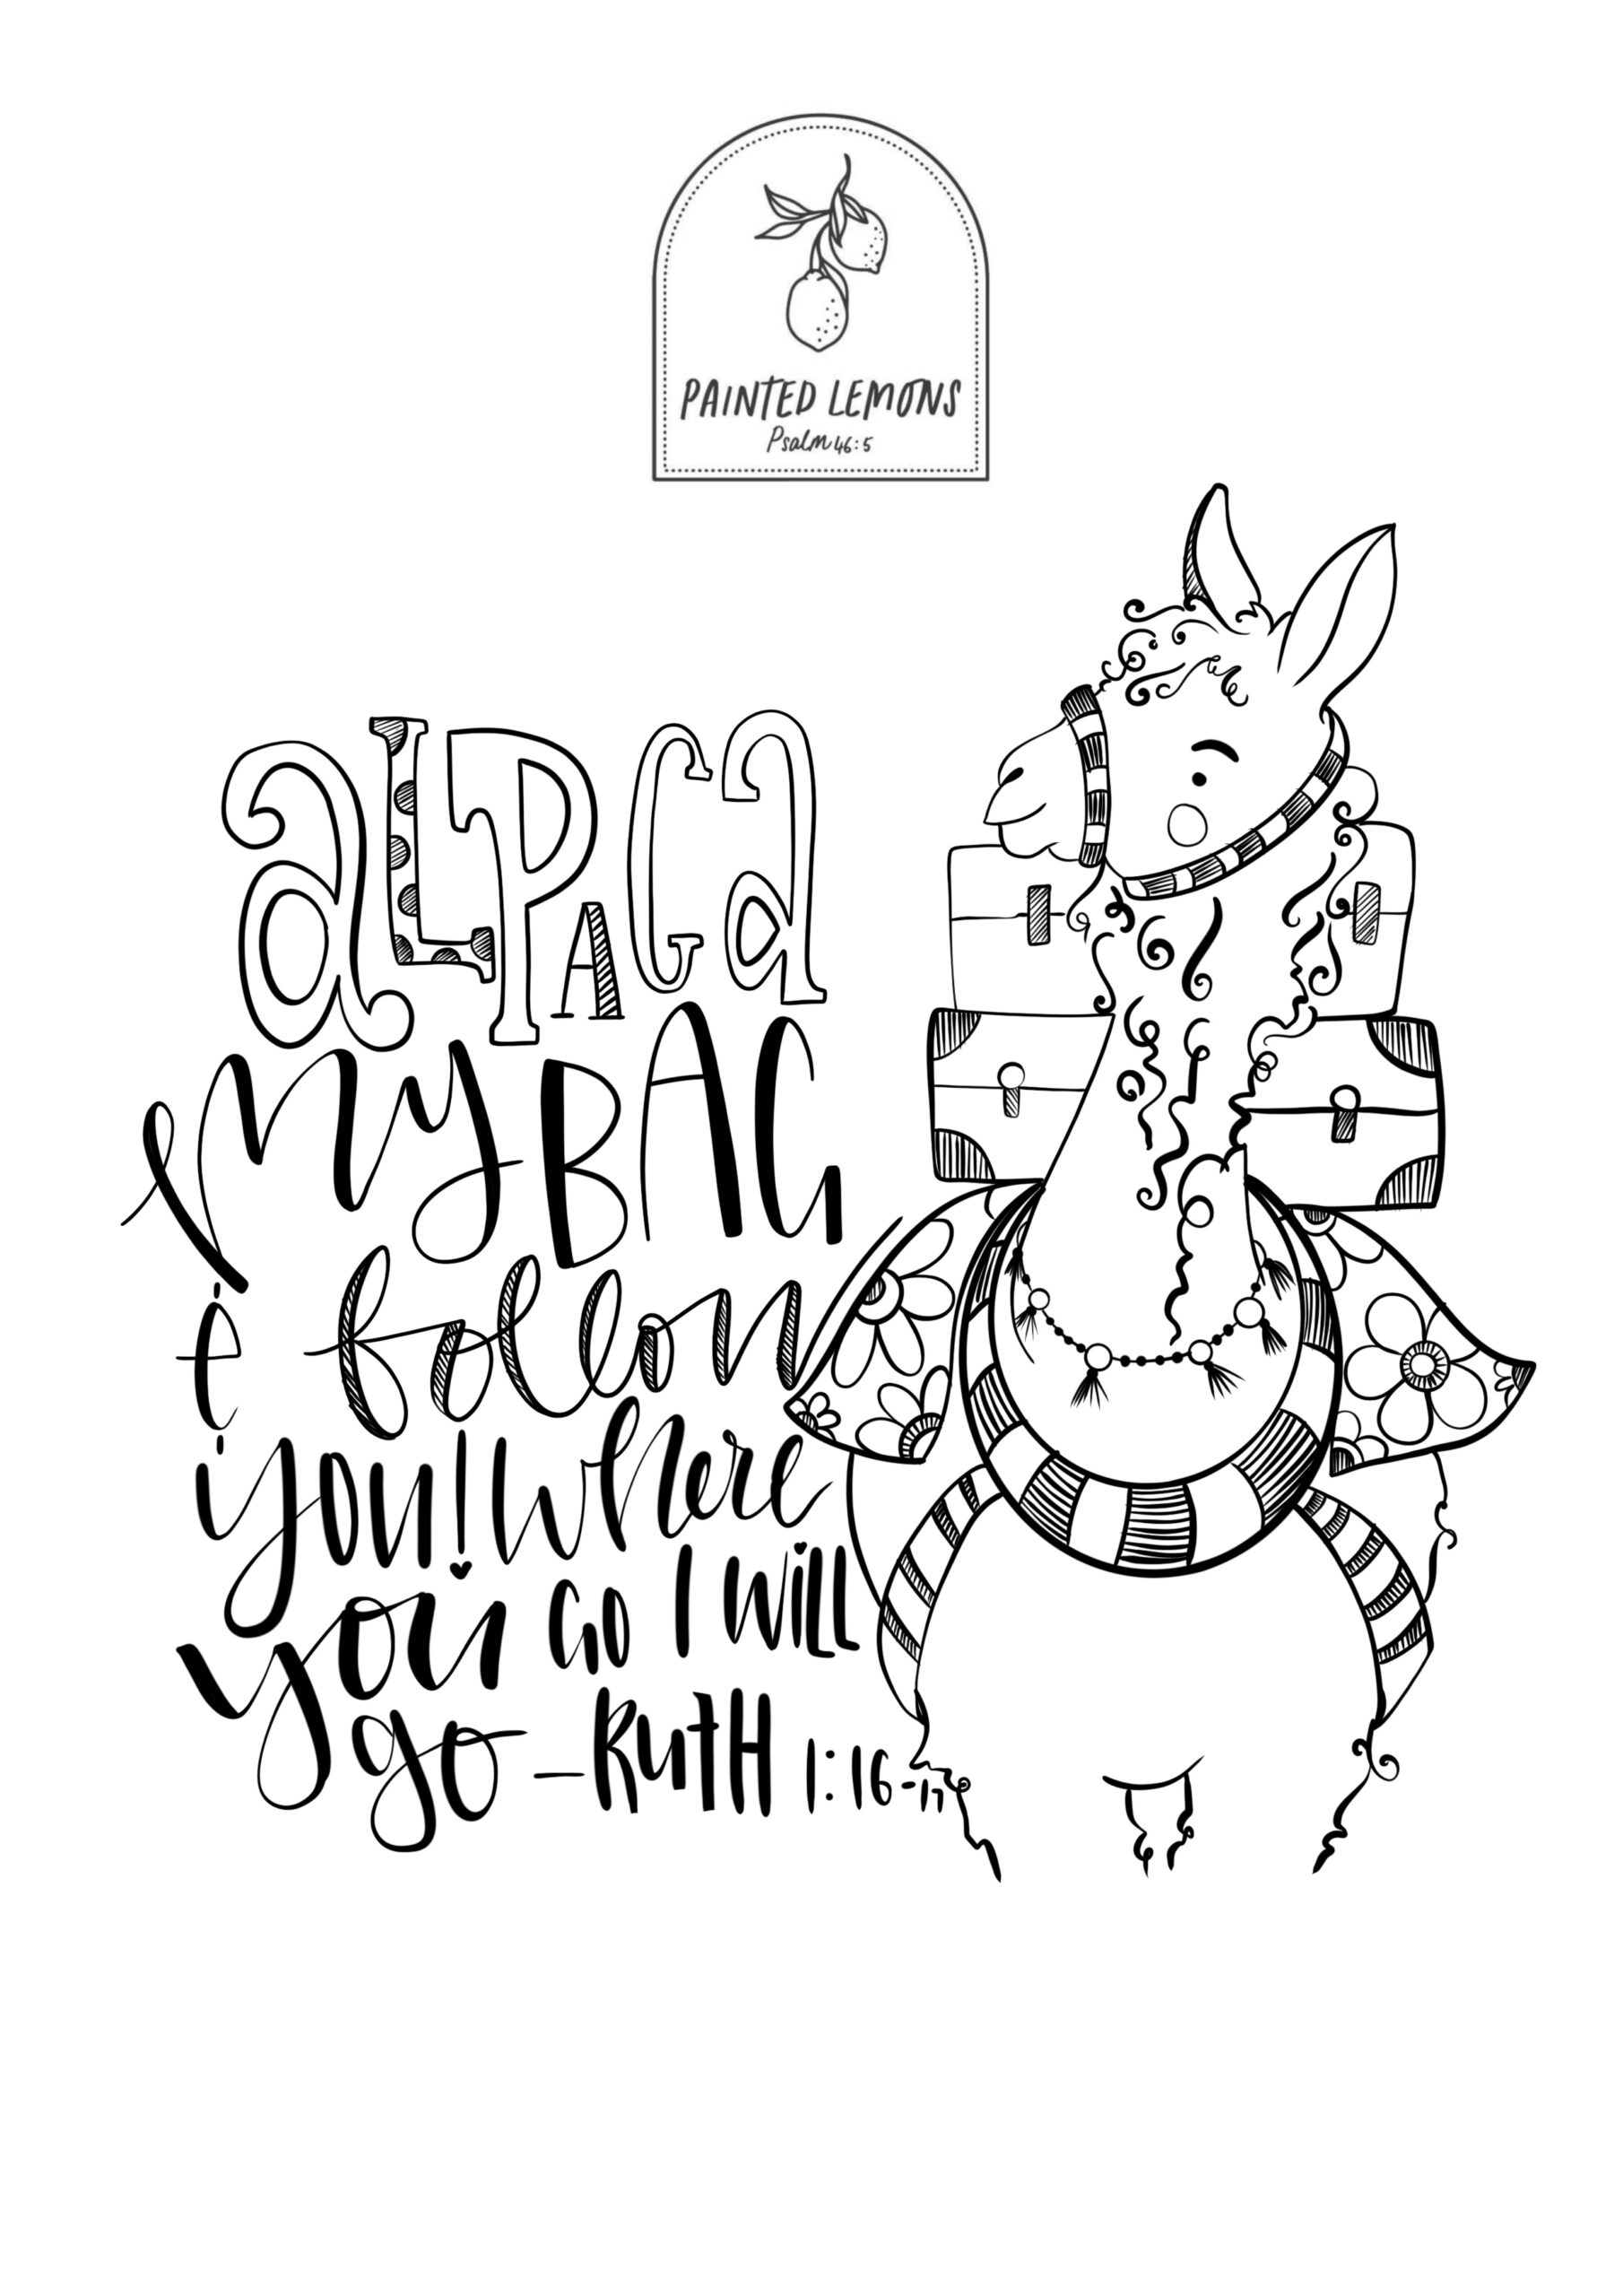
- Once I have studied my bible, my favourite part is sketching out my idea. If you are not a super good sketcher, I created a printable image for you to trace. I usually start by sketching out the art in shapes and putting down my scripture or lettering. This is usually a tough process, and I don’t add too much detail. Once I am happy with my composition and layout, I sketch my design in a black journaling pen.
- I like to use Faber-Castell Pitt Artist pens, Faber-Castell Ecopigment Pens or the Tombo brush pens. All of these pens don’t bleed through on most pages, and they are waterproof. I usually play around with the pens to see which thickness will compliment my artwork the most.
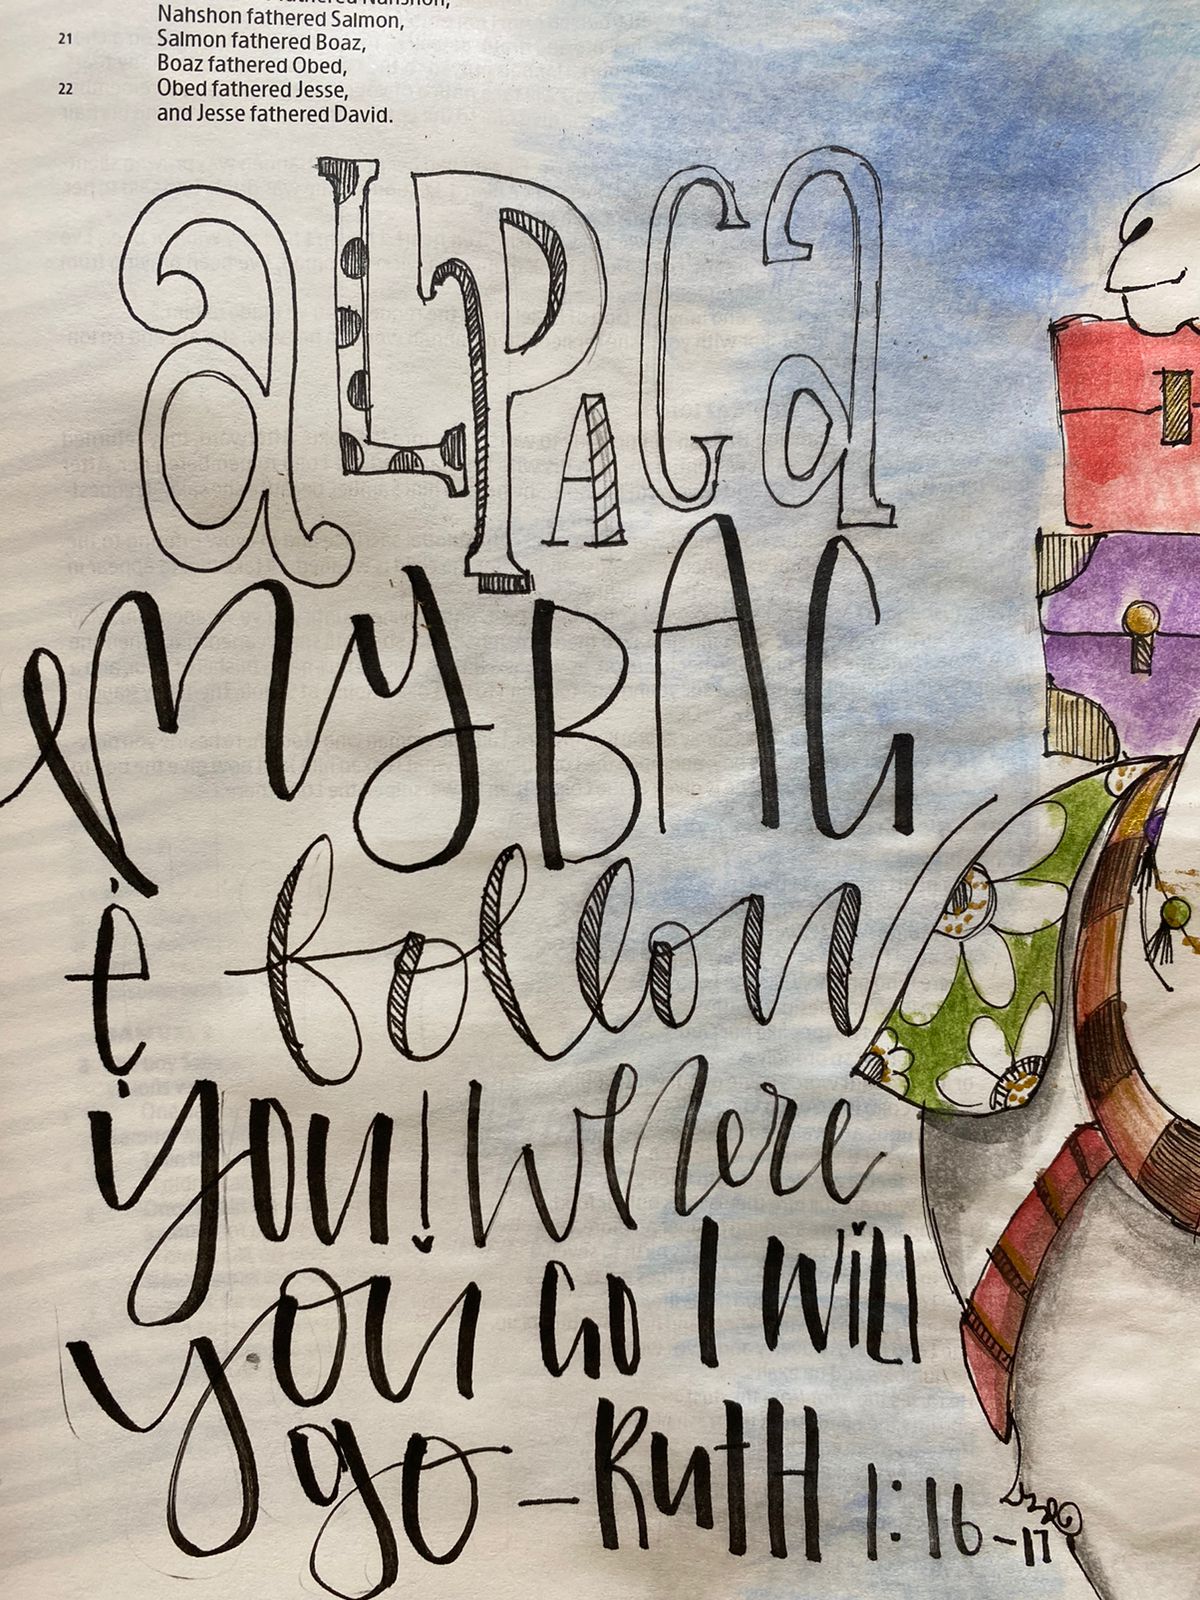
- Lettering – Brush Lettering and Faux Calligraphy is one of my favourite elements to use in Bible Journaling. For faux calligraphy, my go-to pens are the Pitt Artist or Ecopigments, and for brush lettering, I am a total sucker for the hard and soft nib Tombow Brush Pens. As per the video, you will note I used both pens to do the lettering of my verses. Using different pens gives you variety which makes your artwork more interesting.
- Once you have finished redrawing your artwork and lettering, gently erase the pencil marks with a Faber-Castell Dust-Free eraser. I specifically use the erasers because they don’t leave a ton of dust worms everywhere.
- I will be using watercolour pencils to create the idea of watercolour artwork. I find this medium is perfect for anyone who wants to transition to creating more paint watercolour type artworks in their bible. The best thing about watercolour pencils is you have more control over your pigment and water versus using actual watercolour paint.
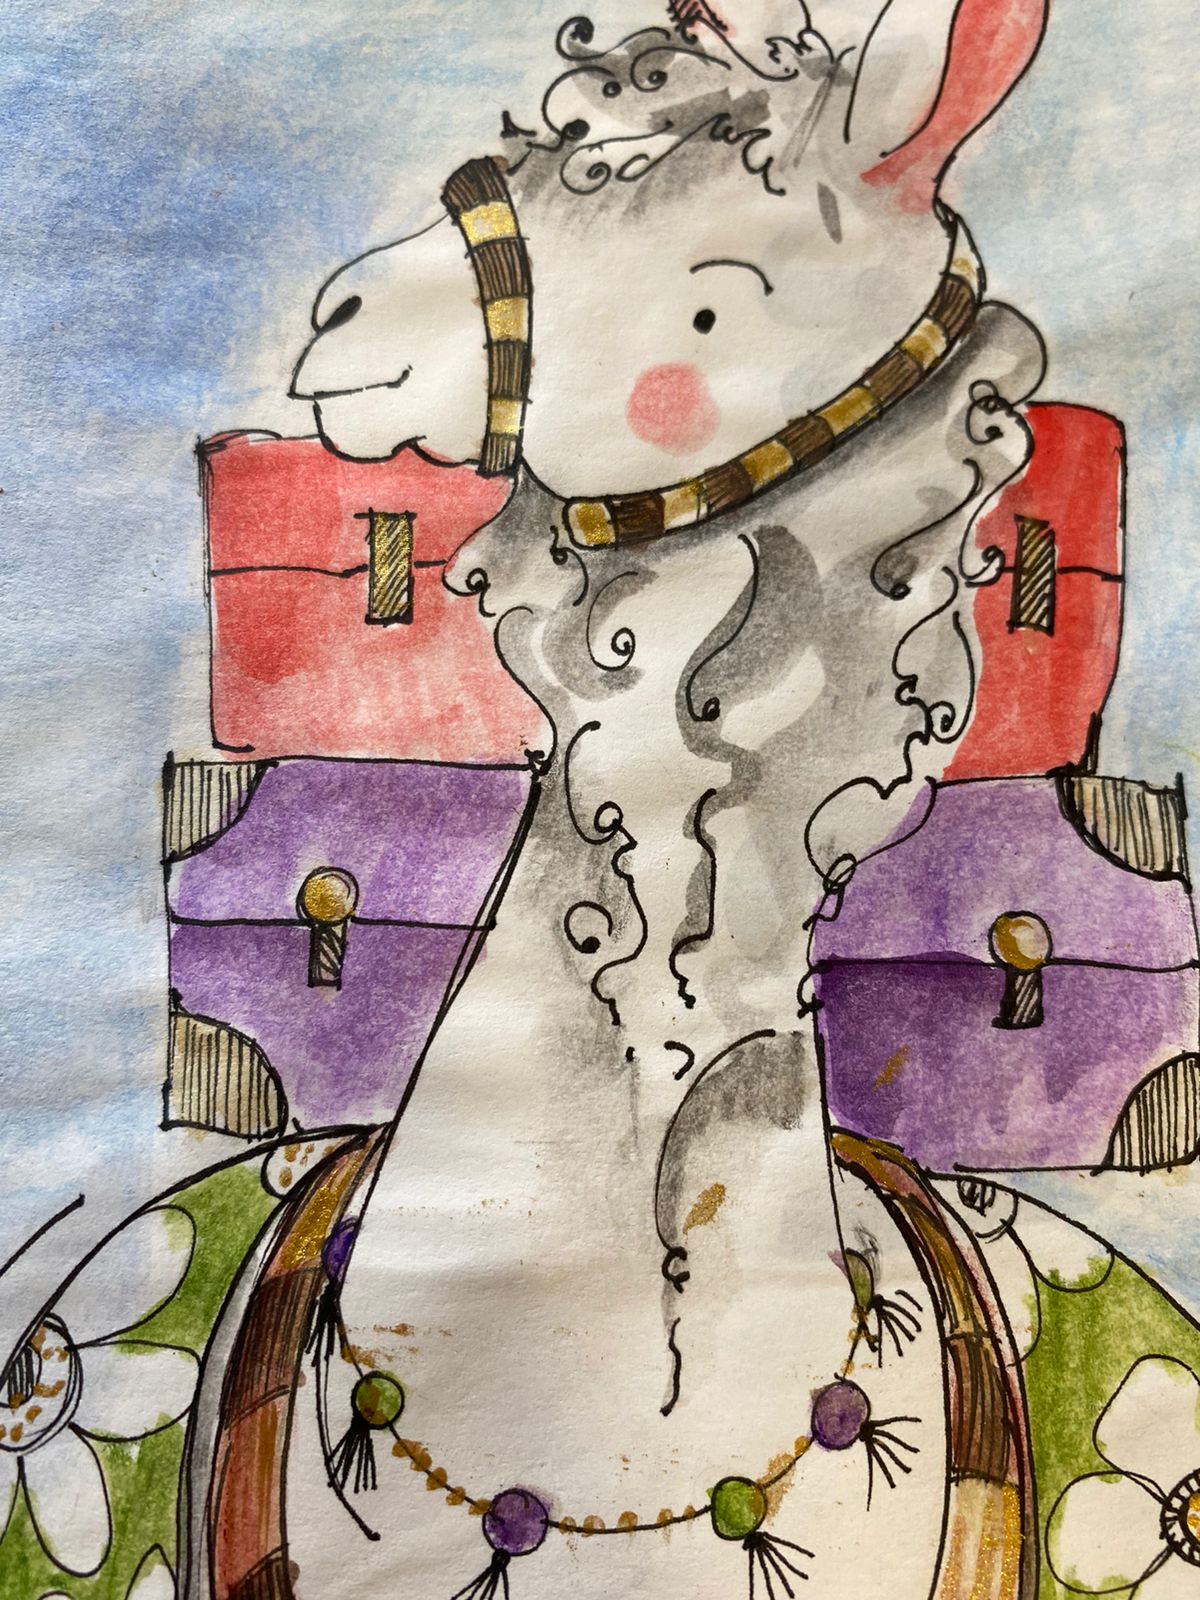
- This is probably the most fun step – adding colour. Use Goldfaber watercolour pencils colour in your image.
- Because my alpaca is white, I did not colour her in completely. Instead of using a black pencil, I created drop shadows to create the illusion of having a white furry cute alpaca. The rest of the alpaca is basically coloured in flat. I also used a light blue and gently coloured in the background.