A Piece of Cake (Lino Cut) by Yolande Snyders
You will need:
- Your design
- Lukas Studio Linol Ink {Black}
- Lino Cutter & Blades
- Precut Grey Lino {A6 size} x2
- Dala Rubber Roller 2 or 6 Brayer
- Correx board {Or 3mm thick cardboard}
- Tablespoon
- Ballpoint Pen
- Black Fineline Permanent Marker
- Pencil
- Carbon Paper
- Primeart A5 Hot Press Paper
- Plain white A4 Sheets
- Few Sheets of Kitchen Roller Towel
- A4 Perspex or Glass {Clean / Scratch free} “Inking Slab”
- A4 Card Stock
All art supplies from PNA.
How to:
- Design a special Birthday card on a plain white A4 Sheet. Dimensions 105 x 148mm.
When you have completed your design, take the precut grey lino and lay it over the carbon paper. Lay down your design on top of the carbon paper. *Please see sidenote.
*Important Sidenote:
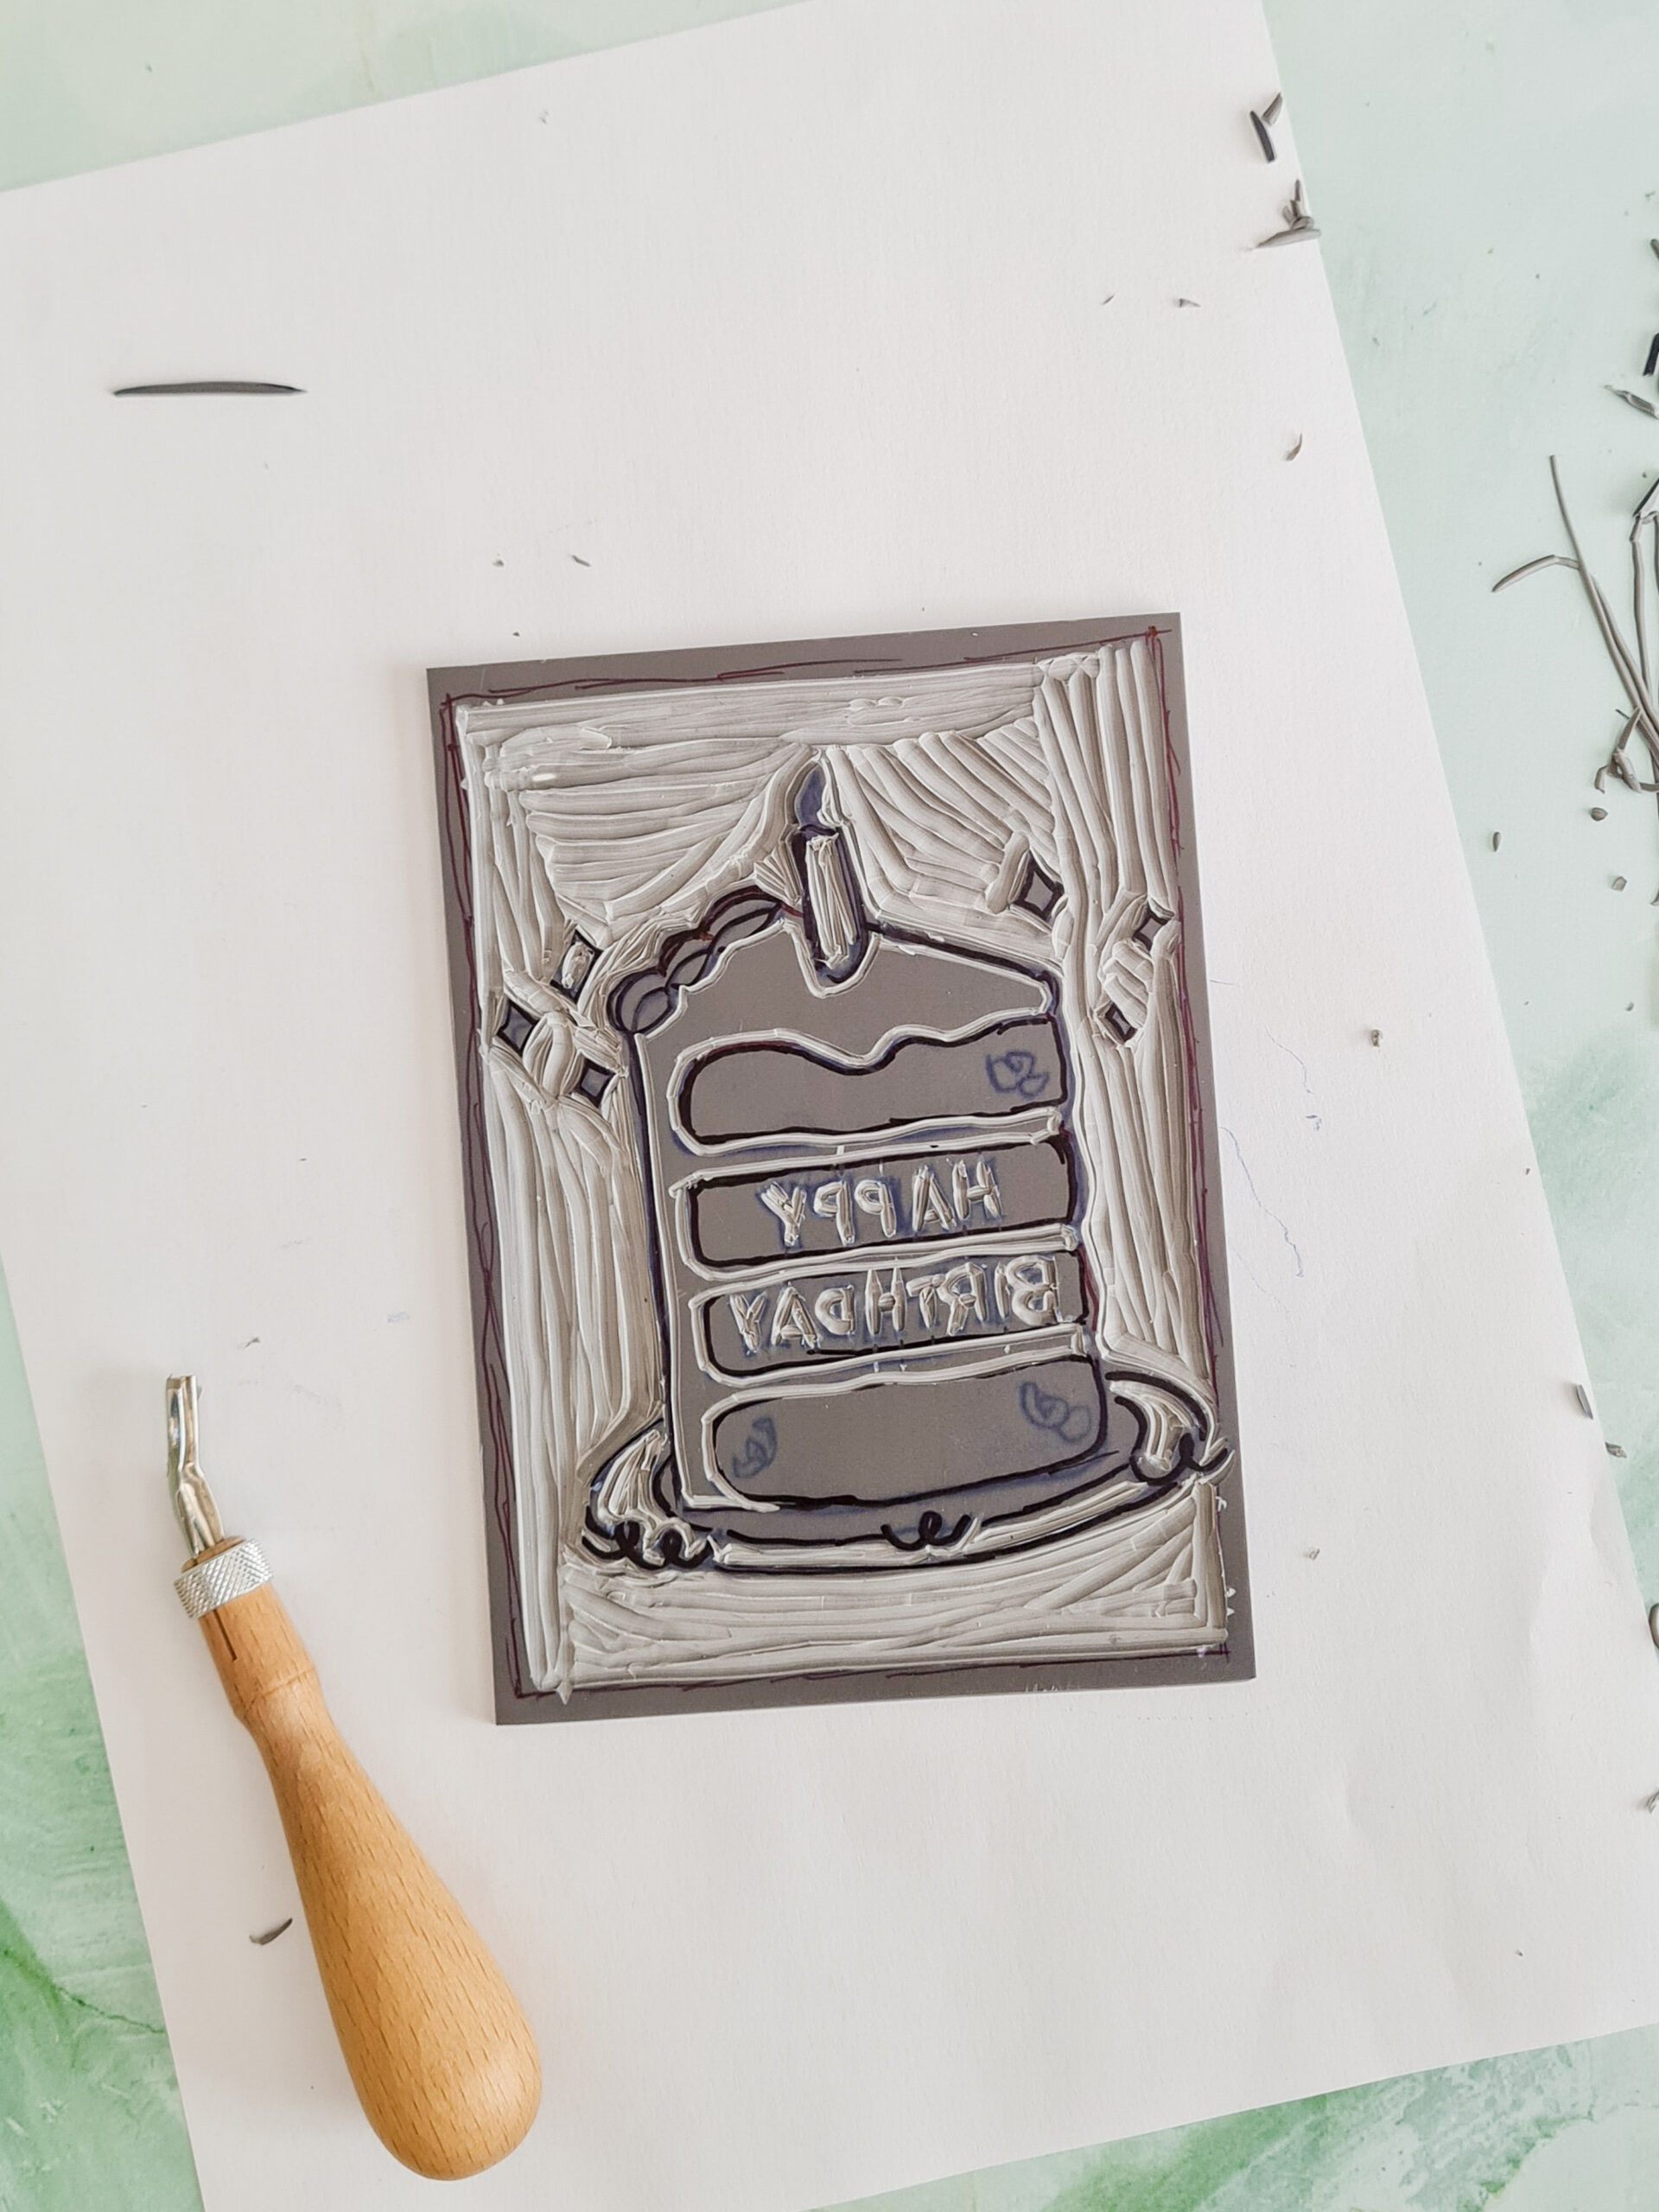
Remember that with linocut printing, lettering needs to be reversed before tracing it to the lino. The trick is to lay your finished design face down with the carbon paper over the lino. Alternatively, if you are designing in photoshop or illustrator, you will be able to revert the letters there.
- Hold steady the design on the lino as not to move the carbon paper and use the ballpoint pen to redraw your design on the lino. Press hard. Check to see if the design is coming through on the lino before continuing. This step will destroy your design, so make a copy of your design if possible.
Linocut printing, in essence, is cutting away what needs to be white (the paper) and leaving what needs to be black (the ink). Use your permanent black marker and mark the areas that are shadows or should stay black. Colour it in if you feel safer doing it that way.
- If this is your first time with linocut printing, practice cutting on a separate piece of lino. Use your lino cutter’s different blades and experiment with pressure.
*Important Sidenote:
Always make sure your fingers are out of the way when cutting!!! Cut away from yourself.
- Take your lino cutter and blade of choice and start cutting away all the areas that you don’t want to show printed. Work slowly; a piece that is cut can’t be replaced. Also, please refer back to my second sidenote.
For detail work, use the smallest U-blades, and when cutting away large/background areas, use the larger U-blades.
I prefer always to start cutting out my main design from the background. Working away the background before starting on the smaller details.
- Let’s get set up for printing.
- Put your lino on a sheet of kitchen roller towel.
- Set up a plain white A4 sheet you will use to position your print.
- Get a clean sheet of Primeart A5 Hot Press Paper, Correx board and tablespoon
- Set up your inking slab, perspex or glass. Squeeze a teaspoon of ink into the centre of the perspex.
- Start rolling your ink around with your Dala Rubber Roller. Use a relaxed hand. Work the ink in a square for a few minutes. When the ink becomes noisy, you will know you will be ready for printing.
Make sure your roller is completely covered in ink.
Roll the ink in all directions with the Dala Rubber Roller over the lino to cover. Ensure not to go back to the ink with your roller.
- Delicately pick up your lino and gently place it in the centre of the A4 sheet.
- Make sure your hands are clean.
- Take the A5 paper and position it above the lino; not touching it yet, align it with the A4 sheet to centre it. Gently set it down on the lino pressing down on the centre of the lino.
*Important Sidenote:
If the paper moved, don’t pick it up; continue printing and see it as a test.
Put the Correx board on top of the paper, steady it with your hand, and use the tablespoon to gently start rubbing in circles to get an even distribution of ink.
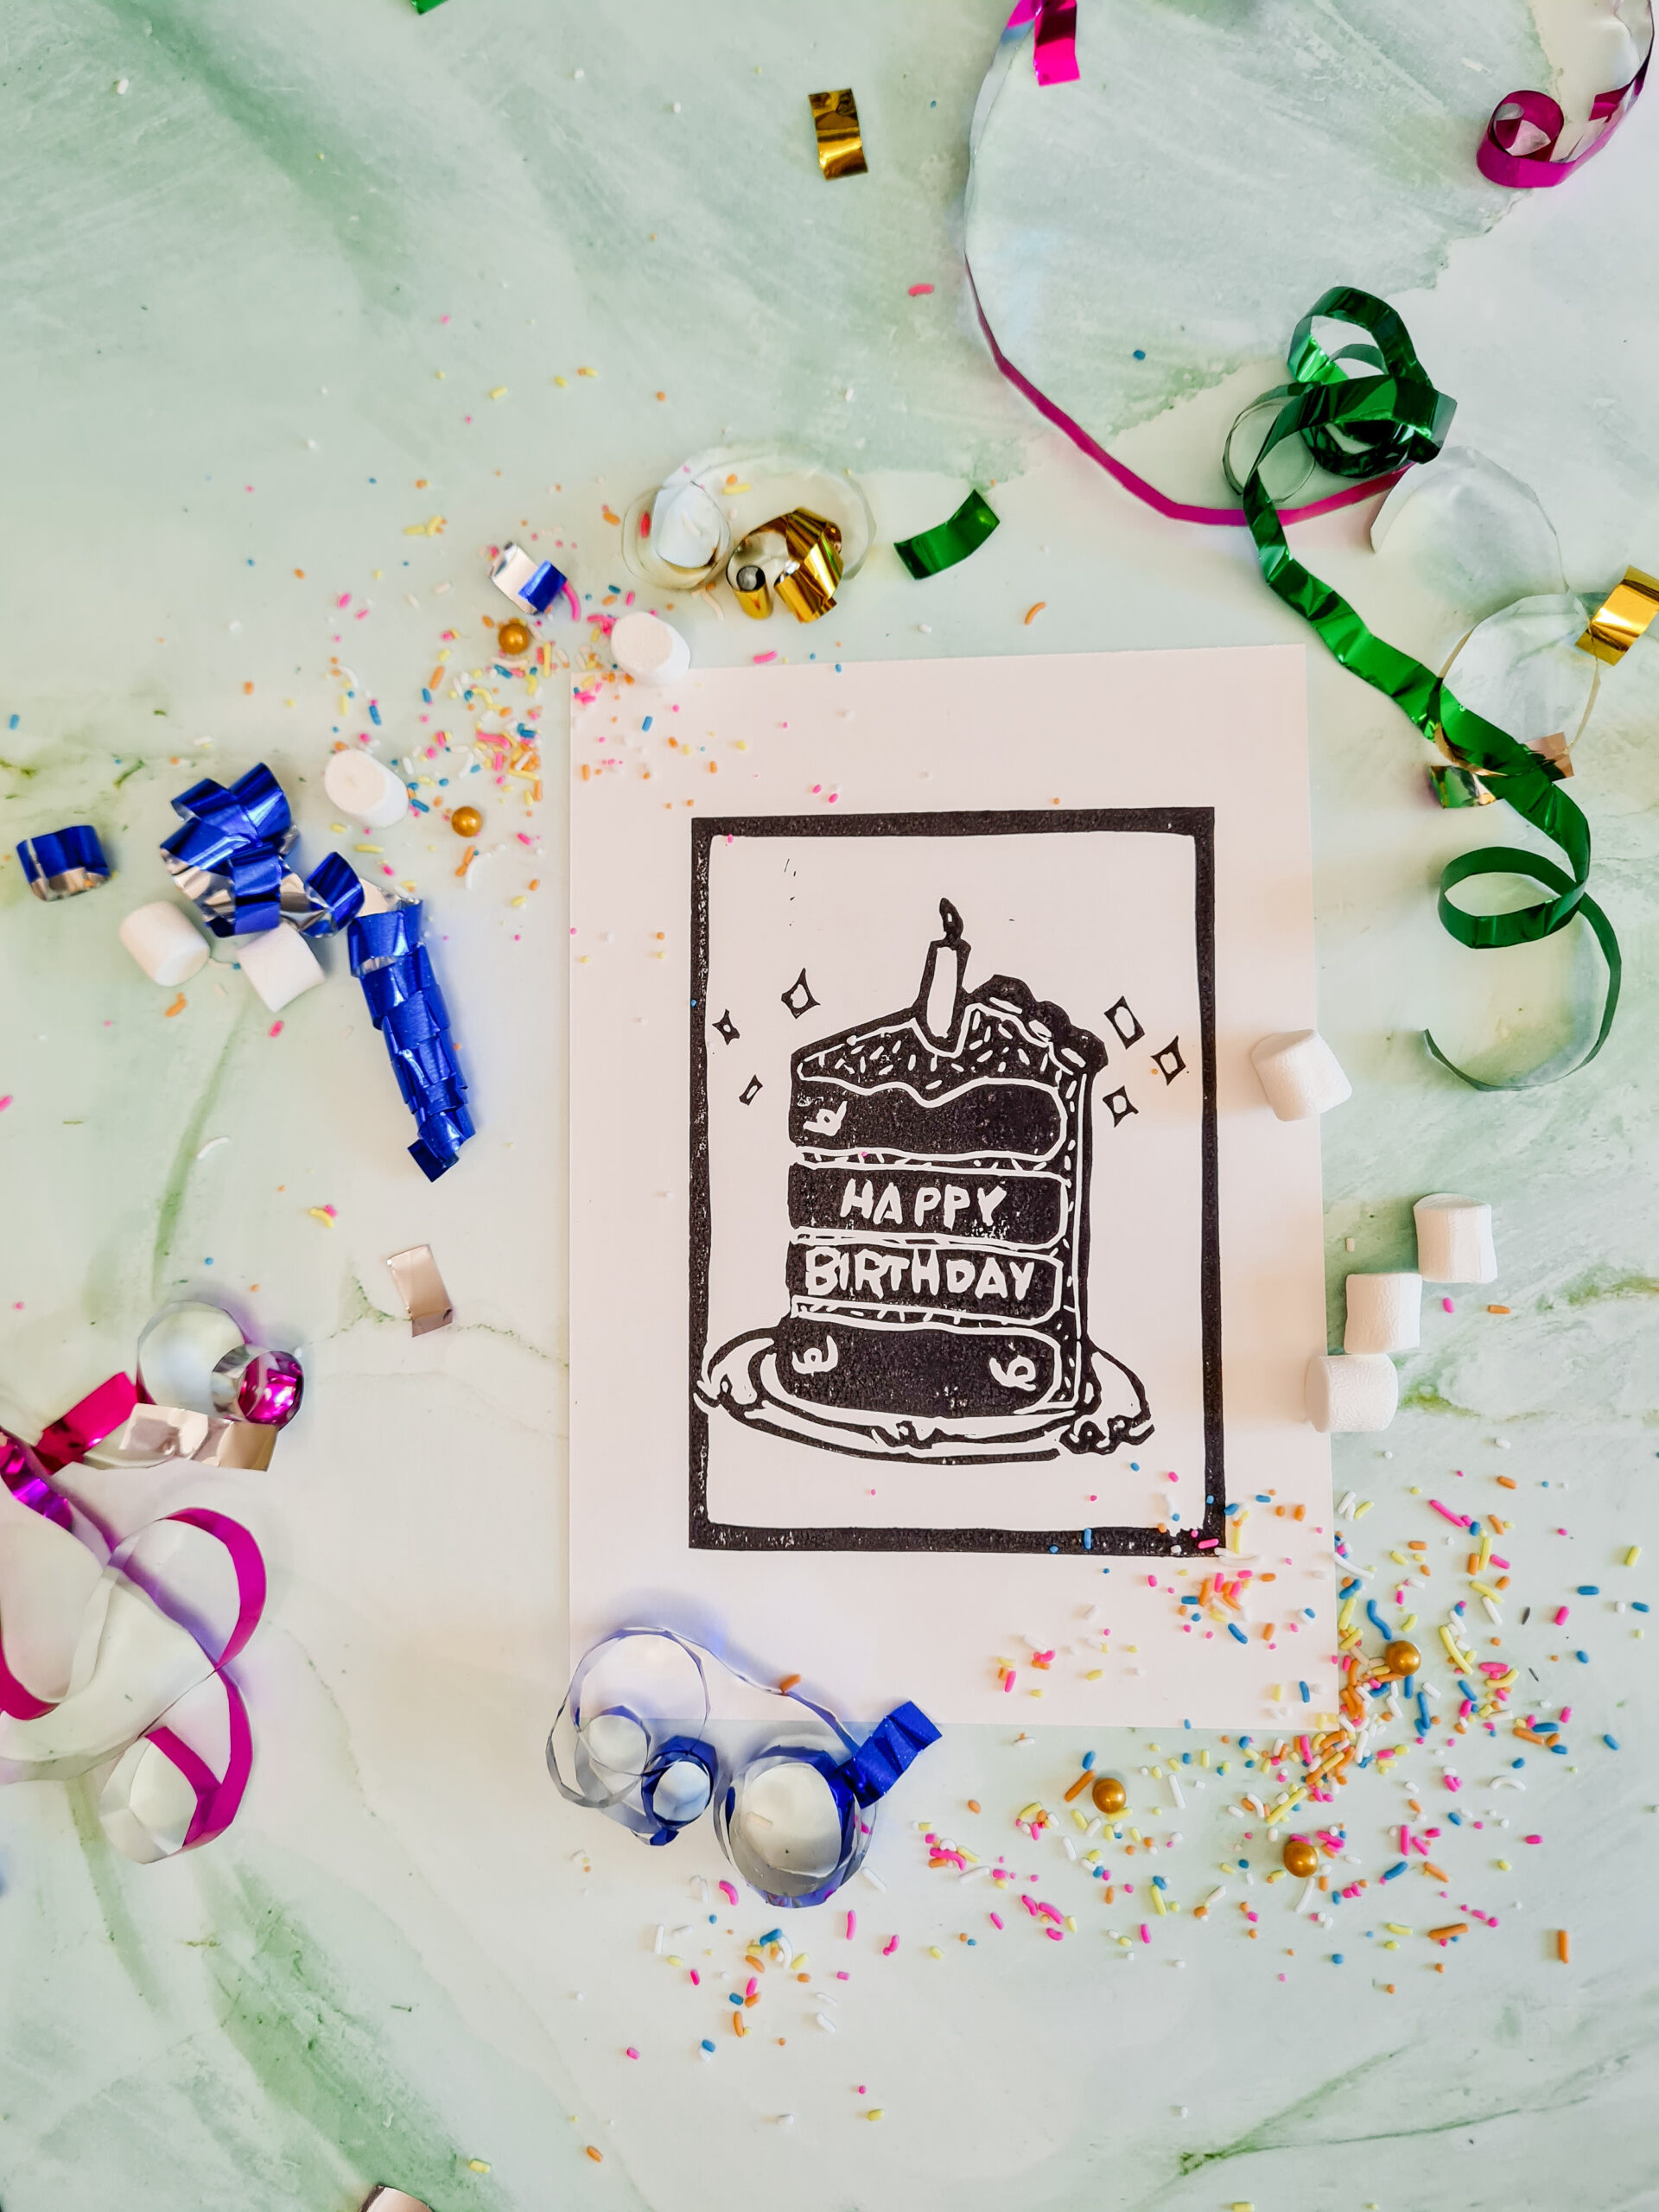
- Now you are ready to see your print. Peel away gently from one end only.
- One of the many great things about linocut printing is that you can print many times, and when you aren’t happy with something, you can change it.
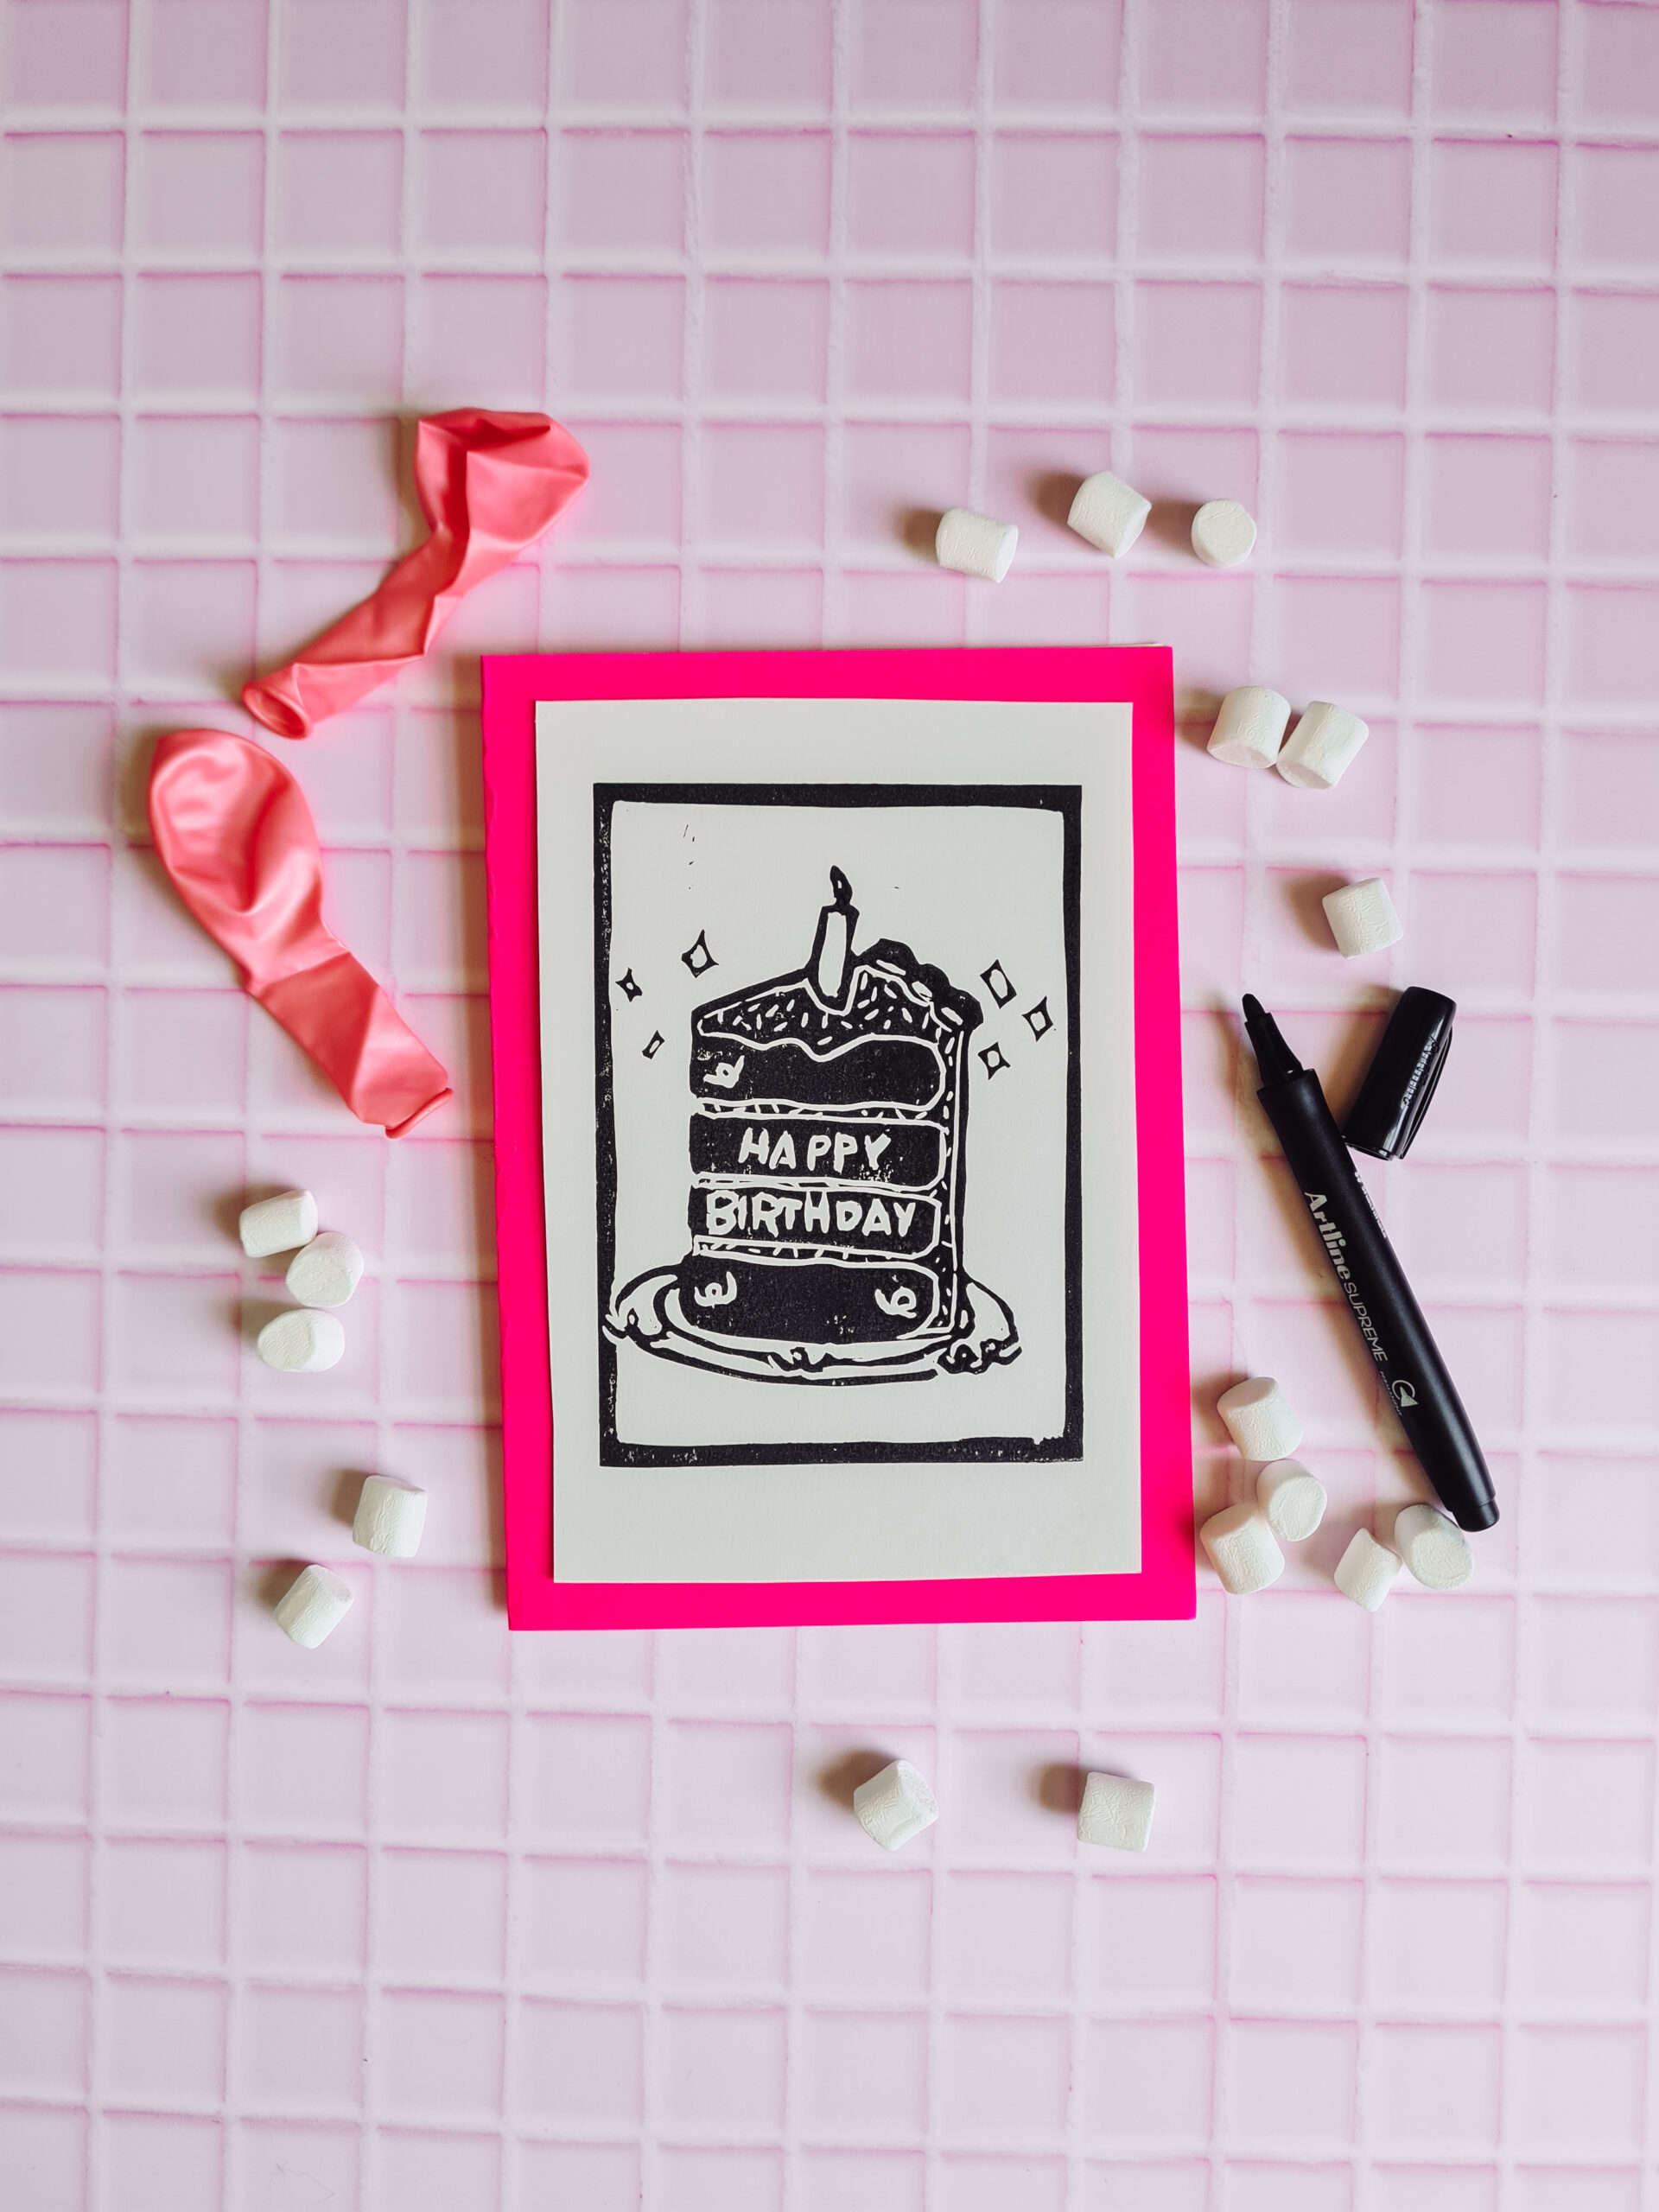
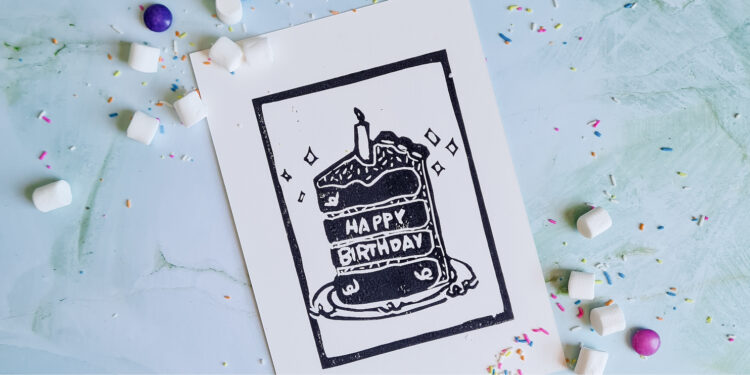
- Add your print to the front of a folded A4 card stock for a very special birthday card. A birthday card that doubles as a priceless piece of art.
Happy Printing!!!
Instagram: @yolandesnyders.co.za